
Description complète
Snap-in arcade button: a mushy button replaced in two minutes
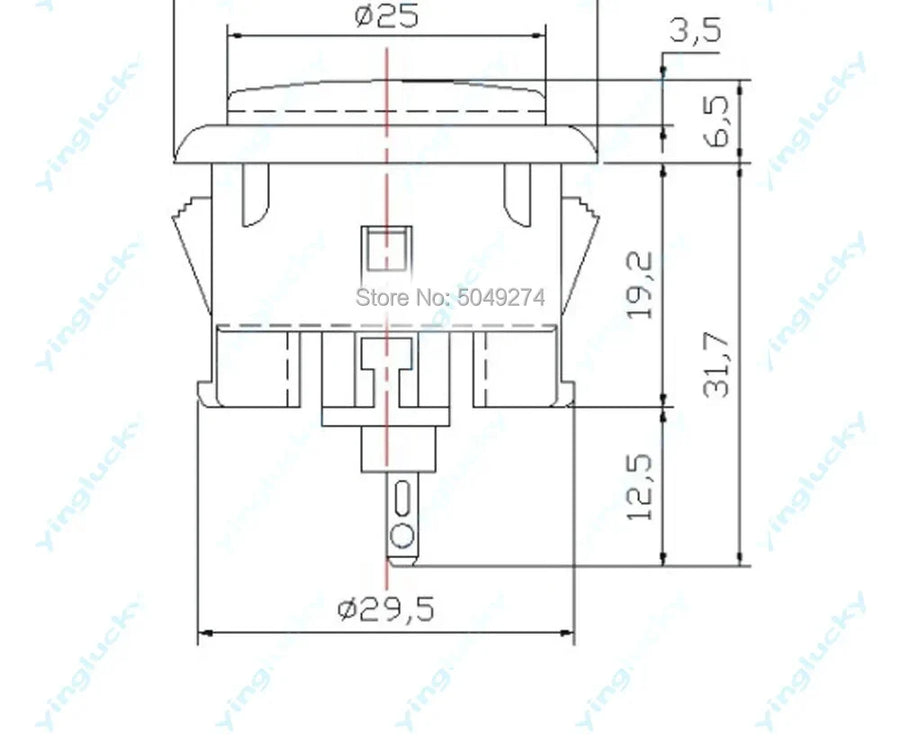
On an arcade cabinet, an arcade stick or a home-made panel wired to a Raspberry Pi, it's always the same buttons that give out: the punch, button 1, the one that takes every combo. This snap-in button can be replaced on its own, with no nut and without taking the whole panel apart. Mounting hole diameter 24 mm or 30 mm depending on the variant.
What it does
- Snap-in mounting: the body clips into the hole in the panel, with no screws or locking ring to tighten from underneath.
- Microswitch fitted: the switch comes attached to the button body, connected with push-on spade connectors.
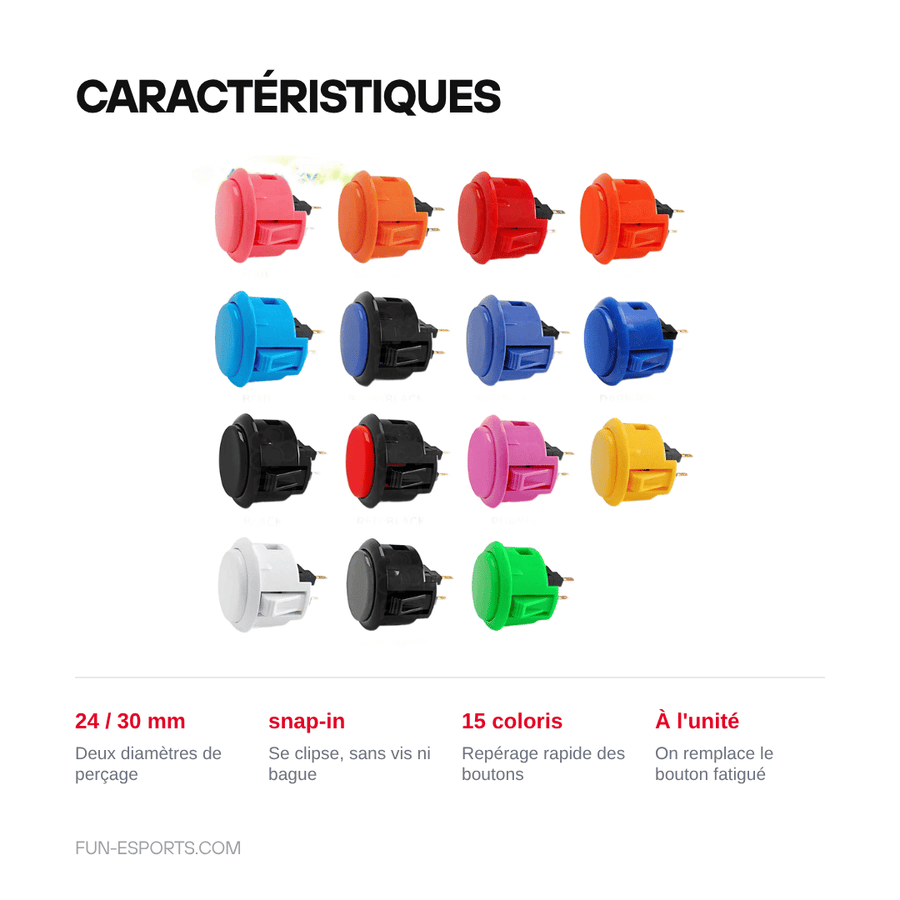
- Two diameters, fifteen colours: 24 mm for secondary buttons (start, select, top row) in nine colours, 30 mm for action buttons in fifteen colours.
- Sold individually: you only buy the worn-out button again, not the whole set.
What it doesn't do
- It's not a kit: no wiring harness, no USB encoder board, no joystick. The wiring must already be in place.
- No LED backlighting: the body is solid and cannot take a bulb.
- Snap-in mounting requires a thin panel. On thick plywood, you need to rout out the underside of the hole or switch to a screw-in version.
- The supplier listing claims a “Sanwa” origin that nothing confirms: we sell it as a 24/30 mm format button, not as a branded part. The feel and travel may differ from an original Japanese part.
- It does not replace the buttons of a handheld console: those are silicone pads, not push buttons with a body.
Compatibility
Any arcade cabinet, arcade stick or home-made panel already drilled to 24 mm or 30 mm, including RetroPie / Raspberry Pi projects and sheet-metal or Plexiglas control panels. 28 mm and 33 mm holes are not suitable, and a panel designed for screw-in buttons will not necessarily accept a snap-in button without reworking the hole. Check the diameter before ordering: there is no making up for it during fitting.
Skill level required
No soldering if your panel is already drilled to the right diameter and wired with spade connectors: remove the old button, plug the two wires back in, clip in the new one. Allow two to five minutes. On a new panel, you need a hole saw of the right diameter and a drill; that is the only step that calls for tools.
In the box
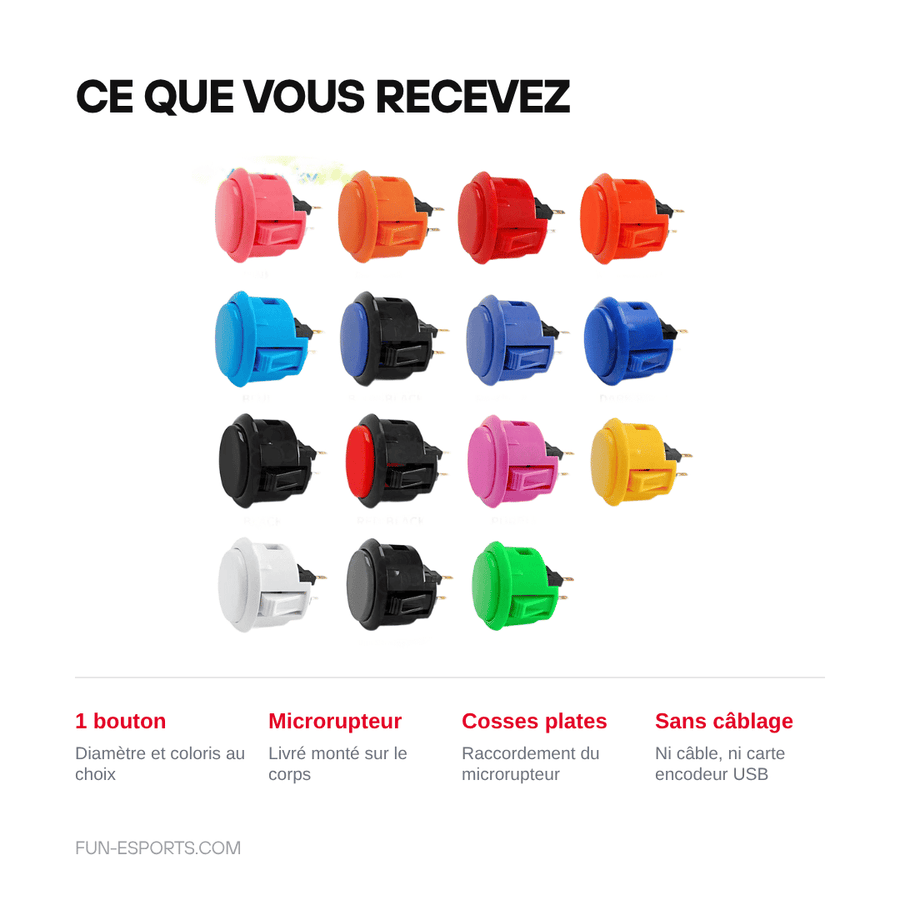
- 1 snap-in arcade button, in the chosen diameter and colour
- 1 microswitch, fitted to the button body
Read before ordering: Retro peripherals
Delivery in 10 to 18 days · ships within 3 to 5 days · 2-year legal guarantee of conformity · 14-day returns.
Snap-in arcade button 24 or 30 mm — cabinet, stick and Raspberry Pi
24 or 30 mm snap-in button, microswitch fitted, sold individually — for arcade cabinets, arcade sticks and Raspberry Pi panels.
En stock
📦Ships within 3 to 5 business days · Delivery in 10 to 18 business days · 2-year legal guarantee of conformity · 14-day returns.
ℹÀ partir de 150 €, la livraison s’effectue en Point Relais.
- 🇫🇷SAV français
réponse sous 1 jour ouvré - 🛡Garantie légale
2 ans - ↩14 jours
pour changer d’avis - 🔒Paiement sécurisé
CB · PayPal · Klarna
The job: one button, two minutes
An arcade button wears out where you hit it. After a few hundred games, the travel goes mushy, the click disappears, and the move fails to come out one time in three — you think you missed the input when it's actually the part giving out. Replacement is done button by button: unclip the body from underneath, plug the two connectors back in, clip in the new one. The panel stays in place and the cabinet is back in action that same evening.
The part: 24/30 mm format, snap-in
It's the most widespread button format on arcade cabinets and arcade sticks: a body that clips into a 24 or 30 mm hole, with its microswitch already fitted and spade connectors for wiring. The 30 mm size is used for action buttons, the 24 mm for secondary controls. We sell it for what it is — a button in this format, not a part stamped with a Japanese brand name, whatever the supplier's listing says.
Before you buy: measure the hole
The only costly mistake with this part is the diameter. A panel drilled to 28 mm won't take a 30 mm button, and a 30 mm hole will leave a 24 mm button loose. Get out a caliper or measure the old button before ordering. Second point: the snap-in holds by clips, so it needs a thin panel. On thick wood, plan to rout out the underside of the hole.
What this accessory brings
Verified manufacturer specifications · vérifié le
Ce qu’il fait bien
- Snap-in mounting: the body clips in, no screws or locking ring
- Microswitch supplied fitted, connected with spade connectors
- Two mounting hole diameters: 24 mm and 30 mm
- Fifteen colours to tell the buttons apart at a glance
- Sold individually: you only replace the worn-out button
Ce qu’il ne fait pas
- Sold on its own: no cables, no USB encoder board, no joystick
- No LED backlighting
- Snap-in needs a thin panel; routing required on thick wood
- Not suitable for 28 mm and 33 mm holes
- “Sanwa” origin claimed by the supplier but not confirmed
- Does not replace the silicone pads of a handheld console
Voir toute la fiche technique+
Matière et format
- Type d’accessoire
- Arcade button
Compatible avec
- Arcade cabinet
- Arcade stick
- Panel drilled to 24 mm
- Panel drilled to 30 mm
- RetroPie / Raspberry Pi project
Dans la boîte
- 1 snap-in arcade button (diameter and colour of your choice)
- 1 microswitch fitted to the button body
Frequently Asked Questions
🔧 Do I need to solder to install this button?
No. The microswitch connects with push-on spade connectors. If your panel is already wired, just unplug the two wires from the old button and plug them into the new one.
📏 24 mm or 30 mm: which should I choose?
The figure is the diameter of the hole in the panel, not the size of the cap. 30 mm is for action buttons, 24 mm for secondary controls (start, select, top row). Measure the old button or the hole before ordering.
🎮 What is it compatible with?
Any arcade cabinet, arcade stick or home-made panel drilled to 24 or 30 mm, including RetroPie builds on Raspberry Pi. 28 mm and 33 mm holes are not suitable.
📦 What's in the box?
One snap-in arcade button in the chosen diameter and colour, with its microswitch fitted to the body. No cables, no encoder board, no joystick: the button is sold individually.
🧰 What tools do I need?
None if the hole already exists: the body clips in and unclips by hand. To drill a new panel, you need a hole saw of the right diameter and a drill.
⏱️ How long does replacement take?
Two to five minutes per button on an accessible panel: it's the simplest job in the workshop. Drilling a new panel obviously takes longer.
🚚 What are the delivery times?
Delivery in 10 to 18 days, ships within 3 to 5 days.
🛡️ What guarantee applies?
2-year legal guarantee of conformity. 14-day returns. French customer service, reply within 1 business day.
Why buy here rather than on a marketplace
It is a fair question. Here is the answer, straight.
Every listing is checked before publication: real compatibility, material, dimensions, box contents. Many models never make it into the catalogue.
A question about compatibility, a fit problem, a return: you write, a human replies within 1 business day. In French.
The 2-year legal warranty of conformity is handled by us — not by a form on the other side of the world. And 14 days to change your mind, with no need to justify yourself.
We do not claim to be the cheapest. We claim that you will know exactly what you are buying before you pay.
Read this before choosing
Our guides to accessories: compatibility, protection, transport.

Pixel art: create your own designs for a Divoom display
Grid size, number of colours, outlines, animation: the guide to getting started in pixel art and displaying your own creations on a Divoom display.
2 min de lecture · publié le

Divoom pixel art speakers: which one should you choose?
Astrotoo, Ditoo-Pro, FlowToo, Tiivoo-2, Timebox-Evo, MiniToo, Fairy-OK: the seven Divoom speakers compared, by use and budget.
2 min de lecture · publié le

Times Frame or Times Frame Pure: which Divoom floating photo frame should you choose?
64 or 32 GB, three colours or just one, a dial or not: the real differences between the Times Frame and Times Frame Pure…
1 min de lecture · publié le