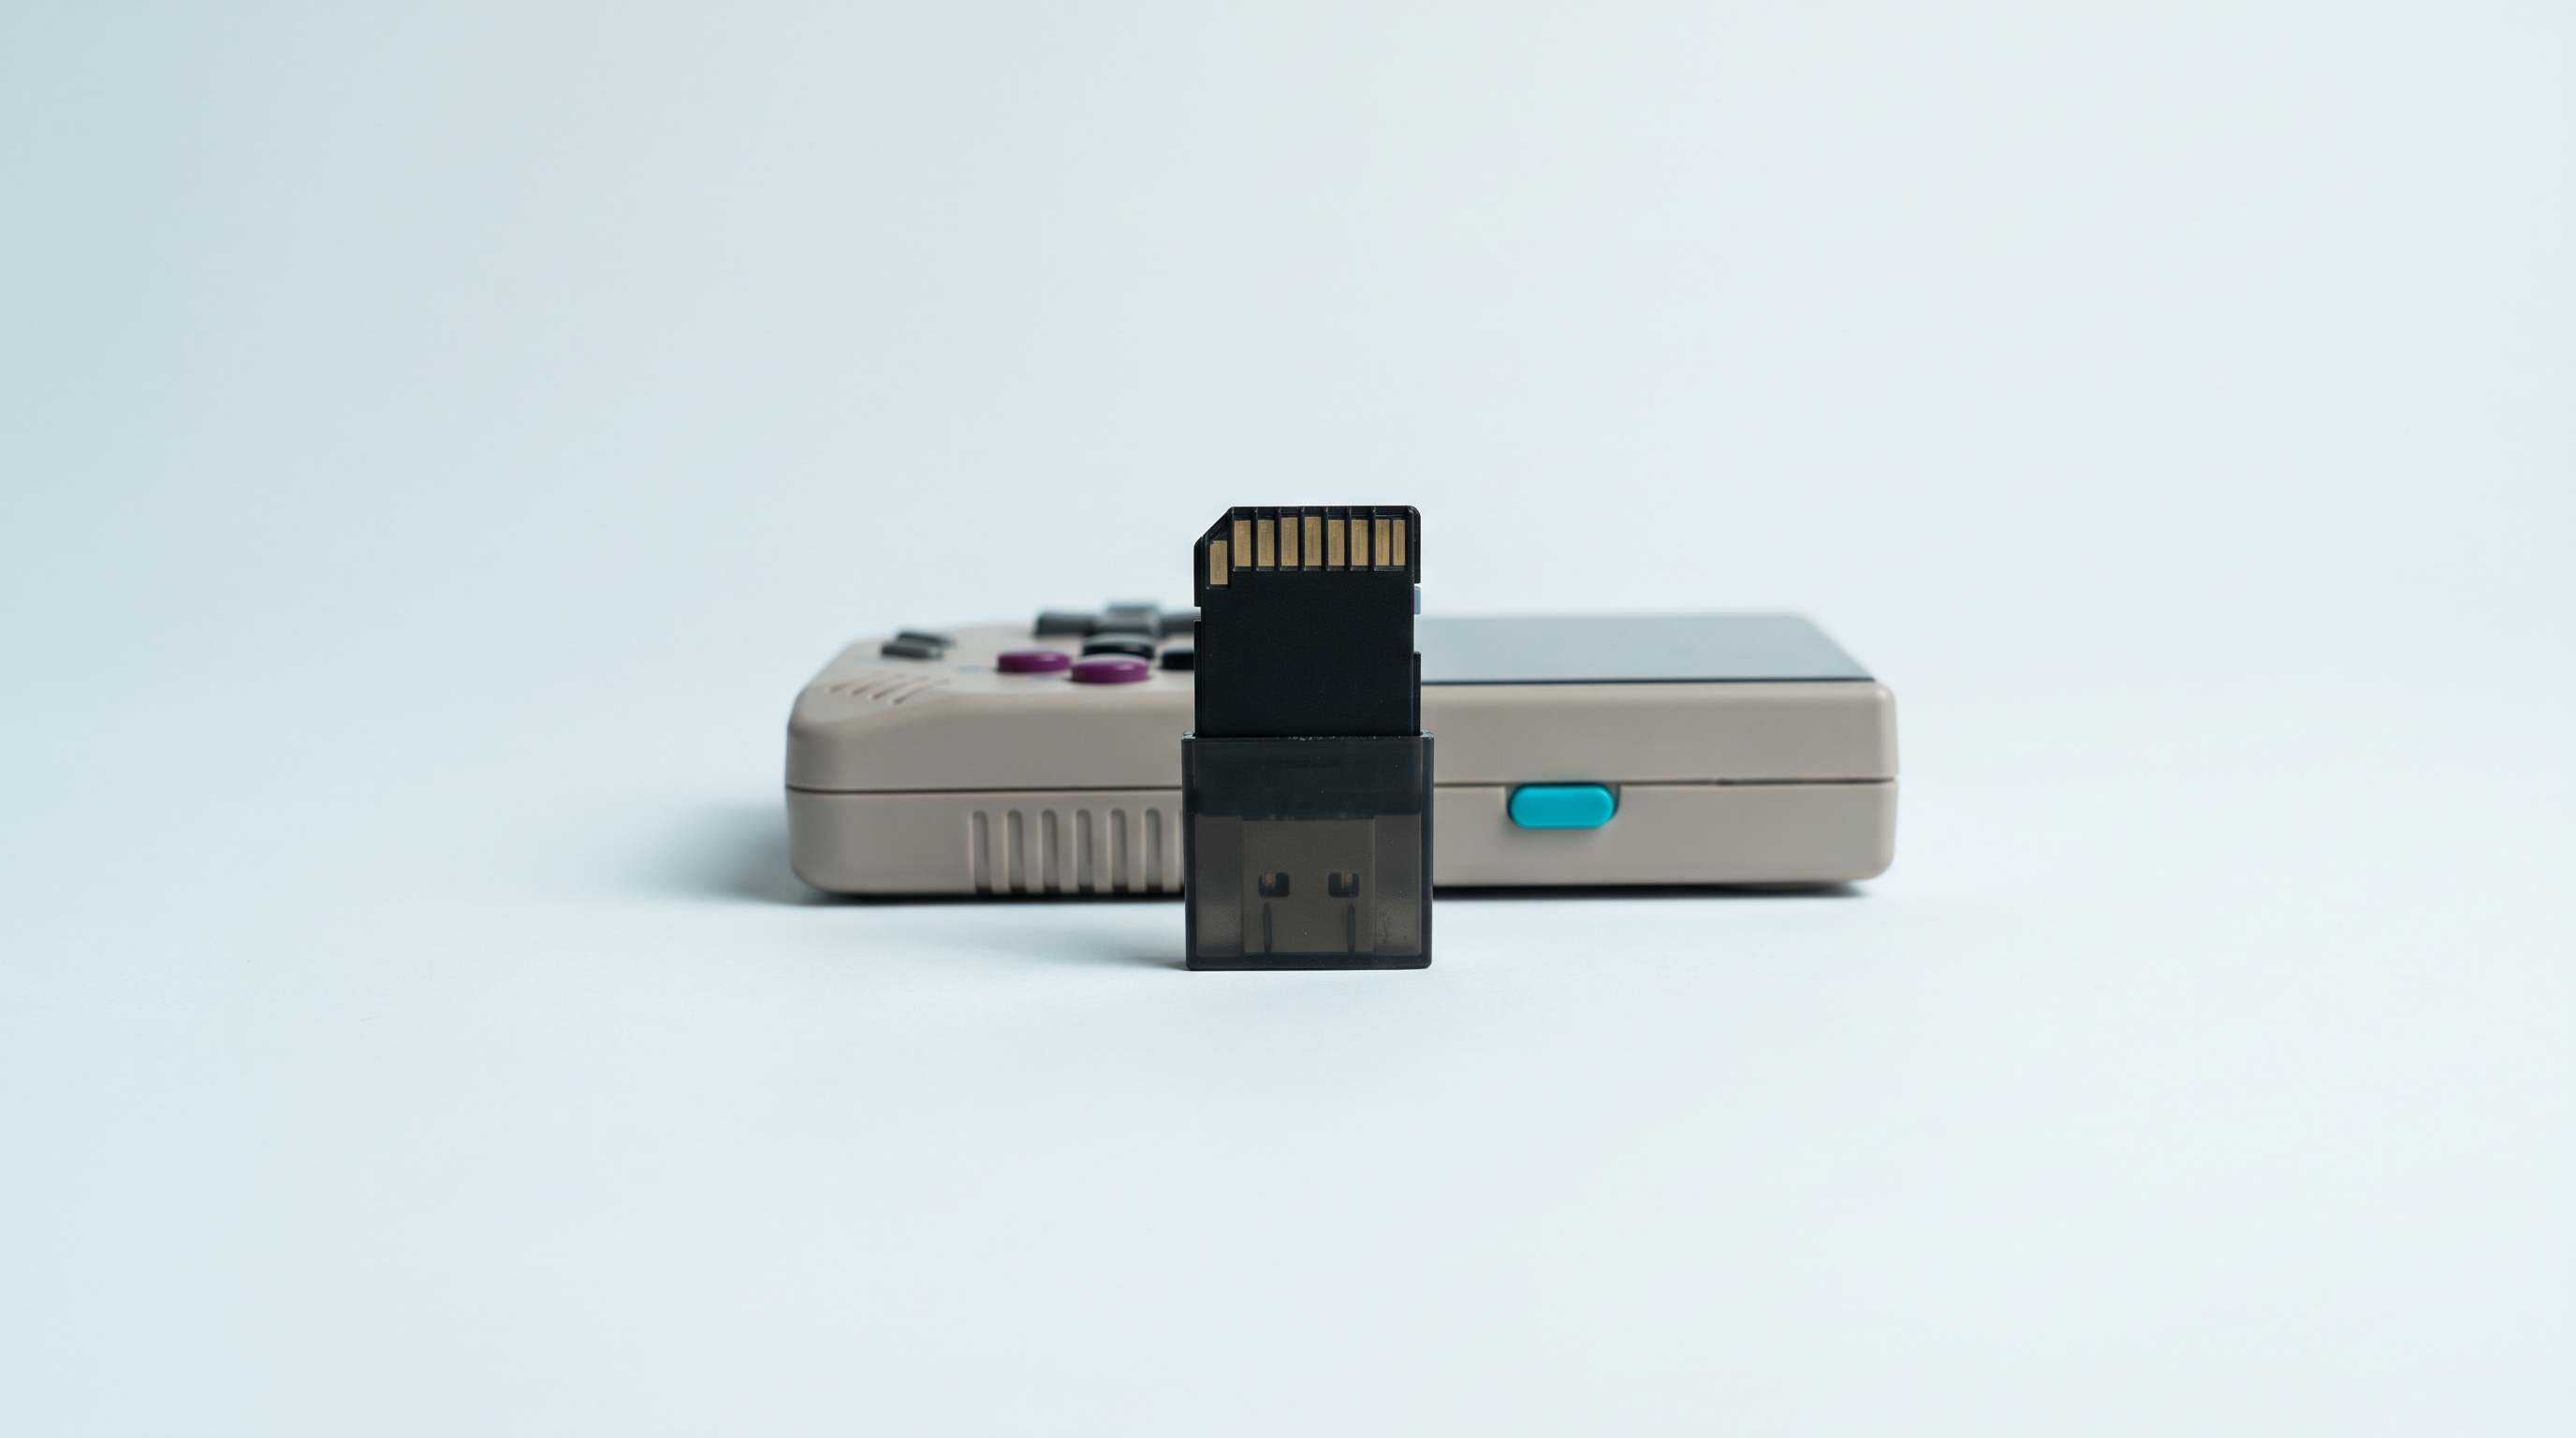
muOS, whose official project name is MustardOS, is an alternative firmware for Linux-based handheld consoles. The current version as we write these lines is 2601.1 “Funky Jacaranda”. It covers thirteen machines, all from Anbernic and TrimUI. If your console is on the list, allow around thirty minutes including the download, and the whole operation stays on a microSD card. If it isn't, no amount of tinkering will make it work: better to know before buying a card. This guide follows the procedure published by the project and points out the places where people go wrong most often.
Who muOS is for, and on which machines
muOS targets anyone who wants a fast interface, a clear menu and settings you can reach without a keyboard or a terminal. This is not a cosmetic layer: you are changing operating system.
The official list of machines supported by 2601.1 includes eleven Anbernic models (RG28XX H, RG34XX H, RG34XX SP, RG35XX 2024, RG35XX H, RG35XX PLUS, RG35XX PRO, RG35XX SP, RG40XX H, RG40XX V, RGCUBEXX) and two TrimUI (Brick and Smart Pro). In practice, the Anbernic range built on the Allwinner H700 chip and the two TrimUI on Allwinner A133 Plus.
| Console | muOS image name | Supported |
|---|---|---|
| Anbernic RG35XX Pro | RG35XX PRO | Yes |
| Anbernic RG35XX H | RG35XX H | Yes |
| Anbernic RG35XXSP | RG35XX SP | Yes |
| Anbernic RG40XX H | RG40XX H | Yes |
| Anbernic RG 40XXV | RG40XX V | Yes |
| Anbernic RG34XX | RG34XX H or RG34XX SP | Yes |
| Anbernic RG28XX | RG28XX H | Yes |
| Anbernic RG CubeXX | RGCUBEXX | Yes |
| TrimUI Brick | Brick (code TUIBRICK) | Yes |
| TrimUI Smart Pro | Smart Pro (code TUISPOON) | Yes |
| TrimUI Smart Pro S, Miyoo Mini Plus, Powkiddy, RG353V and RG353PS, Android and Windows consoles | None | No |
For machines missing from this list, our firmware compatibility table shows which alternative system matches which console.
What muOS brings over the stock firmware
On the Anbernic H700 machines, the factory firmware works, but it is ageing badly: slow navigation, scattered settings, rare updates. muOS answers on four points.
- Unified navigation. The Explore Content module merges every mounted storage device into a single tree, with no imposed naming convention.
- Per-content emulator choice. A stubborn game gets a different core without anything else in the folder moving.
- Readable system settings. Wi-Fi, language, sleep, frequency governors, themes, data backup — it all fits into a structured Configuration menu.
- Separated data. The Storage module moves saves, box art and settings onto the second card.
In return, you lose the ready-to-play experience and have to redo all your settings. Above all, muOS does not add power: an RG35XX Pro running muOS is still an Allwinner H700 machine, with the same emulation limits. To aim at heavier systems, it is the hardware you need to change.
The hardware you need
You need a second microSD card, a card reader and image-writing software. The project recommends a quality card of 16 GB or more and mentions Samsung and SanDisk. On a console with two slots, the image is written to the card in slot 1.
The card is the part that fails first on these consoles: a slow or counterfeit card causes freezes that get wrongly blamed on the firmware. The criteria are detailed in our article on choosing a microSD card; the ones we ship are checked with a full write-and-read-back pass before dispatch.
Step-by-step installation
- Identify your exact model. This is the most important step and the most rushed. RG35XX H, RG35XX PLUS, RG35XX 2024 and RG35XX SP are four different machines, with four different images. The full name is printed on the back of the console.
-
Download the image from the official site. On muos.dev, Devices page, take the file matching your machine for version 2601.1. The image is distributed as
.img.gz, through two file hosts or by torrent. No forum links, no video channels. - Check the integrity of the download. At the time of writing, the project does not publish a SHA256 or MD5 checksum next to its direct links — to be confirmed depending on the version. Downloading by torrent, on the other hand, verifies data integrity by design: it is the safest route if your connection is unreliable.
-
Write the image to the card. The project recommends Raspberry Pi Imager (version 1.9.6), Alex's USB Image Tool, Rufus, Win32 Disk Imager or USBImager, and explicitly advises against Balena Etcher because of repeated faulty writes. These tools take the
.img.gzas is, with no decompression. In Raspberry Pi Imager: choose the device, then “Use Custom OS”, the file, the card reader, skip the customisation options, confirm the erase and let the write and verification run to the end. -
On the command line, the documentation gives:
gunzip -c < "image_name_here.img.gz" | sudo dd of=/dev/sdxyz bs=4M conv=fsync status=progress. Check the destination device three times: a mistake here wipes a drive. - First boot. Put the card in the first slot and switch on. The system runs through a few configuration menus, then finishes on its own. The documentation warns: if the device looks stuck on “Factory Reset”, give it 5 to 10 minutes before hitting reset. Cutting it short means starting over.
- Initial configuration. From the main menu, go through the settings below before copying a single game.
Our general guide to installing a custom firmware places muOS alongside Knulli, ArkOS, ROCKNIX and Batocera.
The settings to sort out straight away
Language
Main menu, then Configuration, then Language. The translations are community-made, maintained through Weblate, and update from the console by pressing X once you are connected to the network. This setting only affects the interface, not the games.
Wi-Fi
Configuration, then Connectivity, then Wi-Fi Network. Press X to start the scan, or type in the network name by hand if it is hidden. Enter the identifier and password, leave DHCP mode unless you have a specific need, confirm with Connect, then press Y to save the profile: the console will reconnect on its own from then on.
Buttons
The control scheme is set from the content options (Content Option, then Control Scheme), game by game or folder by folder. That is where a swapped A/B layout gets fixed.
Sleep and battery life
Configuration, then Power Settings: power button behaviour (Sleep Function), sleep delay (Idle Input Sleep Timeout), screen-off delay (Idle Input Display Timeout), the matching audio cut-off, the low-battery indicator and the frequency governors. Setting those two delays is the single change that does most for real-world battery life.
SD1 and SD2: what goes where
muOS distinguishes the main storage, mounted on /mnt/mmc and called SD1, from the secondary storage, mounted on /mnt/sdcard and called SD2. SD1 holds the system; SD2 is optional, and it is the one that makes the firmware comfortable.
In Configuration, then Storage, you move to SD2 your saves and save states, screenshots, box-art catalogue, collections, history, themes, BIOS files, Wi-Fi profiles, installed applications and play-time tracking. The benefit: the day you reflash SD1, your personal data survives.
Where to put your games
Your game files go into the content folder at the root of the card. The official documentation writes it sometimes ROMS, sometimes roms: use the spelling of the folder already present after the first boot rather than creating a second one. The same folder can exist on SD2, and muOS merges the two on screen.
The full folder tree is covered firmware by firmware in our article on transferring games and firmware folder structures. muOS does not impose strict naming: comfortable, but the organisation is still down to you.
Matching cores and displaying box art
When a file has no association, muOS asks what to use at launch. This is set in Content Option, then Core: you pick the system, then the default core or an alternative core, another compatible emulator chosen for performance or rendering. A core downloader adds the missing systems.
Box art lives in a catalogue stored on SD1, in MUOS/info/catalogue/, with one subfolder per system containing box, preview, splash and text. The image name must match the game file name exactly, extension excluded: for Chrono Trigger (USA).zip, the image is called Chrono Trigger (USA).png. The system only looks at the root of those folders, never in subfolders. Packs delivered as .muxcat go through the archive manager.
The most common trap
It is the image for a neighbouring model. The names look very much alike — RG35XX H, RG35XX PLUS, RG35XX PRO, RG35XX SP, RG35XX 2024 — and a console that refuses to boot or stays on a black screen after a flash has almost always been given the image for the model next door. Same remark on the TrimUI side, where the Brick carries the code TUIBRICK and the Smart Pro the code TUISPOON.
Write down the exact name of your machine before opening the download page and compare character by character. Second trap, more discreet: the writing tool, with a lot of flashes “failing for no reason” coming from Etcher. Before concluding that something is broken, redo the write with another tool from the official list.
Moving from one version to the next
The project is clear: to change version, it recommends backing up your data and writing a fresh image. That is the most reliable method, and it is quick if your data is already on SD2.
An update archive does exist for certain transitions, though: 2601.1 offers one, reserved for those coming from 2601.0 “Jacaranda”. These archives carry the .muxupd extension, are copied into an ARCHIVE folder at the root of the card (/mnt/mmc/ARCHIVE for SD1, /mnt/sdcard/ARCHIVE for SD2) and are installed from Applications, then Archive Manager.
One detail specific to 2601.1: themes are now stored as open folders rather than compressed archives, and old .muxthm files have to be extracted by hand. Before any update, think of Device Backup, in Configuration, which selectively archives saves, collections, themes, RetroArch configurations, BIOS and network profiles into a BACKUP folder.
Going back
The whole procedure happens on the microSD card. Switch the console off, take out the muOS card, put the original one back: you get the manufacturer firmware exactly as it was. That is what makes the experiment reversible, and it is the reason the golden rule exists.
The muOS card can be reformatted and reflashed with another firmware with no consequence for the machine. If you are still hesitating between several compatible machines, our selection of Linux retro consoles states for each model what it ships with.
Does installing muOS erase the card supplied with my console?
No, as long as you use a second card. Writing completely erases the destination card, but does not touch the one you set aside.
Can my Miyoo Mini Plus or my Android console take muOS?
No. Version 2601.1 only covers eleven Anbernic models built on the Allwinner H700 chip and two TrimUI. The Miyoo Mini Plus, the Powkiddy machines, the RG353V and RG353PS, like all Android and Windows consoles, are not concerned. Other firmwares exist for some of them.
Do I need a particular microSD card?
The project recommends a quality card of at least 16 GB and mentions Samsung and SanDisk. Reliability matters more than the advertised speed: a dubious card produces freezes and corrupted saves that often get blamed, wrongly, on the firmware.
Will I keep my saves when changing muOS version?
Yes if your data is on SD2 through the Storage module, or if you go through Device Backup before the operation. On a single card with no prior backup, rewriting the image erases everything.
Is muOS available in French?
The interface has community language packs managed through Weblate, which you choose in Configuration then Language. How complete they are depends on the contributors and changes from one version to the next: check on yours. This setting changes neither the language of the games nor that of the emulators.
Why won't my console boot after the flash?
In the vast majority of cases, the image does not exactly match the model: check the full name of the machine and take the right file. Only then should you suspect the writing tool, and then the card. If the first boot looks frozen on “Factory Reset”, wait 5 to 10 minutes.