
Description complète
PSP LCD screen: give a cracked or stained console a clean picture again
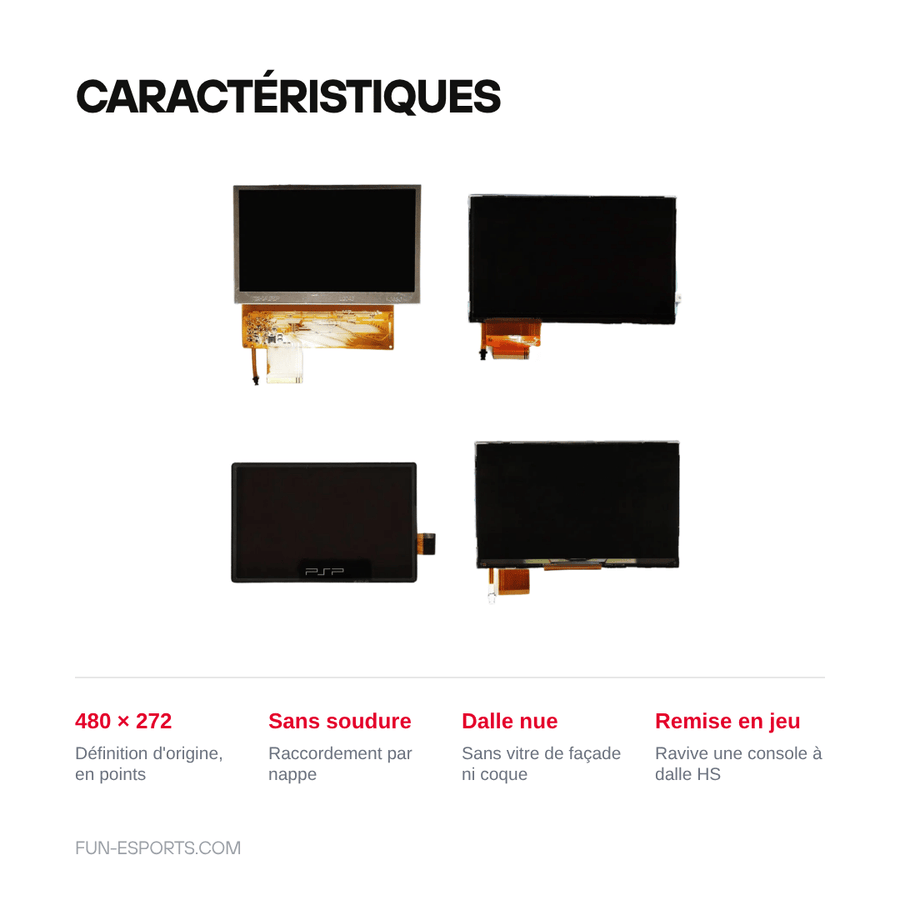
When a PSP is dropped, it's almost always the panel that goes first: star-shaped crack, spreading black ink stain, vertical lines, dead backlight. The motherboard, meanwhile, is perfectly fine. This replacement LCD panel is chosen by PSP model and fitted without soldering: a Phillips screwdriver, the ribbon cable to reconnect, and the console is up and running again.
What it does
- Original resolution preserved: 480 x 272 pixel panel, the PSP's native resolution. No game needs adjusting, and no borders are added.
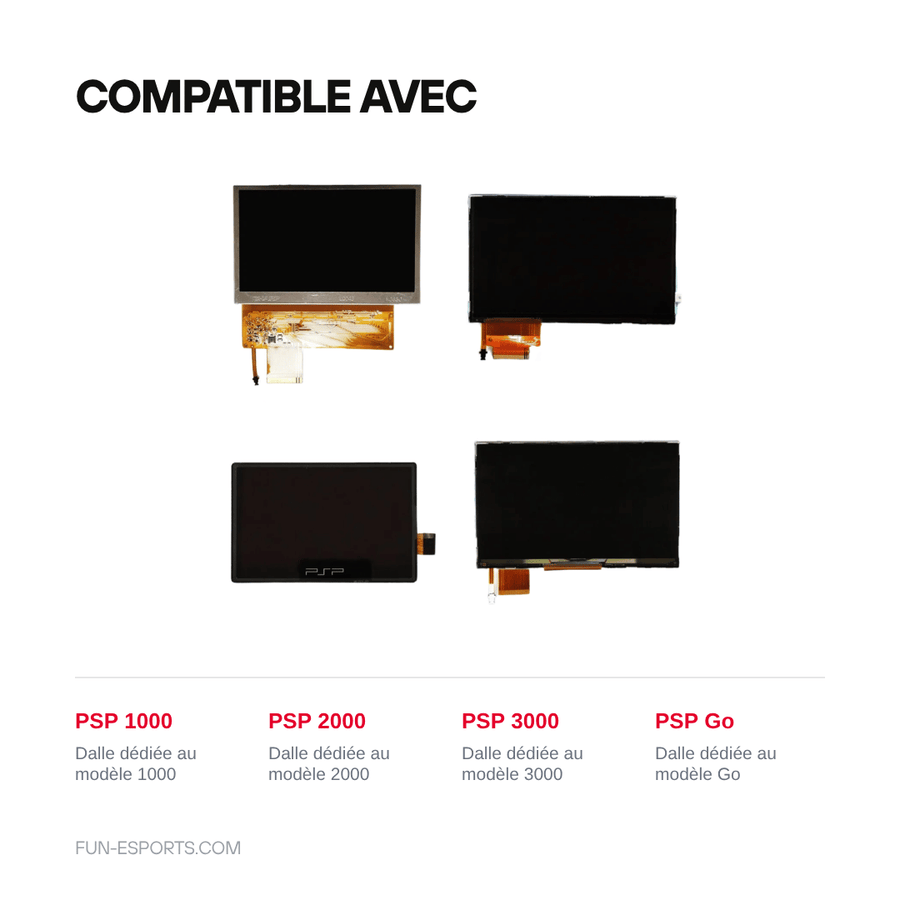
- One reference per model: PSP 1000, PSP 2000, PSP 3000 and PSP Go have different panels. You select yours when ordering; you don't receive a “universal” part that doesn't fit.
- Fitted without a soldering iron: the panel connects via a ribbon cable. The replacement remains a disassembly job, not an electronics one.
What it doesn't do
- It is not an IPS screen or an upgrade: it is a replacement panel at the original resolution, with the viewing angles and contrast of a stock PSP.
- Doesn't replace the front glass or the shell: if the front plastic is scratched or broken, it has to be changed separately.
- Doesn't fix a motherboard fault. Black screen while the sound works and the console boots: yes; console that no longer turns on: no.
- No tools are included: no screwdriver, no spudger, no reassembly adhesive.
- The panels are not interchangeable between models. A PSP 2000 panel won't fit a PSP 3000, and vice versa.
Compatibility
Four variants, one per machine: PSP 1000 (“Fat” model), PSP 2000 and PSP 3000 (“Slim” models), PSP Go (N1000). Check the reference printed on the back of your console before ordering. This part is not for the PS Vita, the PSP E-1000 (Street) or any console from another brand.
Skill level required
Full disassembly of the console: removing the battery and the back shell screws, separating the two half-shells, disconnecting the screen ribbon cable. No soldering. You'll need a precision Phillips screwdriver, a thin plastic spudger and a surface to sort the screws, which aren't all the same length. Think of it as a job for a patient DIYer rather than a beginner's task: the LCD ribbon cable is the weak point and tears if you force it. A PSP Go, whose sliding chassis is more densely packed, requires more method.
In the box
- 1 bare LCD panel matching the selected PSP model.
Read before ordering: Workshop & modding
Delivery in 10 to 18 days · ships within 3 to 5 days · 2-year legal guarantee · 14-day returns.
Replacement LCD screen for PSP 1000, 2000, 3000 and Go — bare panel
480 x 272 replacement LCD panel, one reference per PSP model — no-solder fitting.
En stock
📦Ships within 3 to 5 business days · Delivery in 10 to 18 business days · 2-year legal guarantee of conformity · 14-day returns.
ℹÀ partir de 150 €, la livraison s’effectue en Point Relais.
- 🇫🇷SAV français
réponse sous 1 jour ouvré - 🛡Garantie légale
2 ans - ↩14 jours
pour changer d’avis - 🔒Paiement sécurisé
CB · PayPal · Klarna
The fix: a console you thought was lost
When a PSP has sat at the back of a drawer for fifteen years, it's rarely the electronics that have given up. It's a fall onto tiles, a crack spreading from a corner, an ink stain that has eaten a third of the picture. The console still boots, the sound comes out, the buttons respond: everything is fine except what you're looking at. Replacing the panel brings a complete machine back into service for the price of one part, without touching anything else.
The part: one panel per model, not a universal part
The manufacturer changed the panel with every revision: the 1000 doesn't have the same unit as the 2000 and 3000, and the Go is yet another special case with its sliding chassis. A part sold as universal fits nowhere. Here the reference is chosen model by model, at the original resolution of 480 x 272 pixels. The picture becomes that of a stock PSP again: neither better nor botched.
The support: disassembly spelled out before you buy
We'd rather tell you before you open the console: this replacement requires full disassembly, a precision Phillips screwdriver and a little patience with the ribbon cable, which is the fragile point of the operation. No soldering, on the other hand, and no tools are included in the package. The Workshop offers the screwdrivers and spudgers you need, and French customer service replies within 1 business day if you get stuck during assembly.
What this accessory brings
Verified manufacturer specifications · vérifié le
Ce qu’il fait bien
- Original 480 x 272 pixel resolution
- A dedicated reference for each model: 1000, 2000, 3000, Go
- No-solder fitting, ribbon cable connection
- Brings back to life a console whose only fault is a dead panel
Ce qu’il ne fait pas
- Not an IPS screen: no picture improvement over the original
- Front glass and shell not included
- No tools included
- Panels not interchangeable between PSP models
- Doesn't cover the PSP E-1000 (Street) or the PS Vita
- Full console disassembly required, fragile ribbon cable
Voir toute la fiche technique+
Matière et format
- Type d’accessoire
- Replacement LCD screen
Compatible avec
- PSP 1000
- PSP 2000
- PSP 3000
- PSP Go
Dans la boîte
- 1 bare LCD panel matching the selected PSP model
Frequently Asked Questions
🔧 Do I need to solder to fit this panel?
No. The panel connects via a ribbon cable inside the console. The job consists of disassembling the PSP, unplugging the old panel and plugging in the new one, without a soldering iron.
🎮 Which PSP models are covered?
PSP 1000, PSP 2000, PSP 3000 and PSP Go, with a specific panel for each model to select when ordering. Doesn't cover the PSP E-1000 (Street) or the PS Vita.
🔍 How do I know which panel to order?
The model reference is printed on the back of the console, under the battery or near the serial number (PSP-1004, PSP-2004, PSP-3004, PSP-N1004). Choose the matching variant: the panels are not interchangeable.
🖥️ Is it an upgraded IPS screen?
No. It is a replacement panel at the original resolution, 480 x 272 pixels. It gives the console back its stock picture; it doesn't improve it.
📦 What's in the box?
One bare LCD panel, matching the chosen model. No tools, front glass, shell or reassembly adhesive.
🧰 What tools do I need?
A precision Phillips screwdriver, a thin plastic spudger to open the shell without marking it, and something to sort the screws by length. Our Workshop tool kits cover this disassembly.
🚚 What are the delivery times?
Delivery in 10 to 18 days, ships within 3 to 5 days.
🛡️ Which guarantee applies?
2-year legal guarantee of conformity. 14-day returns. French customer service, reply within 1 business day.
Why buy here rather than on a marketplace
It is a fair question. Here is the answer, straight.
Every listing is checked before publication: real compatibility, material, dimensions, box contents. Many models never make it into the catalogue.
A question about compatibility, a fit problem, a return: you write, a human replies within 1 business day. In French.
The 2-year legal warranty of conformity is handled by us — not by a form on the other side of the world. And 14 days to change your mind, with no need to justify yourself.
We do not claim to be the cheapest. We claim that you will know exactly what you are buying before you pay.
Read this before choosing
Our guides to accessories: compatibility, protection, transport.

Pixel art: create your own designs for a Divoom display
Grid size, number of colours, outlines, animation: the guide to getting started in pixel art and displaying your own creations on a Divoom display.
2 min de lecture · publié le

Divoom pixel art speakers: which one should you choose?
Astrotoo, Ditoo-Pro, FlowToo, Tiivoo-2, Timebox-Evo, MiniToo, Fairy-OK: the seven Divoom speakers compared, by use and budget.
2 min de lecture · publié le

Times Frame or Times Frame Pure: which Divoom floating photo frame should you choose?
64 or 32 GB, three colours or just one, a dial or not: the real differences between the Times Frame and Times Frame Pure…
1 min de lecture · publié le