














Description complète
2.6-inch IPS screen: a Game Boy Color you can finally read
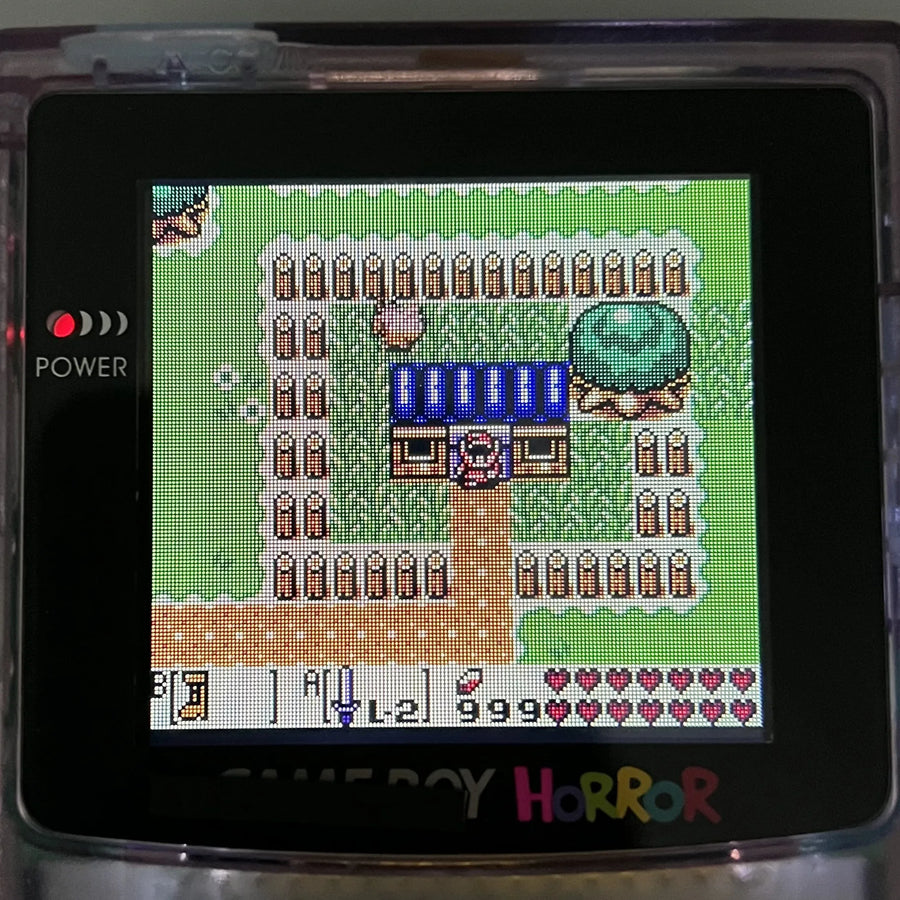
The Game Boy Color's original screen is not backlit: as soon as the light drops, the image fades. This 2.6-inch IPS panel replaces it with a high-brightness backlit display, with a pixel grid mode that recreates the grain of a period screen. This is a modding part: it is fitted inside the console, in place of the original LCD.
What it does
- Backlit IPS panel: stable colours and wide viewing angles, where the original reflective panel washes out as soon as you tilt the console or the light is poor.
- Larger display area: 2.6-inch diagonal, versus 2.3 inches on the original screen — the image fills the shell's window better.
- Pixel grid mode: an optional rendering that redraws the lines between pixels, to recover the original look rather than a smoothed image.
What it doesn't do
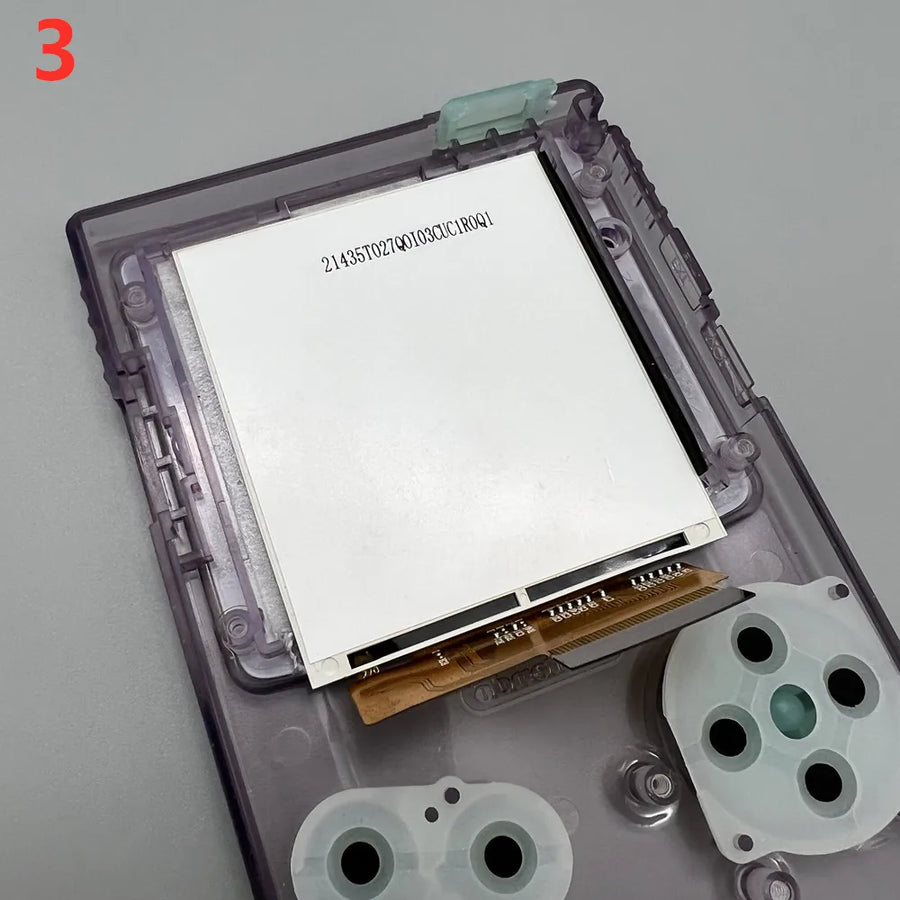
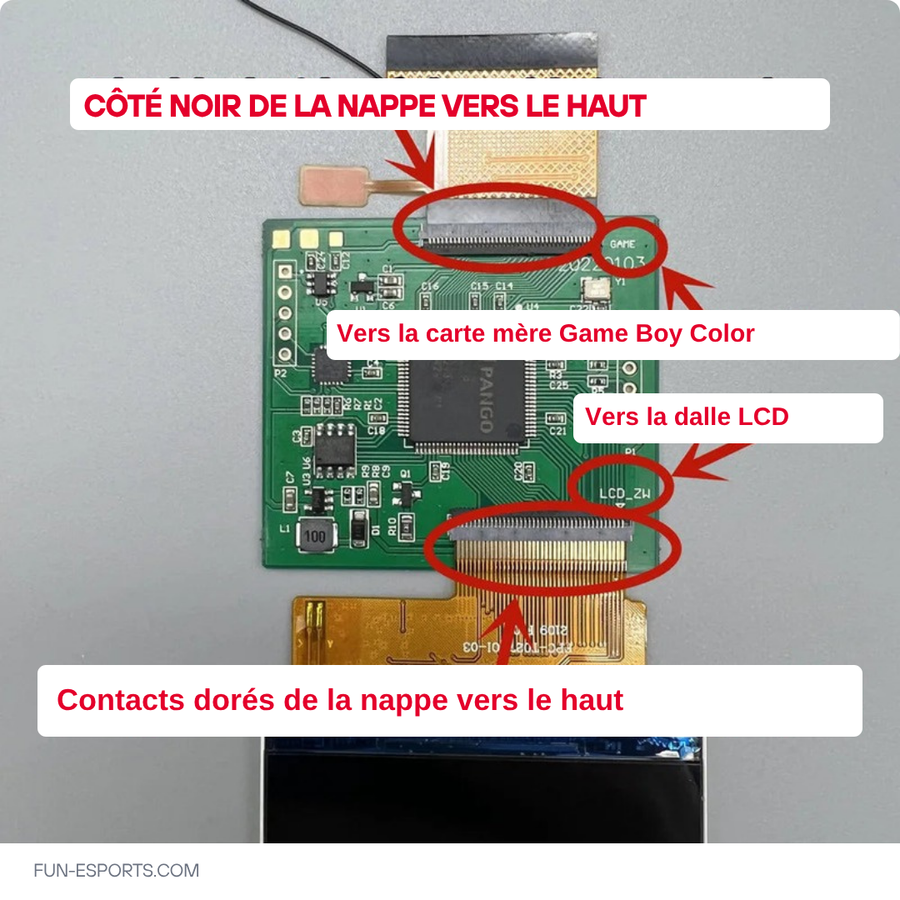
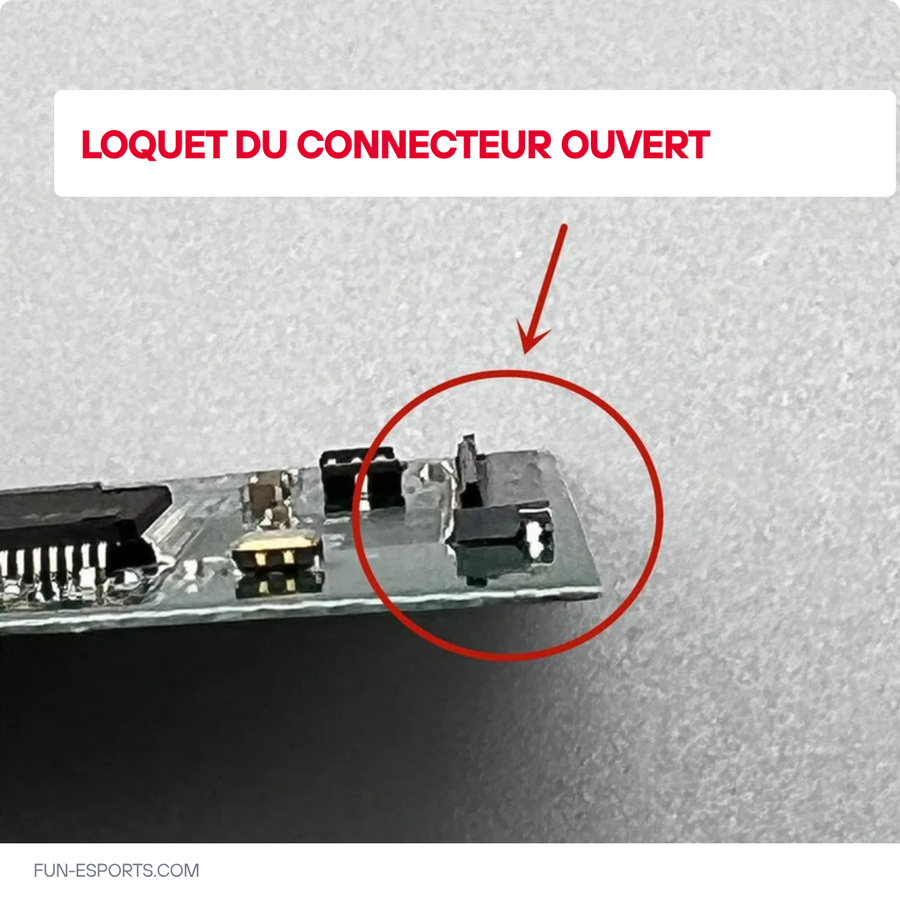
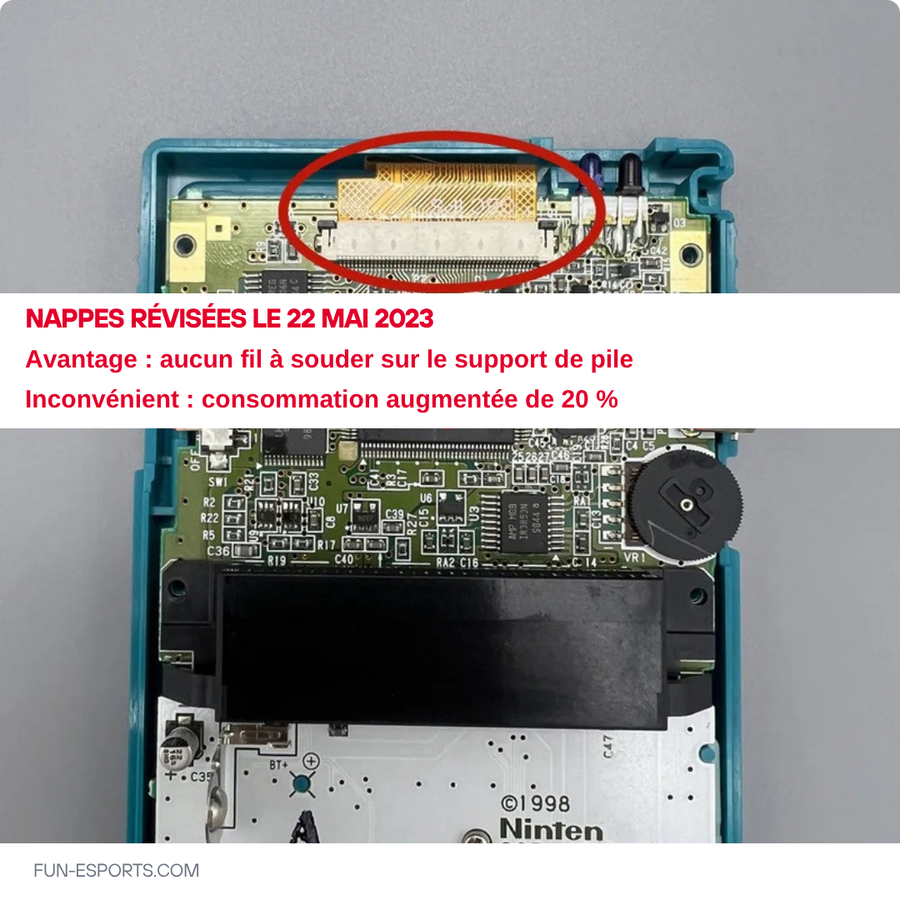
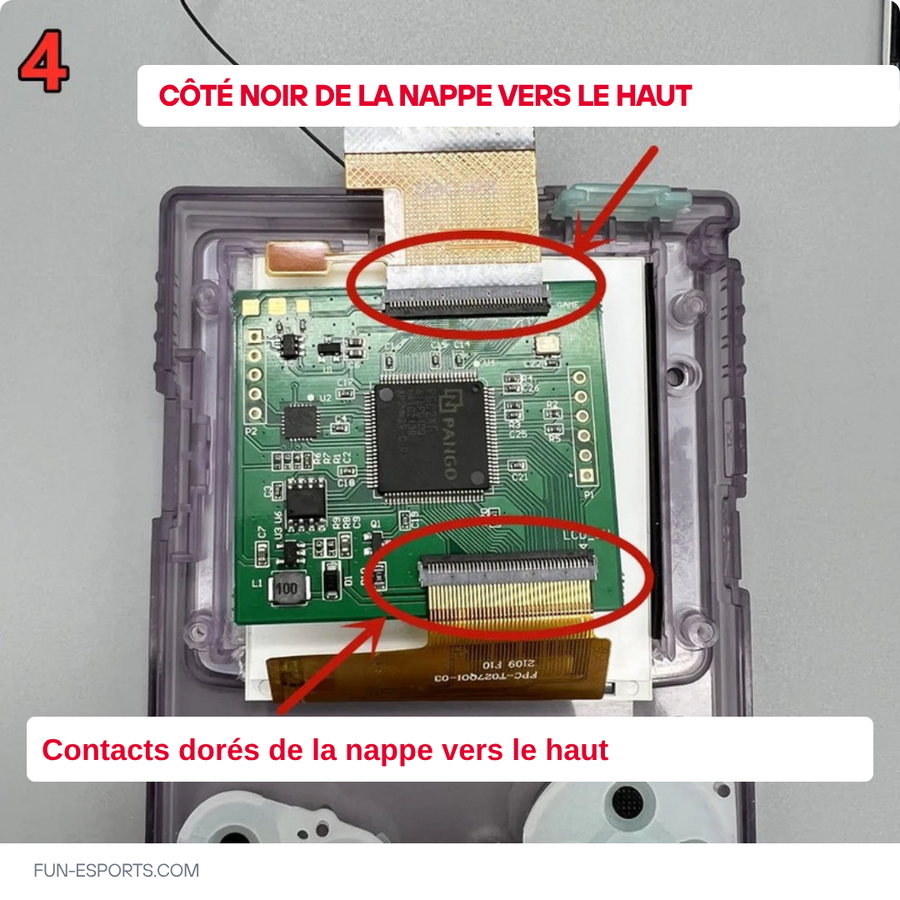
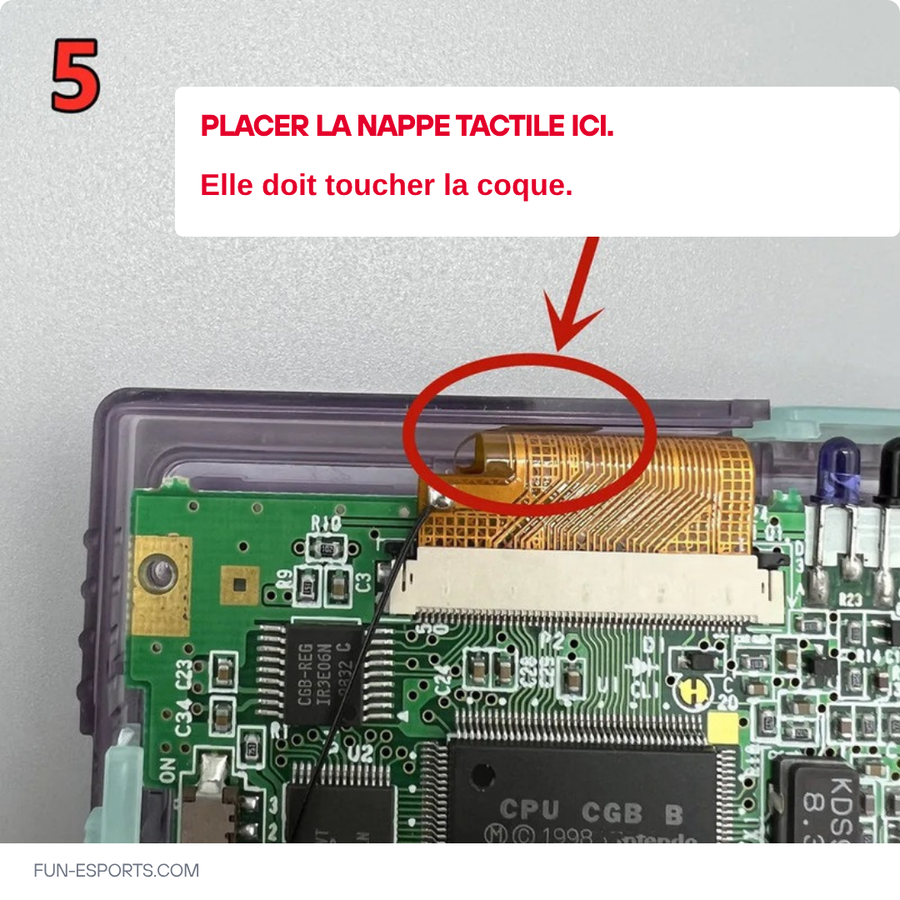
- Cannot be installed without opening the console: you need to remove the motherboard and the original screen, then reconnect the ribbon cable.
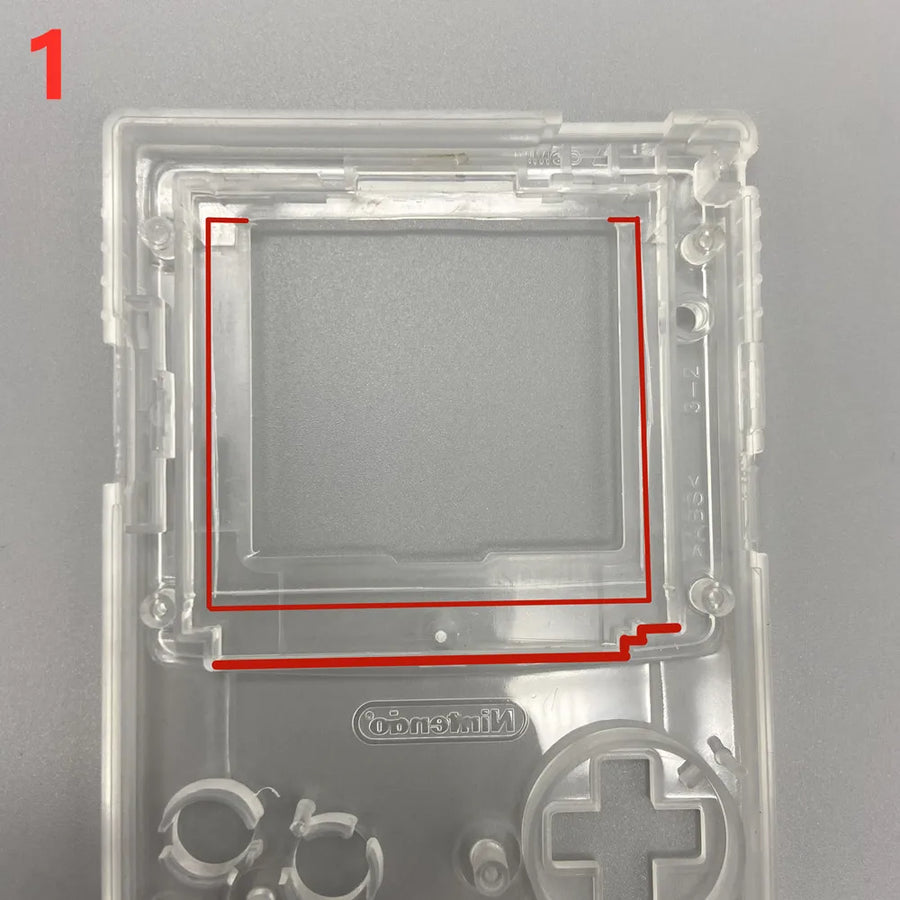
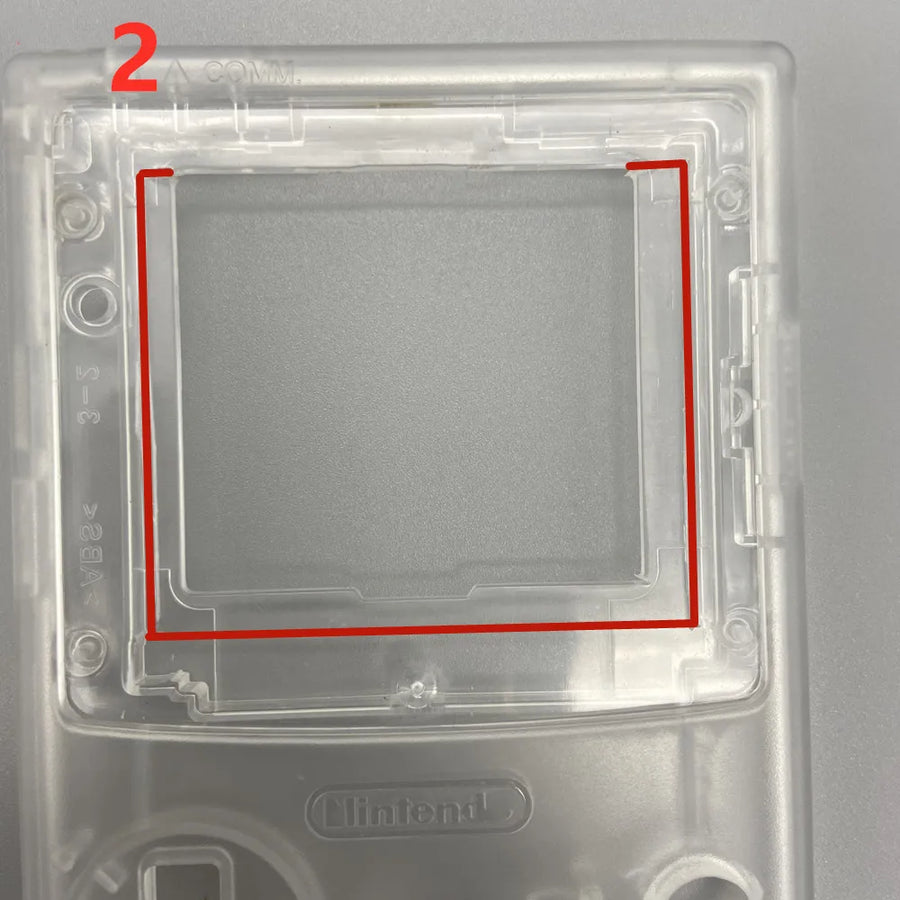
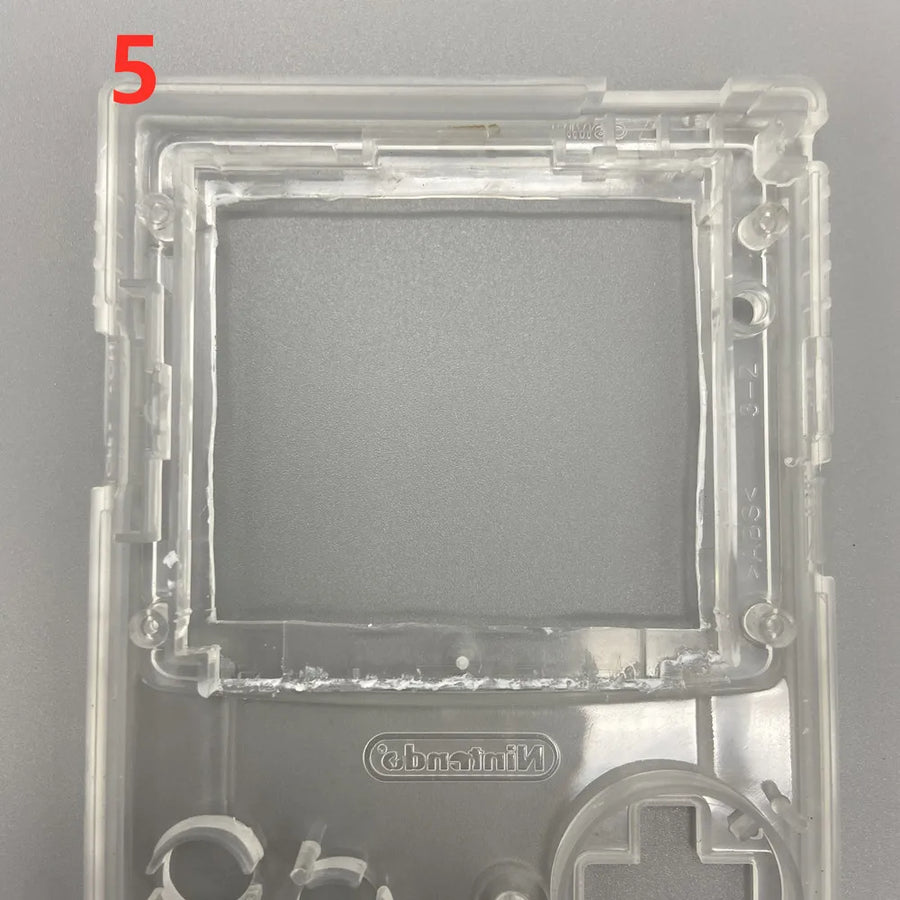
- Does not fit into an intact original shell: the 2.6-inch panel is larger than the console's, so the screen window must be trimmed — or the shell replaced with an IPS-ready model.
- Does not improve the resolution of games: the Game Boy Color displays 160 × 144 pixels; the screen makes them more readable, not sharper.
- Does not extend battery life: a backlit screen uses more power than the original reflective panel.
- Not suitable for any other machine: not the Game Boy DMG, the Game Boy Pocket or the Game Boy Advance.
Compatibility
Game Boy Color (model CGB) only. Not compatible with the original Game Boy (DMG), Game Boy Pocket, Game Boy Advance or Game Boy Advance SP: the panel format and pinout differ. The colour you choose corresponds to the protective lens supplied with the screen, with the "No logo" version supplied without any screen-printed marking — write to us before ordering if a specific colour is essential.
Skill level required
Intermediate level, about an hour. Opening with a tri-wing screwdriver (Y1), removing the original screen, connecting the supplied ribbon cable to the screen board. Then plan to adjust the shell's screen window: needle file, rotary burr or IPS-ready shell. Work with an anti-static wrist strap.
In the box
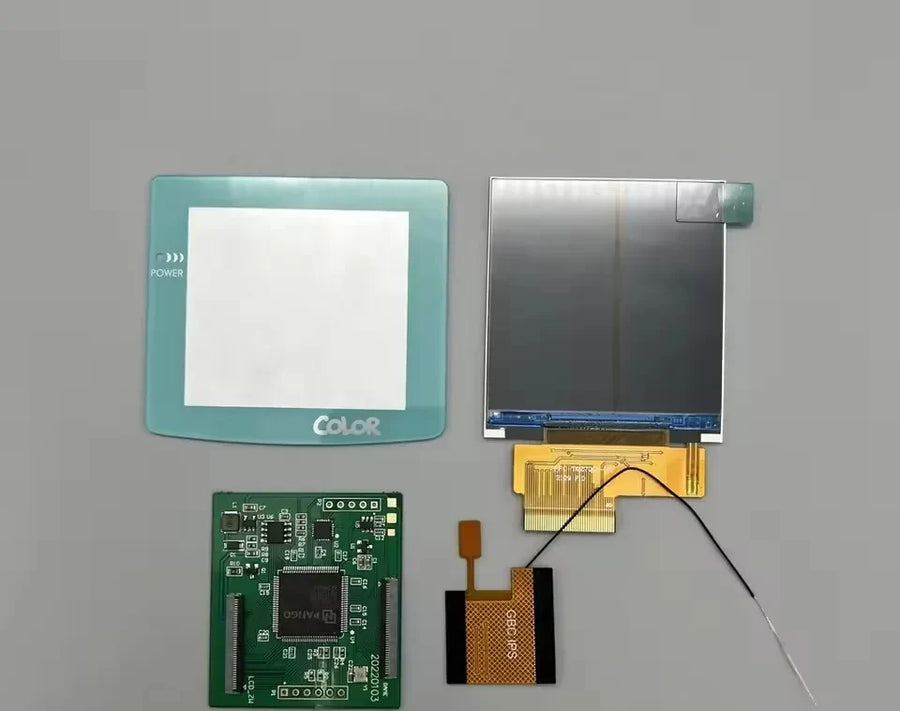
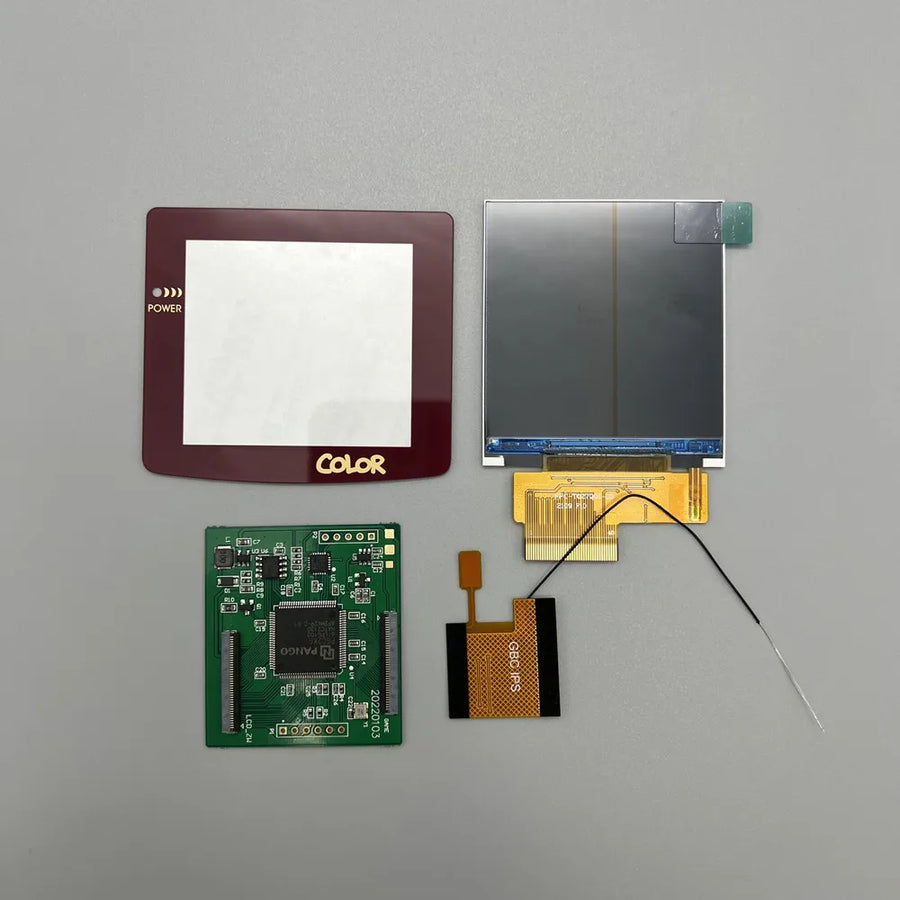
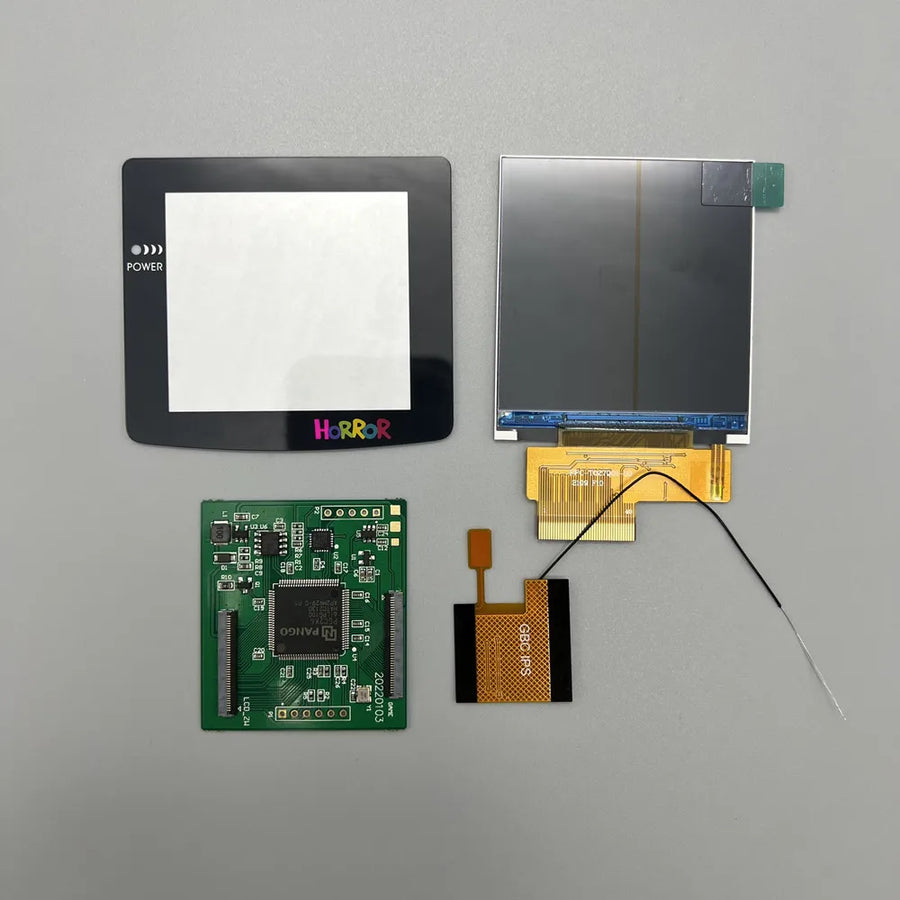
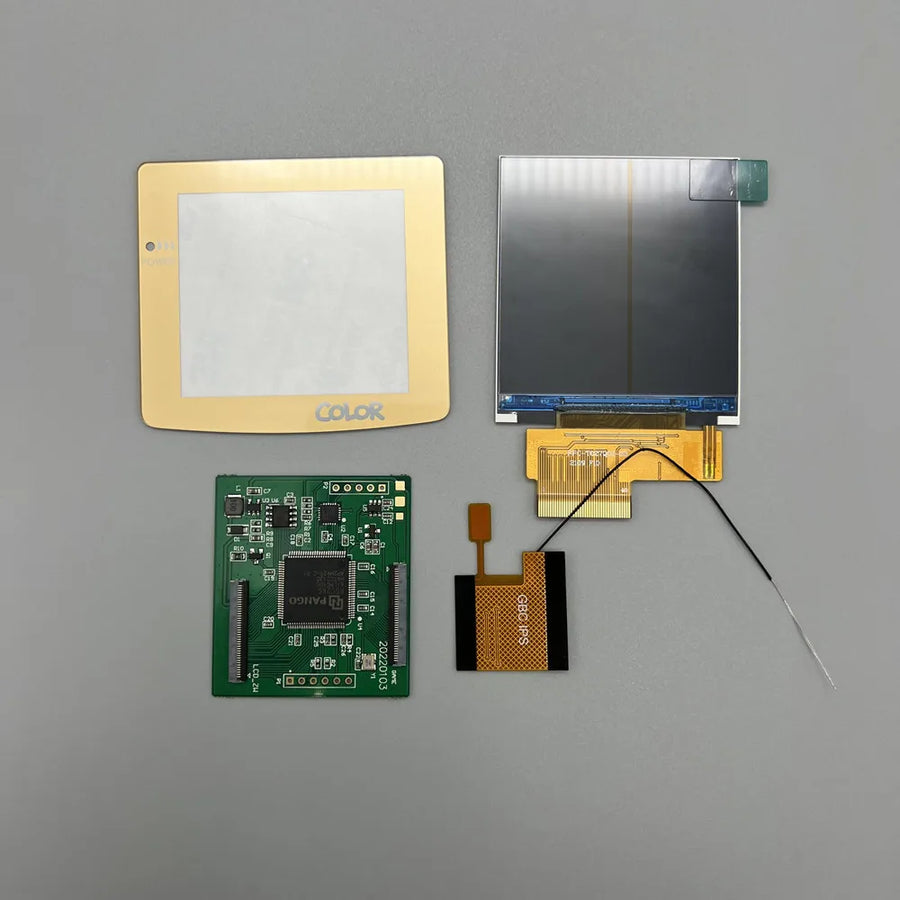
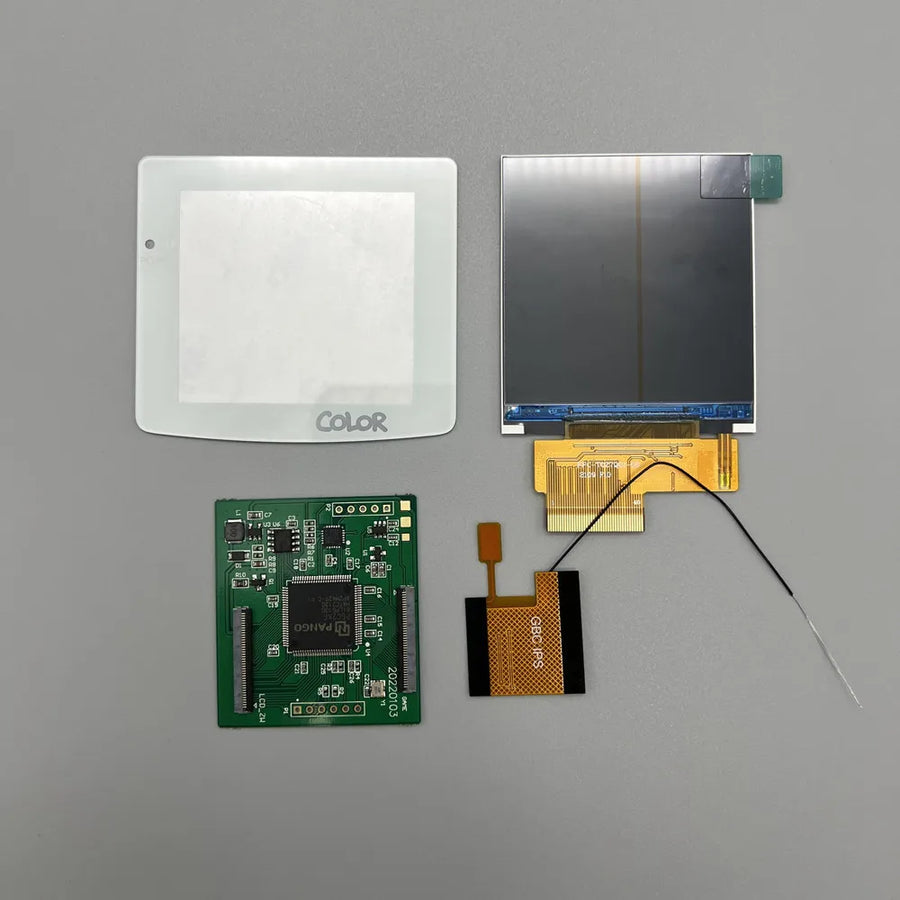
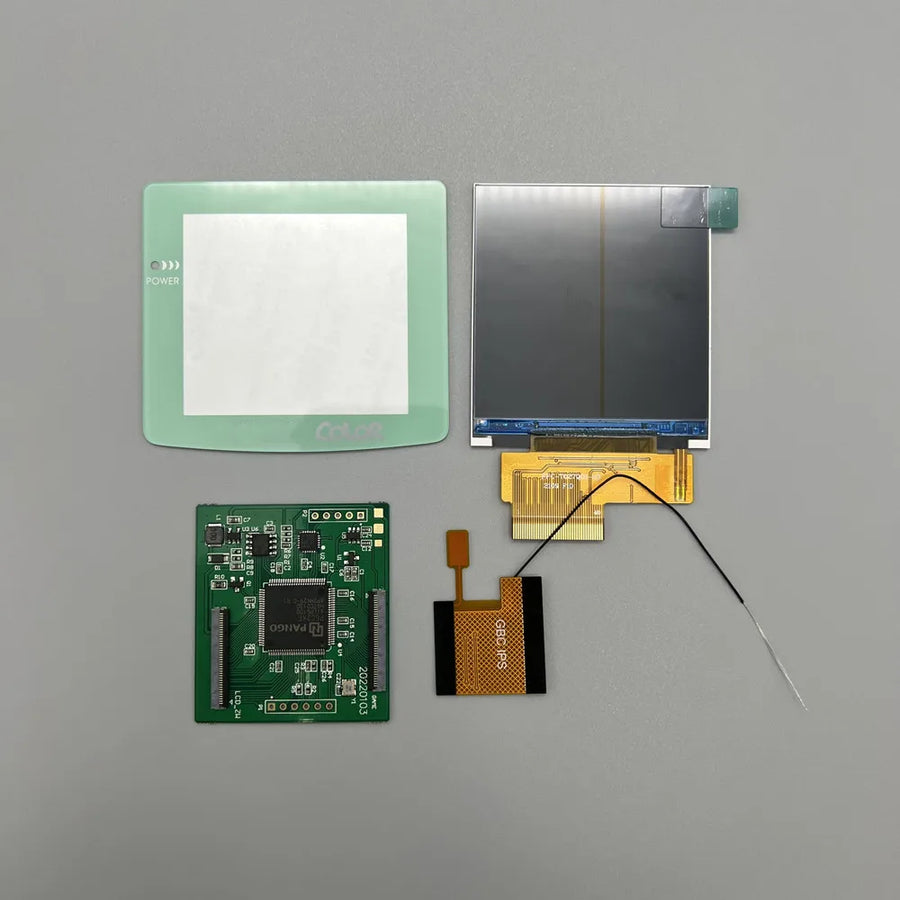
- 1 IPS screen, 2.6 inches, with its driver board
- 1 connection ribbon cable
- 1 protective lens in the chosen colour
Supplied without games or console, in compliance with the law.
Read before ordering: Retro Peripherals
Delivery in 10 to 18 days · ships within 3 to 5 days · 2-year legal guarantee · 14-day returns.
2.6-inch IPS screen for Game Boy Color — pixel grid mode
2.6-inch IPS panel for Game Boy Color: bright image, pixel grid mode, plan for shell trimming.
En stock
📦Ships within 3 to 5 business days · Delivery in 10 to 18 business days · 2-year legal guarantee · 14-day returns.
ℹÀ partir de 150 €, la livraison s’effectue en Point Relais.
- 🇫🇷SAV français
réponse sous 1 jour ouvré - 🛡Garantie légale
2 ans - ↩14 jours
pour changer d’avis - 🔒Paiement sécurisé
CB · PayPal · Klarna
The idea: making the screen readable
The 1998 Game Boy Color came out with a reflective panel and no backlight: you had to hunt for a window to make anything out. Twenty-five years later, the contrast has faded even further. Replacing this panel with an IPS screen transforms the machine completely: colours become vivid again, the image stays readable from any angle, and you can play the console in the evening without a desk lamp.
The part: 2.6 inches and pixel grid
This panel measures 2.6 inches diagonally, versus 2.3 inches originally: the image fills more of the window once the shell has been adjusted. It offers a pixel grid mode, which redraws the lines between the dots instead of delivering a smoothed image — a detail collectors look at first. Twelve protective lens colours are available, including a version without markings.
The limit: it's a mod, not an accessory
We'd rather say it before you buy: this screen does not go in in five minutes. The console has to be opened with a tri-wing screwdriver, the original screen removed, and the shell's window enlarged with a file or a burr — unless you opt for an IPS-ready shell. Allow an hour for a first installation, and a plan B if trimming the shell puts you off. Listing verified on 19 August 2026.
What this accessory brings
Verified manufacturer specifications · vérifié le
Ce qu’il fait bien
- High-brightness backlit IPS panel
- 2.6-inch diagonal, larger than the original screen
- Pixel grid mode for a period-accurate look
- Wide viewing angles and stable colours
- Twelve protective lens colours
Ce qu’il ne fait pas
- Trimming of the shell's screen window required, or an IPS-ready shell
- Console must be fully opened
- Compatible with Game Boy Color only: not DMG, Pocket or Advance
- Higher power consumption than the original reflective panel
- Does not increase the resolution of games (160 x 144 pixels)
- Exact kit contents to be confirmed with the manufacturer
Voir toute la fiche technique+
Matière et format
- Type d’accessoire
- IPS replacement screen
Compatible avec
- Game Boy Color
Dans la boîte
- 1 IPS screen, 2.6 inches, with its driver board
- 1 connection ribbon cable
- 1 protective lens in the chosen colour
Frequently Asked Questions
🔧 Do I need to solder to install this screen?
Installation relies on a ribbon cable to connect, not on wiring to solder. Depending on your motherboard revision and the kit you receive, a solder point may still be needed: check the manufacturer's instructions before you start.
🎮 Which consoles is it compatible with?
Game Boy Color (model CGB) only. Not the Game Boy DMG, Game Boy Pocket, Game Boy Advance or Game Boy Advance SP: the panel format and pinout are different.
✂️ Do I need to cut the shell?
Yes, in the vast majority of cases. The 2.6-inch panel is wider than the original window: you need to enlarge the opening with a file or rotary burr, or fit an IPS-ready shell that is already cut.
📦 What's in the box?
A 2.6-inch IPS screen with its driver board, a connection ribbon cable and a protective lens in the chosen colour. The exact contents are still to be confirmed with the manufacturer.
🧰 What tools do I need?
A Y1 tri-wing screwdriver to open the console, a Phillips screwdriver, a plastic spudger, a needle file or rotary burr for the screen window, and an anti-static wrist strap.
⏱️ How long does installation take?
About an hour for a first installation, including shell trimming. Disassembly and connection take around twenty minutes; adjusting the window takes the rest.
🚚 What are the delivery times?
Delivery in 10 to 18 days, ships within 3 to 5 days.
🛡️ Which guarantee applies?
2-year legal guarantee of conformity. 14-day returns. French customer service, reply within 1 business day.
Why buy here rather than on a marketplace
It is a fair question. Here is the answer, straight.
Every listing is checked before publication: real compatibility, material, dimensions, box contents. Many models never make it into the catalogue.
A question about compatibility, a fit problem, a return: you write, a human replies within 1 business day. In French.
The 2-year legal warranty of conformity is handled by us — not by a form on the other side of the world. And 14 days to change your mind, with no need to justify yourself.
We do not claim to be the cheapest. We claim that you will know exactly what you are buying before you pay.
Read this before choosing
Our guides to accessories: compatibility, protection, transport.

Pixel art: create your own designs for a Divoom display
Grid size, number of colours, outlines, animation: the guide to getting started in pixel art and displaying your own creations on a Divoom display.
2 min de lecture · publié le

Divoom pixel art speakers: which one should you choose?
Astrotoo, Ditoo-Pro, FlowToo, Tiivoo-2, Timebox-Evo, MiniToo, Fairy-OK: the seven Divoom speakers compared, by use and budget.
2 min de lecture · publié le

Times Frame or Times Frame Pure: which Divoom floating photo frame should you choose?
64 or 32 GB, three colours or just one, a dial or not: the real differences between the Times Frame and Times Frame Pure…
1 min de lecture · publié le