Description complète
Arcade stick wiring harness: connect the joystick and buttons without a soldering iron
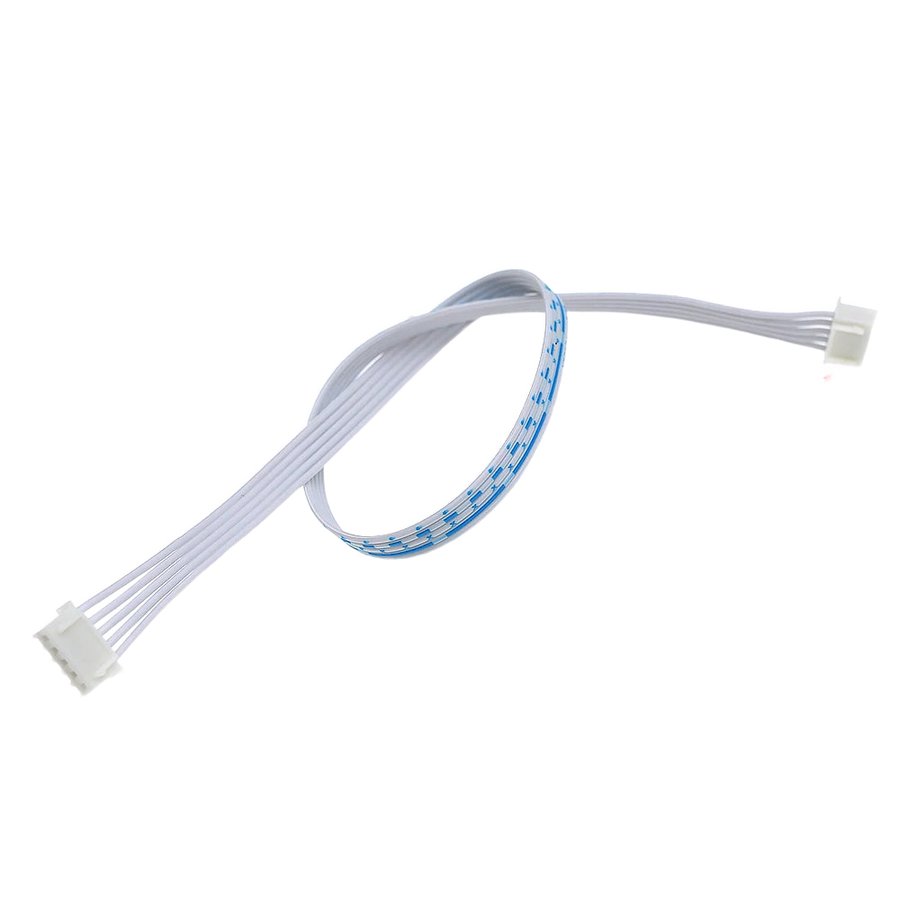
In an arcade cabinet, a bartop or a home-made stick, everything comes down to the wiring. This pre-crimped harness connects the joystick and buttons to a “zero delay” USB encoder board using 5-pin, XH2.54 and Dupont connectors: plug in, close the panel, and you can unplug everything later without damaging anything.
What it does
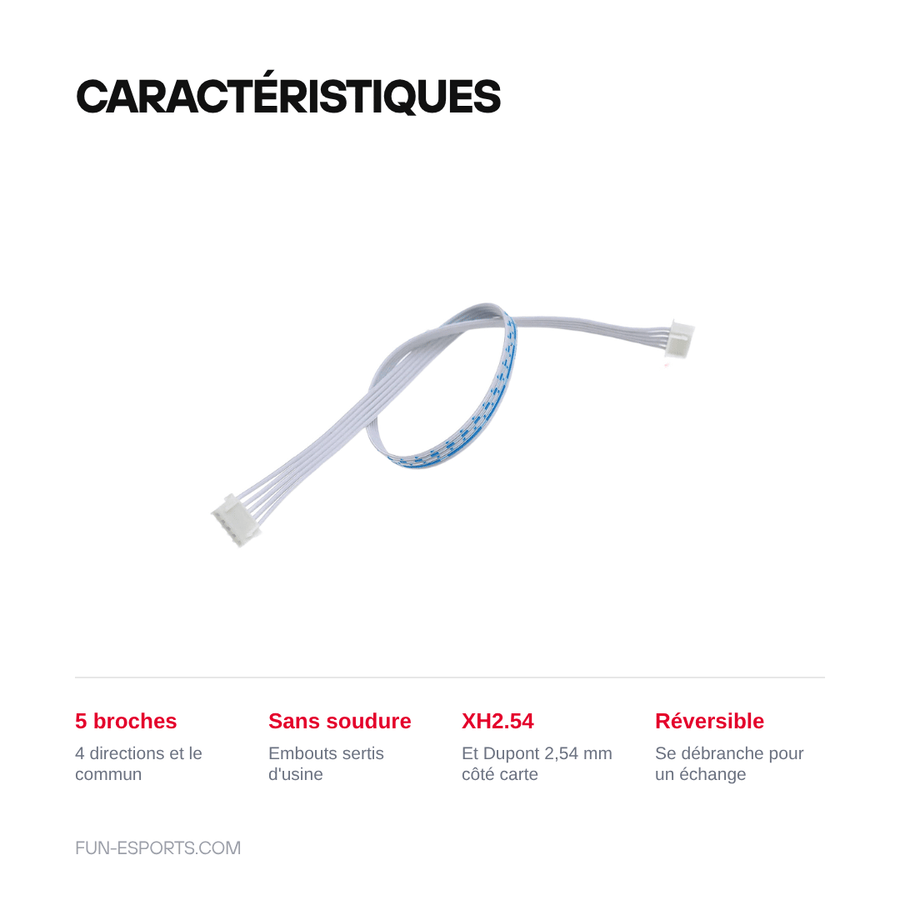
- 5-pin connector: matches the 5-point socket of common arcade joysticks — the four directions and the common on a single plug.
- No soldering: the terminals are factory-crimped, and on the board side you'll find XH2.54 and Dupont connectors that plug straight in.
- Reversible wiring: to replace a button, change joystick or move the panel, just disconnect — nothing to desolder.
What it doesn't do
- It's not a stick: no joystick, no buttons and no USB encoder board are supplied. You are buying wiring, nothing else.
- The supplier only distinguishes its versions by photo (“as picture 1 to 5”): length, number of wires and terminal type are not documented. Compare with the matching image before ordering.
- It does not connect a stick to a console through the controller port: the harness runs from the joystick to an encoder board, and the final interface remains the board's USB.
- Joysticks with a proprietary socket or a non-standard pinout are not covered.
Compatibility
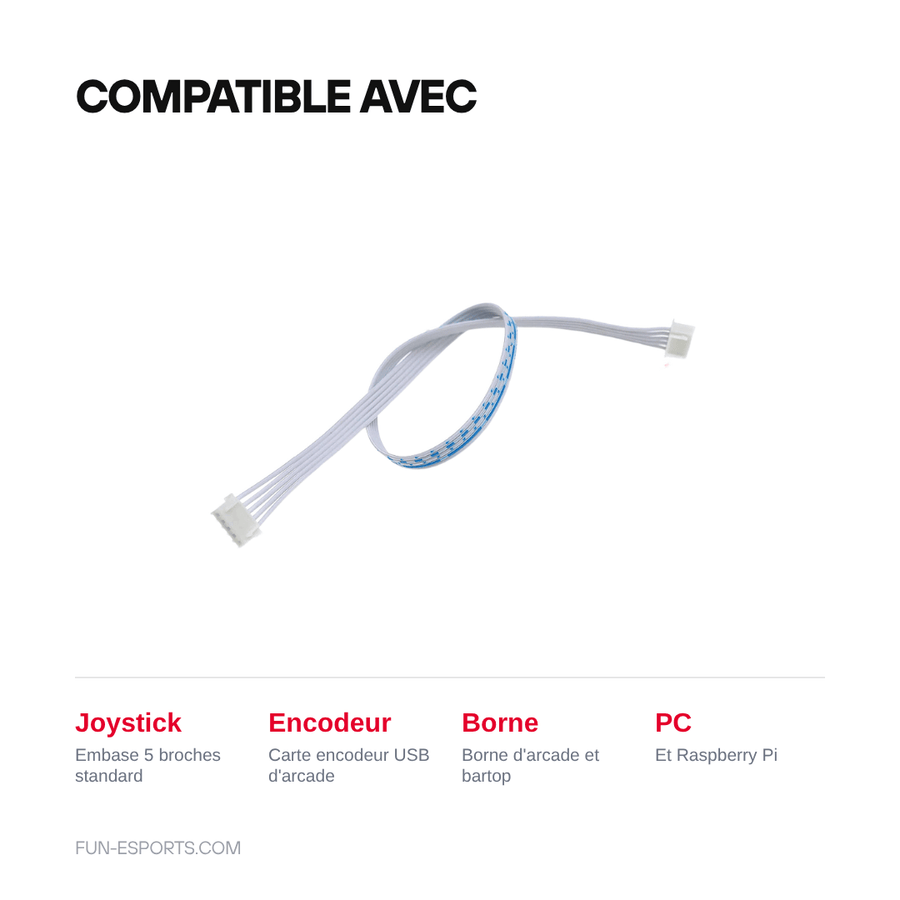
Designed for arcade joysticks with a 5-pin socket and for “zero delay” USB encoder boards fitted with XH2.54 terminal blocks or Dupont-pitch pin headers — the classic setup for an arcade cabinet, a bartop or a stick connected to a PC or a Raspberry Pi. Not covered: joysticks with a proprietary connector, 4-pin harnesses, and any direct connection to a console controller port.
Skill level required
Beginner, no soldering. You need to know how to open a panel, identify the common contact on your joystick and follow the wire order on the board: a mix-up is fixed by replugging, with no damage. A multimeter set to continuity helps identify the contacts on an unmarked joystick.
In the box
- 1 arcade stick wiring harness, in the chosen version.
Read before ordering: Retro peripherals
Listing checked on 19/08/2026. Delivery in 10 to 18 days · ships within 3 to 5 days · 2-year legal guarantee of conformity · 14-day returns.
Arcade stick wiring harness — 5-pin, XH2.54 and Dupont
Pre-crimped wiring to connect joystick and buttons to a USB encoder board, no soldering iron needed.
En stock
📦Ships within 3 to 5 business days · Delivery in 10 to 18 business days · 2-year legal guarantee of conformity · 14-day returns.
ℹÀ partir de 150 €, la livraison s’effectue en Point Relais.
- 🇫🇷SAV français
réponse sous 1 jour ouvré - 🛡Garantie légale
2 ans - ↩14 jours
pour changer d’avis - 🔒Paiement sécurisé
CB · PayPal · Klarna
The job: a panel that closes up without a soldering iron
Building an arcade stick rarely comes down to the joystick: it's the wiring that takes time and fails first. With a pre-crimped harness, you plug the joystick's 5-pin socket in on one side and the button connectors on the other, and the encoder board receives everything through its terminal blocks. The panel is closed up in an evening, and if a button gives up a few months down the line, it can be replaced without reopening the toolbox.
The part: 5-pin, XH2.54 and Dupont
Three connector formats coexist in an arcade cabinet. On the joystick side, the 5-pin socket groups the four directions and the common on a single plug. The XH2.54 is the locking terminal block found on most encoder boards. The Dupont, for its part, plugs onto a simple row of pins. This harness speaks all three languages, so you don't have to improvise connections with pliers.
What we tell you before you buy
We don't claim to have measured this harness: the listing was checked on 19/08/2026 against the manufacturer's information, and the manufacturer only documents its versions by photo. Length, number of wires and terminal type are therefore not guaranteed: look at the image of the chosen version before confirming. If you get it wrong, returns are still possible within 14 days and the 2-year legal guarantee of conformity applies. A question about the pinout? Reply within 1 business day.
What this accessory brings
Verified manufacturer specifications · vérifié le
Ce qu’il fait bien
- 5-pin connector: the 4 directions and the common on a single plug
- Factory-crimped terminals, no soldering
- XH2.54 and Dupont connectors on the encoder board side
- Reversible wiring: unplug to change a button
- Suits arcade cabinets, bartops and home-made sticks on PC or Raspberry Pi
Ce qu’il ne fait pas
- No joystick, buttons or encoder board supplied: wiring only
- Versions distinguished by photo only: length, number of wires and terminal type not documented [TO BE CHECKED]
- Does not connect a stick to a console through the controller port
- Does not cover joysticks with a proprietary socket or non-standard pinout
Voir toute la fiche technique+
Matière et format
- Type d’accessoire
- Arcade wiring harness
Compatible avec
- Arcade joystick with 5-pin socket
- Zero delay USB encoder board
- XH2.54 terminal block
- 2.54 mm Dupont connector
- Arcade cabinet and bartop
- PC
- Raspberry Pi
Dans la boîte
- 1 arcade stick wiring harness, in the chosen version
Frequently Asked Questions
🔌 Do I need to solder to install this harness?
No. The terminals are factory-crimped: the 5-pin connector plugs onto the joystick, the connectors slide onto the button contacts, and the XH2.54 or Dupont connectors plug into the encoder board.
🎮 Which joysticks does this 5-pin connector plug into?
Arcade joysticks with a 5-point socket, the most widespread standard in arcade cabinets and bartops. Joysticks with a proprietary connector or a non-standard pinout are not covered.
🧩 What do XH2.54 and Dupont mean?
They are two connector formats with a 2.54 mm pitch. The XH2.54 is a keyed terminal block, used on most USB encoder boards. The Dupont plugs onto a simple row of pins, without locking.
❓ What's the difference between the versions on offer?
The manufacturer only distinguishes them by photo (“as picture 1 to 5”): length, number of wires and terminal type are not documented. Compare the image of the chosen version before ordering.
🖥️ Can I connect my stick to a console with this cable?
Not directly. This harness runs from the joystick and buttons to an encoder board; it is then the board, over USB, that talks to the PC, the Raspberry Pi or a console that accepts USB.
📦 What's in the box?
One wiring harness, in the chosen version. No joystick, buttons or encoder board are supplied.
🚚 What are the delivery times?
Delivery in 10 to 18 days, ships within 3 to 5 days.
🛡️ What guarantee applies?
2-year legal guarantee of conformity. 14-day returns. French-speaking customer service, reply within 1 business day.
Why buy here rather than on a marketplace
It is a fair question. Here is the answer, straight.
Every listing is checked before publication: real compatibility, material, dimensions, box contents. Many models never make it into the catalogue.
A question about compatibility, a fit problem, a return: you write, a human replies within 1 business day. In French.
The 2-year legal warranty of conformity is handled by us — not by a form on the other side of the world. And 14 days to change your mind, with no need to justify yourself.
We do not claim to be the cheapest. We claim that you will know exactly what you are buying before you pay.
Read this before choosing
Our guides to accessories: compatibility, protection, transport.

Pixel art: create your own designs for a Divoom display
Grid size, number of colours, outlines, animation: the guide to getting started in pixel art and displaying your own creations on a Divoom display.
2 min de lecture · publié le

Divoom pixel art speakers: which one should you choose?
Astrotoo, Ditoo-Pro, FlowToo, Tiivoo-2, Timebox-Evo, MiniToo, Fairy-OK: the seven Divoom speakers compared, by use and budget.
2 min de lecture · publié le

Times Frame or Times Frame Pure: which Divoom floating photo frame should you choose?
64 or 32 GB, three colours or just one, a dial or not: the real differences between the Times Frame and Times Frame Pure…
1 min de lecture · publié le