Description complète
72-pin NES connector: cartridges that boot again
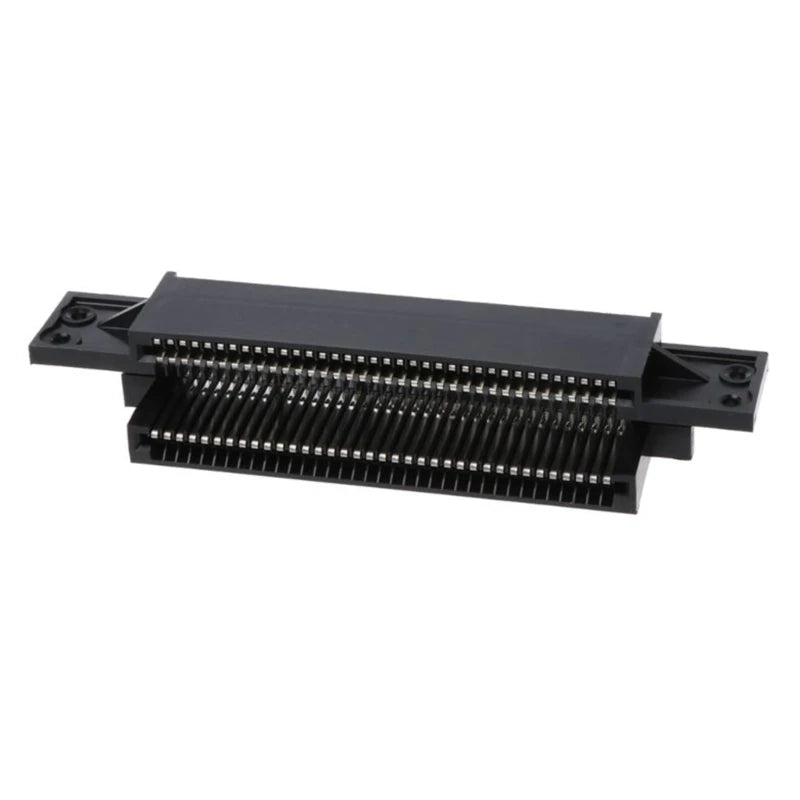
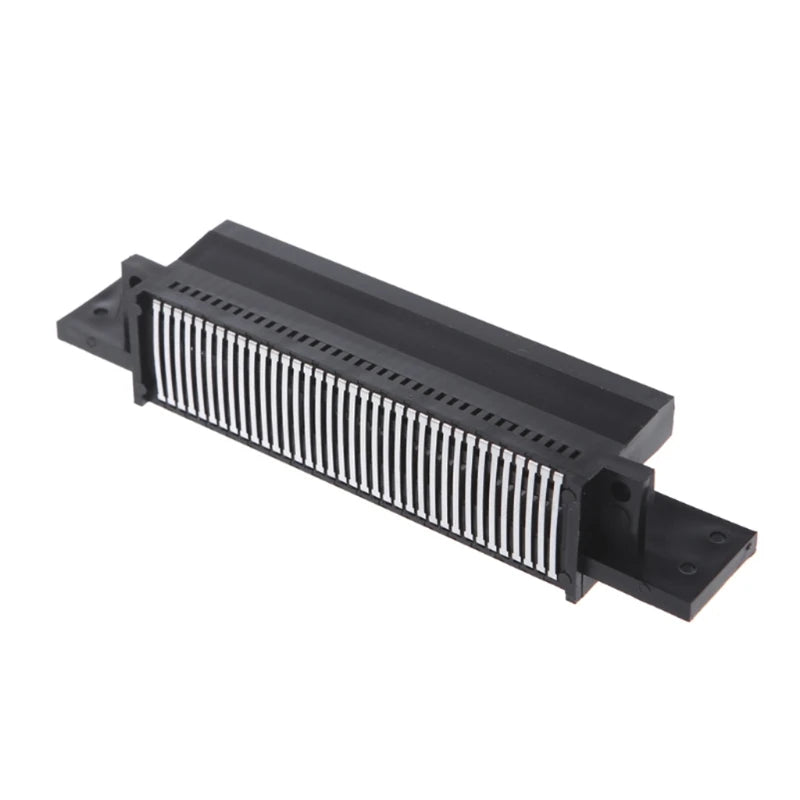
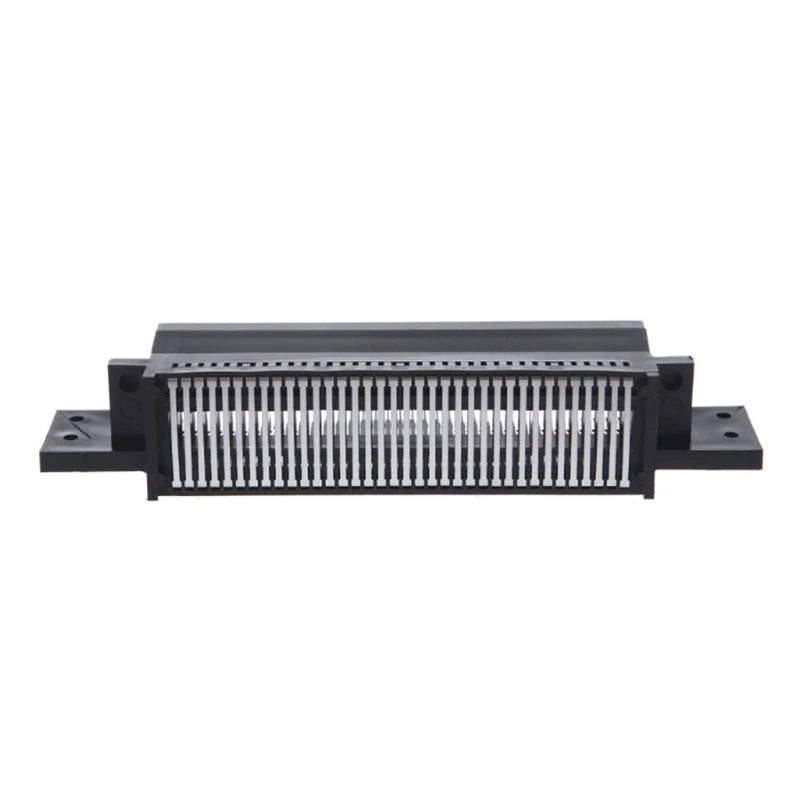
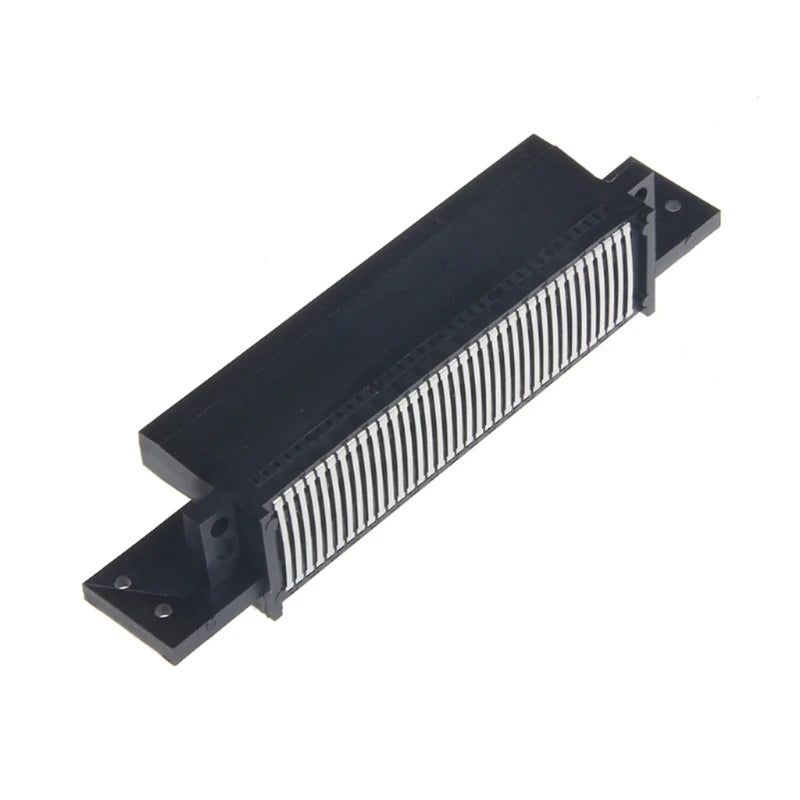
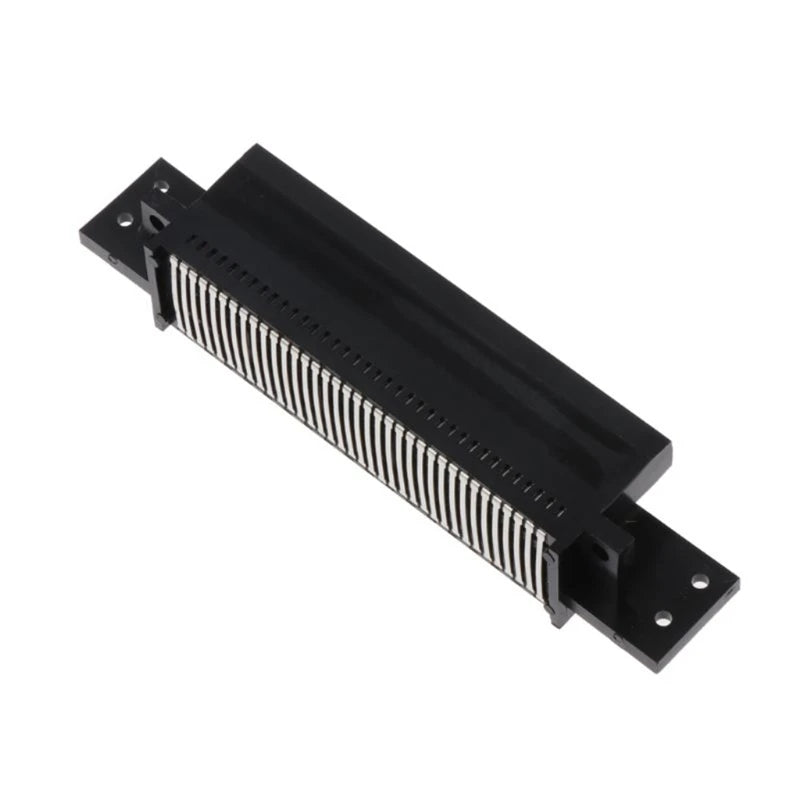
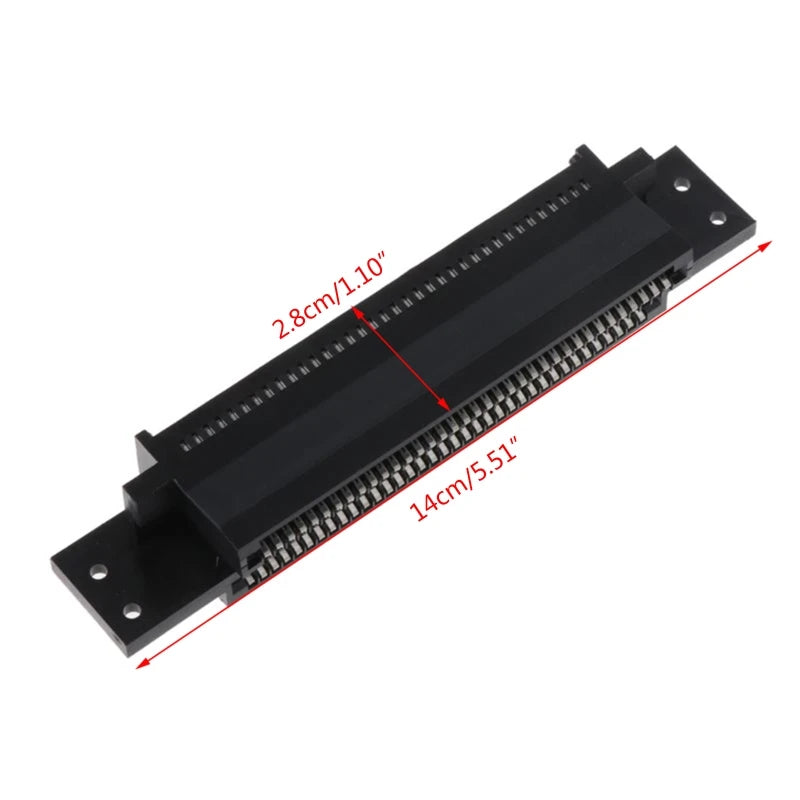
On a front-loading NES, the cartridge connector wears out and its contacts lose their grip over the years: the screen blinks or stays grey, and you have to wedge the cartridge to start a game. This replacement 72-pin connector takes the place of the old one without soldering: it slots onto the motherboard of the NES-001, just like the original part.
What it does
- Replaces the wear part: a new 72-pin connector in place of the one whose contacts are loose or oxidised.
- No soldering: it slots onto the edge of the motherboard, like the original connector.
- Booting restored: when the fault comes from the connector, the blinking screen and games that won't start are gone.
- 72-pin format: that of the front-loading NES (NES-001).
What it doesn't do
- It doesn't clean cartridges: dirty or oxidised cartridge contacts cause the same symptoms and are cleaned separately.
- It doesn't fix a power supply or motherboard fault: if the console doesn't switch on at all, the connector isn't the cause.
- It doesn't fit the Famicom, whose connector has 60 pins.
- It doesn't fit the "top loader" NES (NES-101), whose cartridge slot is different.
Compatibility
Front-loading NES (model NES-001). Not covered: the Famicom (60-pin connector) and the "top loader" NES (NES-101).
Skill level
No soldering. You need to open the console, which comes apart with a Phillips screwdriver (no tri-wing): remove the old connector from the edge of the motherboard, slot in the new one, then reassemble. Beginner to intermediate level.
In the box
- 1 72-pin cartridge connector for NES.
Delivered in 10 to 18 days · shipped within 3 to 5 days · 2-year legal guarantee of conformity · returns within 14 days.
72-pin cartridge connector for NES — solder-free replacement
The new connector that gets your NES cartridges booting again.
En stock
📦Shipped within 3 to 5 working days · Delivered in 10 to 18 working days · 2-year legal guarantee of conformity · returns within 14 days.
ℹÀ partir de 150 €, la livraison s’effectue en Point Relais.
- 🇫🇷SAV français
réponse sous 1 jour ouvré - 🛡Garantie légale
2 ans - ↩14 jours
pour changer d’avis - 🔒Paiement sécurisé
CB · PayPal · Klarna
The idea: put an end to the blinking screen
An NES that shows a grey or blinking screen, and has to be coaxed by wedging the cartridge, often suffers from a tired 72-pin connector. Open the console, remove the old connector from the motherboard, slot in the new one and close it up: cartridges start again.
The part: a new 72-pin connector
The original connector grips the cartridge between contact blades that loosen and oxidise with each insertion. This replacement part uses the same 72-pin format and fits the same way, by simply slotting it in, without touching a soldering iron.
Our support: diagnose before replacing
Before opening the console, clean the cartridge and try several: if they all fail, the connector is the prime suspect. Our Workshop section also offers screwdrivers for disassembly. Unsure about your console? Our customer service will reply within one working day.
What this accessory brings
Verified manufacturer specifications · vérifié le
Ce qu’il fait bien
- Replaces the worn connector
- No soldering, slots onto the motherboard
- 72-pin format of the NES-001
Ce qu’il ne fait pas
- Doesn't clean cartridges
- Famicom (60 pins) not covered
- Top loader NES (NES-101) not covered
Voir toute la fiche technique+
Matière et format
- Type d’accessoire
- Repair part
Compatible avec
- Front-loading NES (NES-001)
Dans la boîte
- 1 72-pin cartridge connector
Frequently Asked Questions
🔧 Do I need to solder to install this connector?
No. It slots onto the edge of the motherboard, like the original connector.
🎮 Which consoles is it compatible with?
With the front-loading NES (NES-001). The Famicom (60 pins) and the "top loader" NES (NES-101) are not covered.
📺 My screen blinks: is it necessarily the connector?
Not always. Dirty cartridge contacts cause the same symptoms: clean the cartridge and try several before concluding that the connector is to blame.
🧰 Which tools do I need?
A Phillips screwdriver to open the console. No tri-wing screwdriver, no soldering iron.
📦 What's in the box?
One 72-pin cartridge connector for NES.
⏱️ How long does installation take?
The replacement itself is quick: most of the time goes into opening and reassembling the console. Beginner to intermediate level.
🚚 What are the delivery times?
Delivered in 10 to 18 days, shipped within 3 to 5 days.
🛡️ Which guarantee applies?
2-year legal guarantee of conformity. Returns within 14 days. Our customer service replies within 1 working day.
Why buy here rather than on a marketplace
It is a fair question. Here is the answer, straight.
Every listing is checked before publication: real compatibility, material, dimensions, box contents. Many models never make it into the catalogue.
A question about compatibility, a fit problem, a return: you write, a human replies within 1 business day. In French.
The 2-year legal warranty of conformity is handled by us — not by a form on the other side of the world. And 14 days to change your mind, with no need to justify yourself.
We do not claim to be the cheapest. We claim that you will know exactly what you are buying before you pay.
Read this before choosing
Our guides to accessories: compatibility, protection, transport.

Pixel art: create your own designs for a Divoom display
Grid size, number of colours, outlines, animation: the guide to getting started in pixel art and displaying your own creations on a Divoom display.
2 min de lecture · publié le

Divoom pixel art speakers: which one should you choose?
Astrotoo, Ditoo-Pro, FlowToo, Tiivoo-2, Timebox-Evo, MiniToo, Fairy-OK: the seven Divoom speakers compared, by use and budget.
2 min de lecture · publié le

Times Frame or Times Frame Pure: which Divoom floating photo frame should you choose?
64 or 32 GB, three colours or just one, a dial or not: the real differences between the Times Frame and Times Frame Pure…
1 min de lecture · publié le