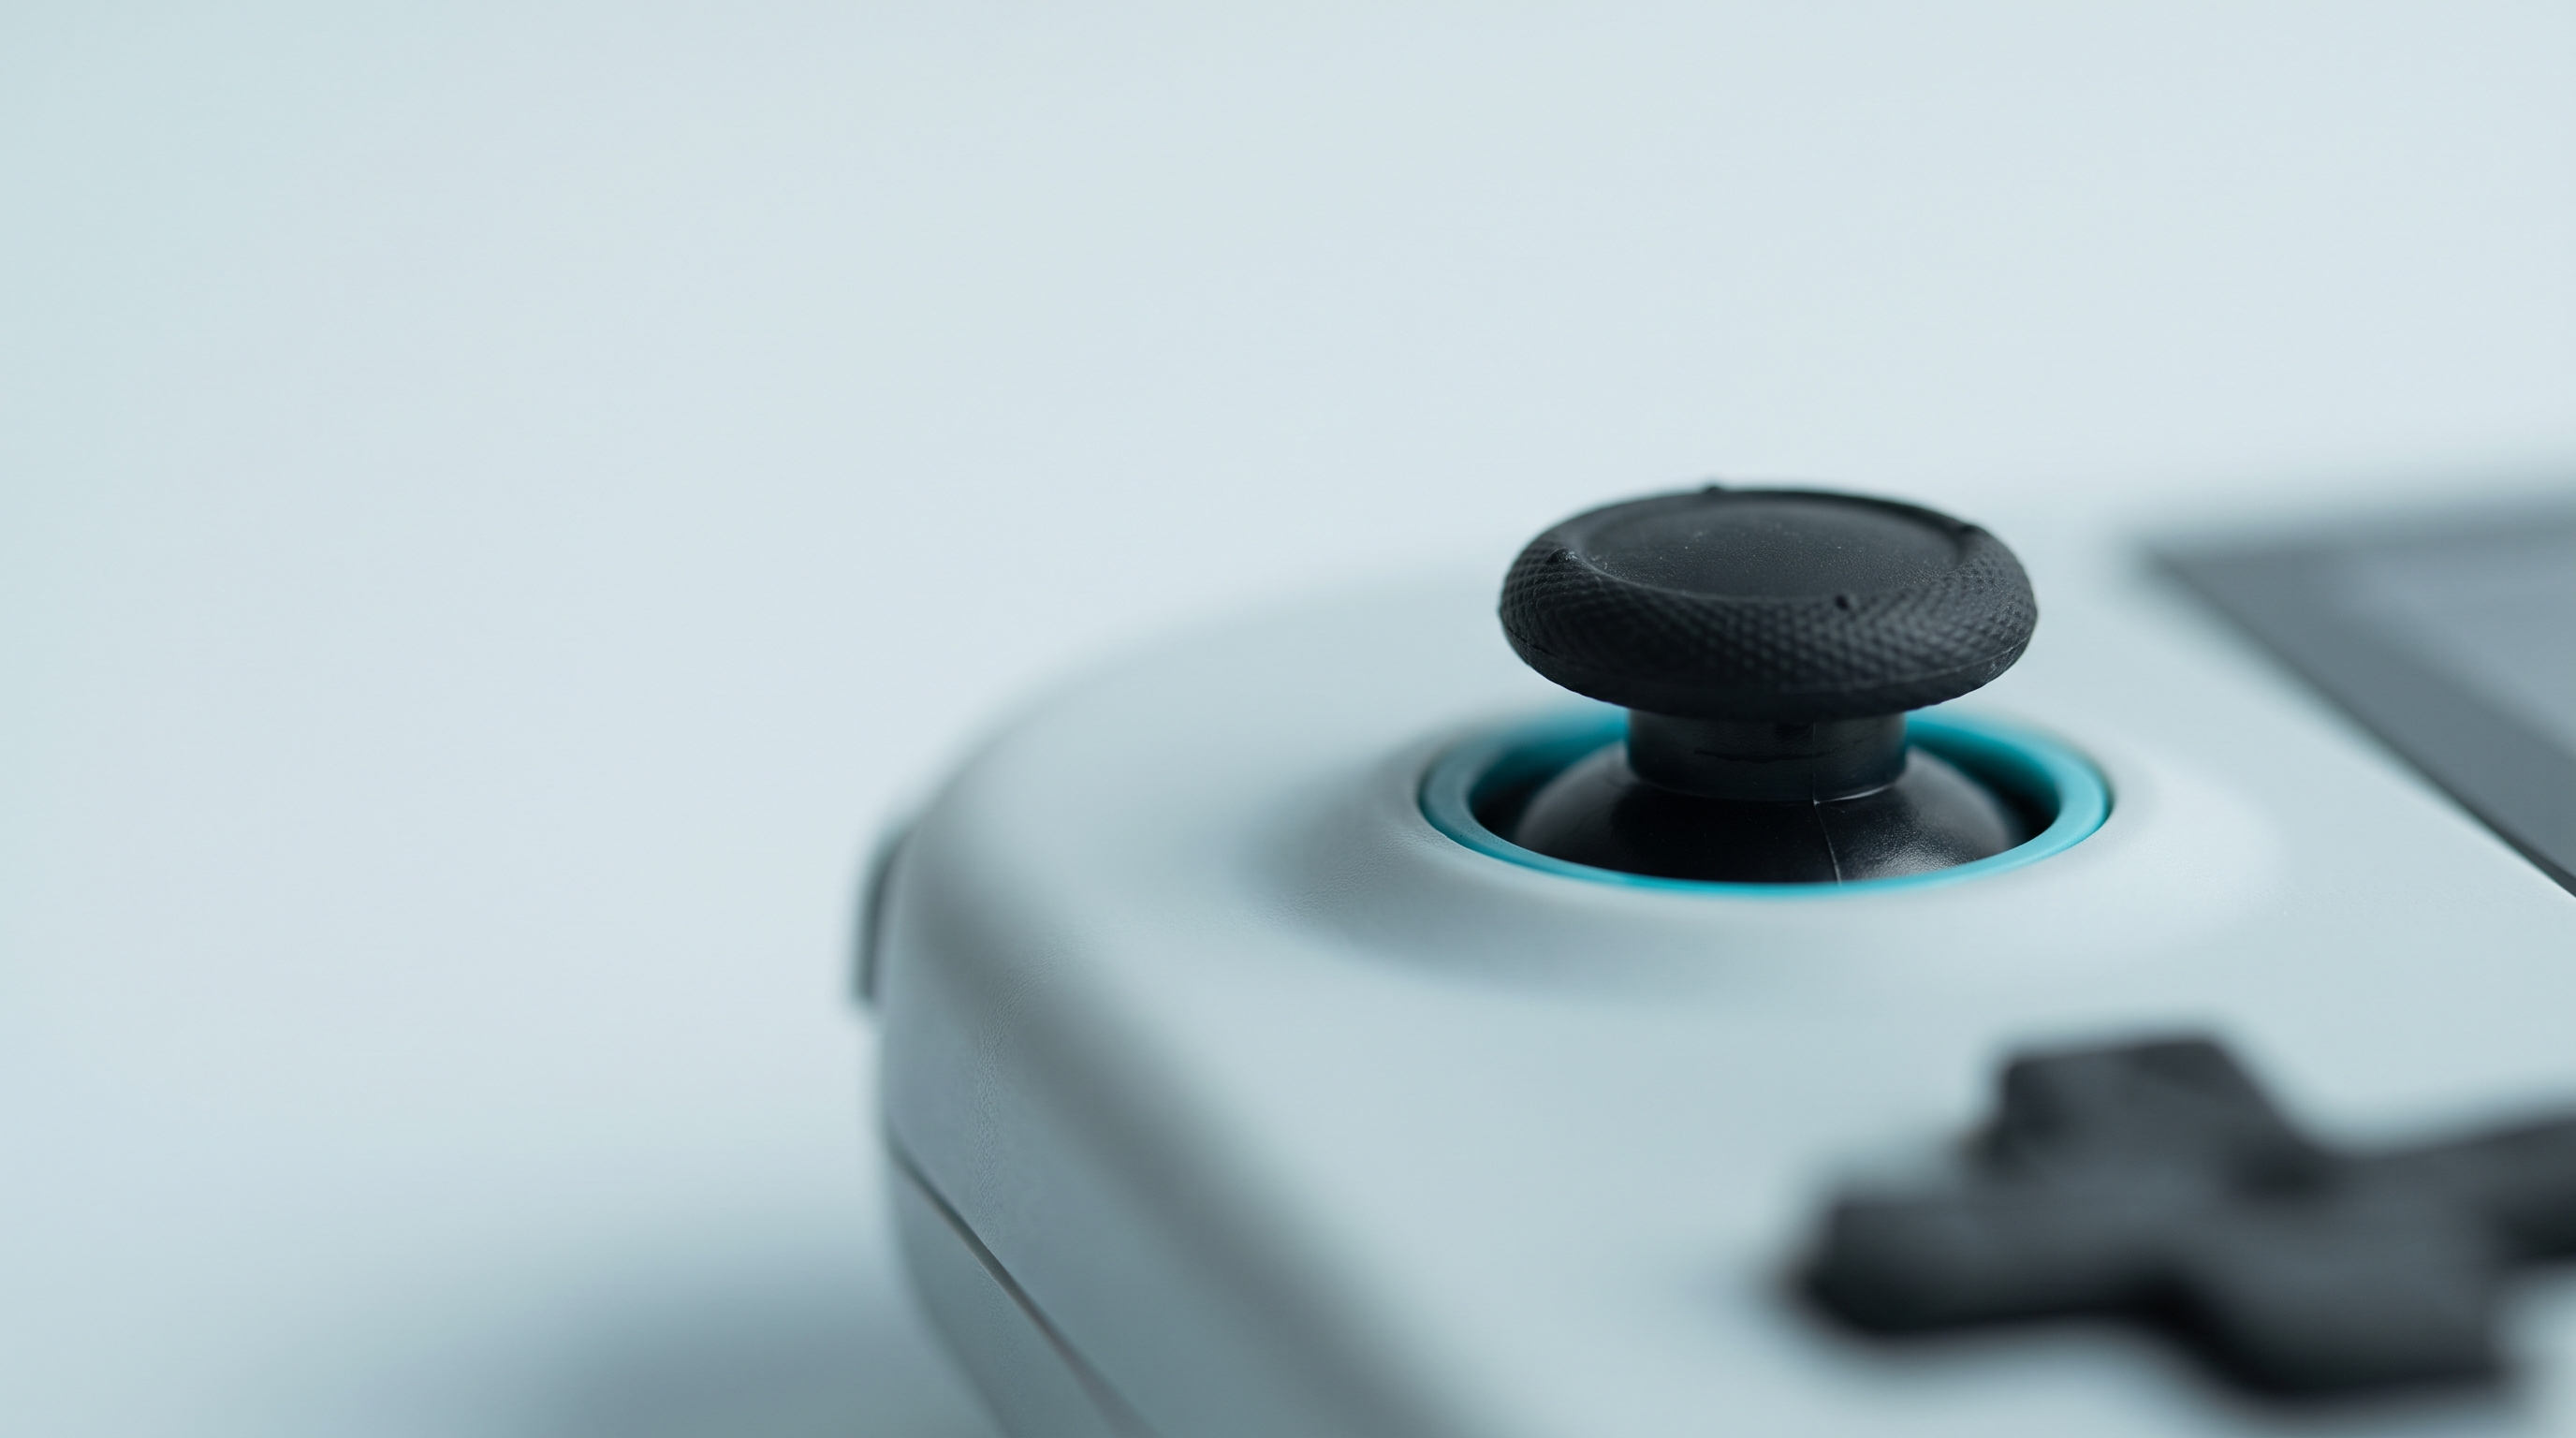
Your character walks off by itself. You let go of the stick, the cursor keeps sliding to the left, the menu scrolls without you touching anything. That's drift, and there is nothing mysterious about it: an analogue stick never sends a true zero, it sends a value that the console reads as rest. When that value moves — because the part has aged, because dust has worked its way in, or because the machine has memorised a bad centre — the console believes you moved on purpose. The good news is that half of all cases are solved in two minutes, without taking anything apart. The bad news is that the other half calls for a screwdriver.
What drifts, and why
A classic stick relies on two potentiometers, one per axis. Each one is a small resistive track with a metal wiper rubbing along it. You push the stick, the wiper moves along the track, the resistance changes, the electronics turn that into a digital value. Everything therefore rests on a mechanical contact, and a mechanical contact wears out.
Track wear. With repeated rubbing, the conductive coating gets scratched and thins out. At the rest position, where the wiper passes most often, the reading becomes noisy: it wobbles around the centre instead of holding there. This is the most common cause on a machine that has seen a lot of use, and the only one that is genuinely irreversible.
Dust and residue. A stick is not sealed. Pocket dust, finger grease, crumbs: it all ends up settling between the wiper and the track, and the contact becomes irregular. This case often responds very well, and it is the one to hope for.
Lost calibration. Nothing is broken, but the reference is wrong. A console memorises the neutral position of its sticks; if that value was recorded with the stick slightly pushed, or if an update reset the data, the machine starts from an off-centre reference.
Hardware or software: how to test
Before ordering a part, narrow down the problem. The order matters: each step rules out one hypothesis.
Leave the game
Test first in the system menu, outside of any emulator. If the menu cursor drifts as well, the problem sits below emulation: hardware, driver or calibration. If it only drifts in one particular game, the stick is probably not to blame.
Open an input tester
Most firmwares and settings apps include a test screen showing the raw position of the sticks, often as a crosshair or as numeric values. This is the decisive tool. The name and location of that screen change from one firmware to another — check the firmware compatibility table to identify yours. What you are looking for, with the stick released:
- A stable value that sits off-centre: calibration needs redoing.
- A value constantly jumping in every direction: dirty contact or worn track.
- A value perfectly centred while the game drifts: the problem lies in the game or the emulator.
Swap controllers
Connect an external controller, over USB or Bluetooth. If the drift disappears, the internal stick is to blame. If it stays exactly the same, look at the emulator configuration. Our article on the most common causes of malfunction covers this cross-check.
| Symptom | Most likely cause | First action |
|---|---|---|
| Drift in the system menu and in games | Hardware or calibration | Recalibrate, then clean |
| Drift in a single emulator | Configuration or dead zone | Adjust the emulator's dead zone |
| Drift that appeared after an update | Calibration reset | Recalibrate |
| Values jumping at rest | Fouled contact or worn track | Clean, then replace if it comes back |
| The stick only responds in one direction | Ribbon cable or solder joint | Don't push it, contact customer service |
The fixes, from lightest to heaviest
1. Recalibrate
It's free, reversible and risk-free: start here. The system asks you to leave the sticks at rest, then to draw full circles, and it records the centre and the extreme values. Two conditions: don't touch the sticks during the rest phase, and lay the console flat rather than holding it in your hands.
The menu entry goes by different names depending on the firmware and the manufacturer, and some lightweight Linux builds don't expose it at all — check on your own version.
2. Adjust the dead zone
The dead zone is the radius around the centre within which movement is ignored. Widening it masks a small drift: an effective sticking plaster, but a sticking plaster. You lose precision on micro-movements, especially in shooters and racing games. Increase it in small steps until the drift stops, no further. In RetroArch, this setting sits with the other input parameters; we go through that screen in our guide to essential RetroArch settings. Many Android emulators expose their own value, independent of the system one.
3. Clean
If the tester shows values jumping around, there is material where there shouldn't be any. In order:
- Blow dry air around the base of the stick, cap removed, tilting the stick in each direction to clear the gaps.
- If that isn't enough, use an electronic contact cleaner, in aerosol form, that evaporates completely — the kind of product sold for potentiometers and connectors. One very short spray at the base of the stick, then twenty to thirty full rotations to spread the product, then air drying before switching back on.
A successful clean sometimes lasts months, sometimes a few weeks. If you have to keep starting over, the track is worn.
4. Replace the module
A stick module is an inexpensive spare part. Retroid, for example, sells a Hall effect module for its Pocket 4, 4 Pro, 5 and Mini at around $9.90 on its official store, shipping and taxes not included. Every manufacturer has its own part numbers, and they are not interchangeable between brands.
Hall effect and TMR: why these sticks don't drift
A Hall effect stick relies on no rubbing contact at all. A magnet is fixed to the shaft, and sensors measure the change in the magnetic field as it moves. Nothing touches, so nothing wears at the rest position, and dust doesn't disturb the reading. TMR technology, which is more recent, rests on the same magnetic principle with tunnel magnetoresistance sensors: finer sensitivity and lower power draw, again with no contact.
Two honest caveats. First, "contactless" doesn't mean "everlasting": the gimbal mechanics, the return springs and the cap still wear, and a sensor poorly calibrated at the factory can give an off-centre value that needs correcting through calibration. Second, a Hall sensor on the triggers says nothing about the sticks: several machines advertise Hall triggers with sticks built on a different technology.
What manufacturers actually state
Here is what the manufacturers' official spec sheets say, for the models we sell. We have only reproduced what is written in black and white.
| Machine | What the manufacturer states |
|---|---|
| Retroid Pocket 6, Pocket 5, Pocket 4 and 4 Pro, Flip 2 | "3D hall sticks" — Hall effect sticks |
| Anbernic RG 477M, RG 477V, RG406V | "Large-angle 3D Hall joystick" — Hall effect sticks |
| Anbernic RG556 | Hall effect stick and Hall triggers |
| Anbernic RG557 | Capacitive stick resistant to magnetic interference, Hall triggers |
| AYN Thor | "Hall Sticks" — Hall effect sticks |
| Anbernic Linux H700 (RG35XX H, RG40XX H, RG CubeXX…) | No mention of Hall effect: classic sticks |
| Retroid Pocket Classic | No analogue stick mentioned on the spec sheet |
Two conclusions. Recent Android consoles from Anbernic, Retroid and AYN are overwhelmingly Hall, while the small H700-powered Linux handhelds keep classic sticks — when they have any. And to date, no console in our catalogue advertises TMR sticks: that technology is appearing first on controllers, such as the 8BitDo Ultimate 2, which claims them explicitly. For models missing from this table, check the product page or go through the comparison tool rather than trusting a brand habit: Anbernic has mixed technologies from one generation to the next.
Changing a module: what it really takes
The difficulty comes down to a single point: is the module plugged into a connector, or soldered to the motherboard?
Plugged in, the job is within reach of anyone careful: remove the shell screws, open without forcing using plastic picks, disconnect the battery cable first, release the stick connector, fit the new module, close it back up, recalibrate. Allow a good half-hour without rushing. Soldered, you have to desolder several points on a double-sided board, often close to sensitive components: this is not a first soldering experience.
The minimum toolkit: a precision screwdriver with suitable bits, plastic opening picks, tweezers, an antistatic mat, and something to keep the screws sorted by group. Photograph every step of the teardown, you'll save a considerable amount of time on reassembly.
The guarantee comes before the screwdriver
Opening a console that is still under guarantee almost always means giving up that guarantee. A stick that drifts in the first few weeks is not normal wear: it's a defect, and it's up to the seller to handle it.
Our machines are covered for two years and our customer service is based in France. Describe the symptom, say whether it appears in the system menu or only in games, tell us what you have already tried on the software side, and attach a short video of the input tester if you have one. Recalibration and the dead zone are no problem at all, they are software operations; taking the machine apart, however, should wait for our reply. Once the guarantee is over, or on a second-hand machine, you are free: replacing a module is a routine repair.
Can drift go away on its own?
Yes, in one case: when it comes from an off-centre calibration or from a speck of dust that eventually shifts. Drift caused by a worn track, on the other hand, never sorts itself out and slowly gets worse. If the problem comes and goes from day to day, think about cleaning first.
Is widening the dead zone a real solution?
It's a comfort solution, not a repair. It makes the machine playable again straight away and costs nothing, but it sacrifices precision on small movements and does nothing to slow the wear. Use it as a stopgap while you order the part.
Can a Hall effect stick still drift?
The measurement itself doesn't wear out, so the classic cause disappears. A Hall stick can, however, show an off-centre reading because the calibration needs redoing, or suffer mechanical wear on the gimbal and the springs. Start with a recalibration before concluding that it has failed.
Can I fit a Hall module to a console that doesn't have one?
Sometimes, and only if a compatible module exists for that specific model: the connector, the footprint and the value range have to match. There is no universal part. Check the part number with the manufacturer or ask us before buying anything.
Which product should I use to clean a stick?
Dry air first, then an electronic contact cleaner that evaporates completely, applied very briefly at the base of the stick. No penetrating oil, no lubricant, no household product. Turn the stick around twenty times after applying it, then let it dry before switching the console back on.
My stick only drifts in one emulator, what should I do?
The hardware is probably not at fault. Look at the input configuration of that emulator in particular: its own dead zone, a sensitivity pushed too high, or a wrong axis mapping. A controller profile imported from another machine very often produces exactly this symptom.
Where to start
Test in the system menu, recalibrate, adjust the dead zone so you can play again straight away, clean if the values jump, and only get the screwdriver out after checking your guarantee. That order settles the vast majority of cases without spending a cent. If your machine is still covered, write to us through the contact page before opening anything. If it isn't, the modules, the teardown tools and the refurbishment parts are all gathered in our workshop and modding section.