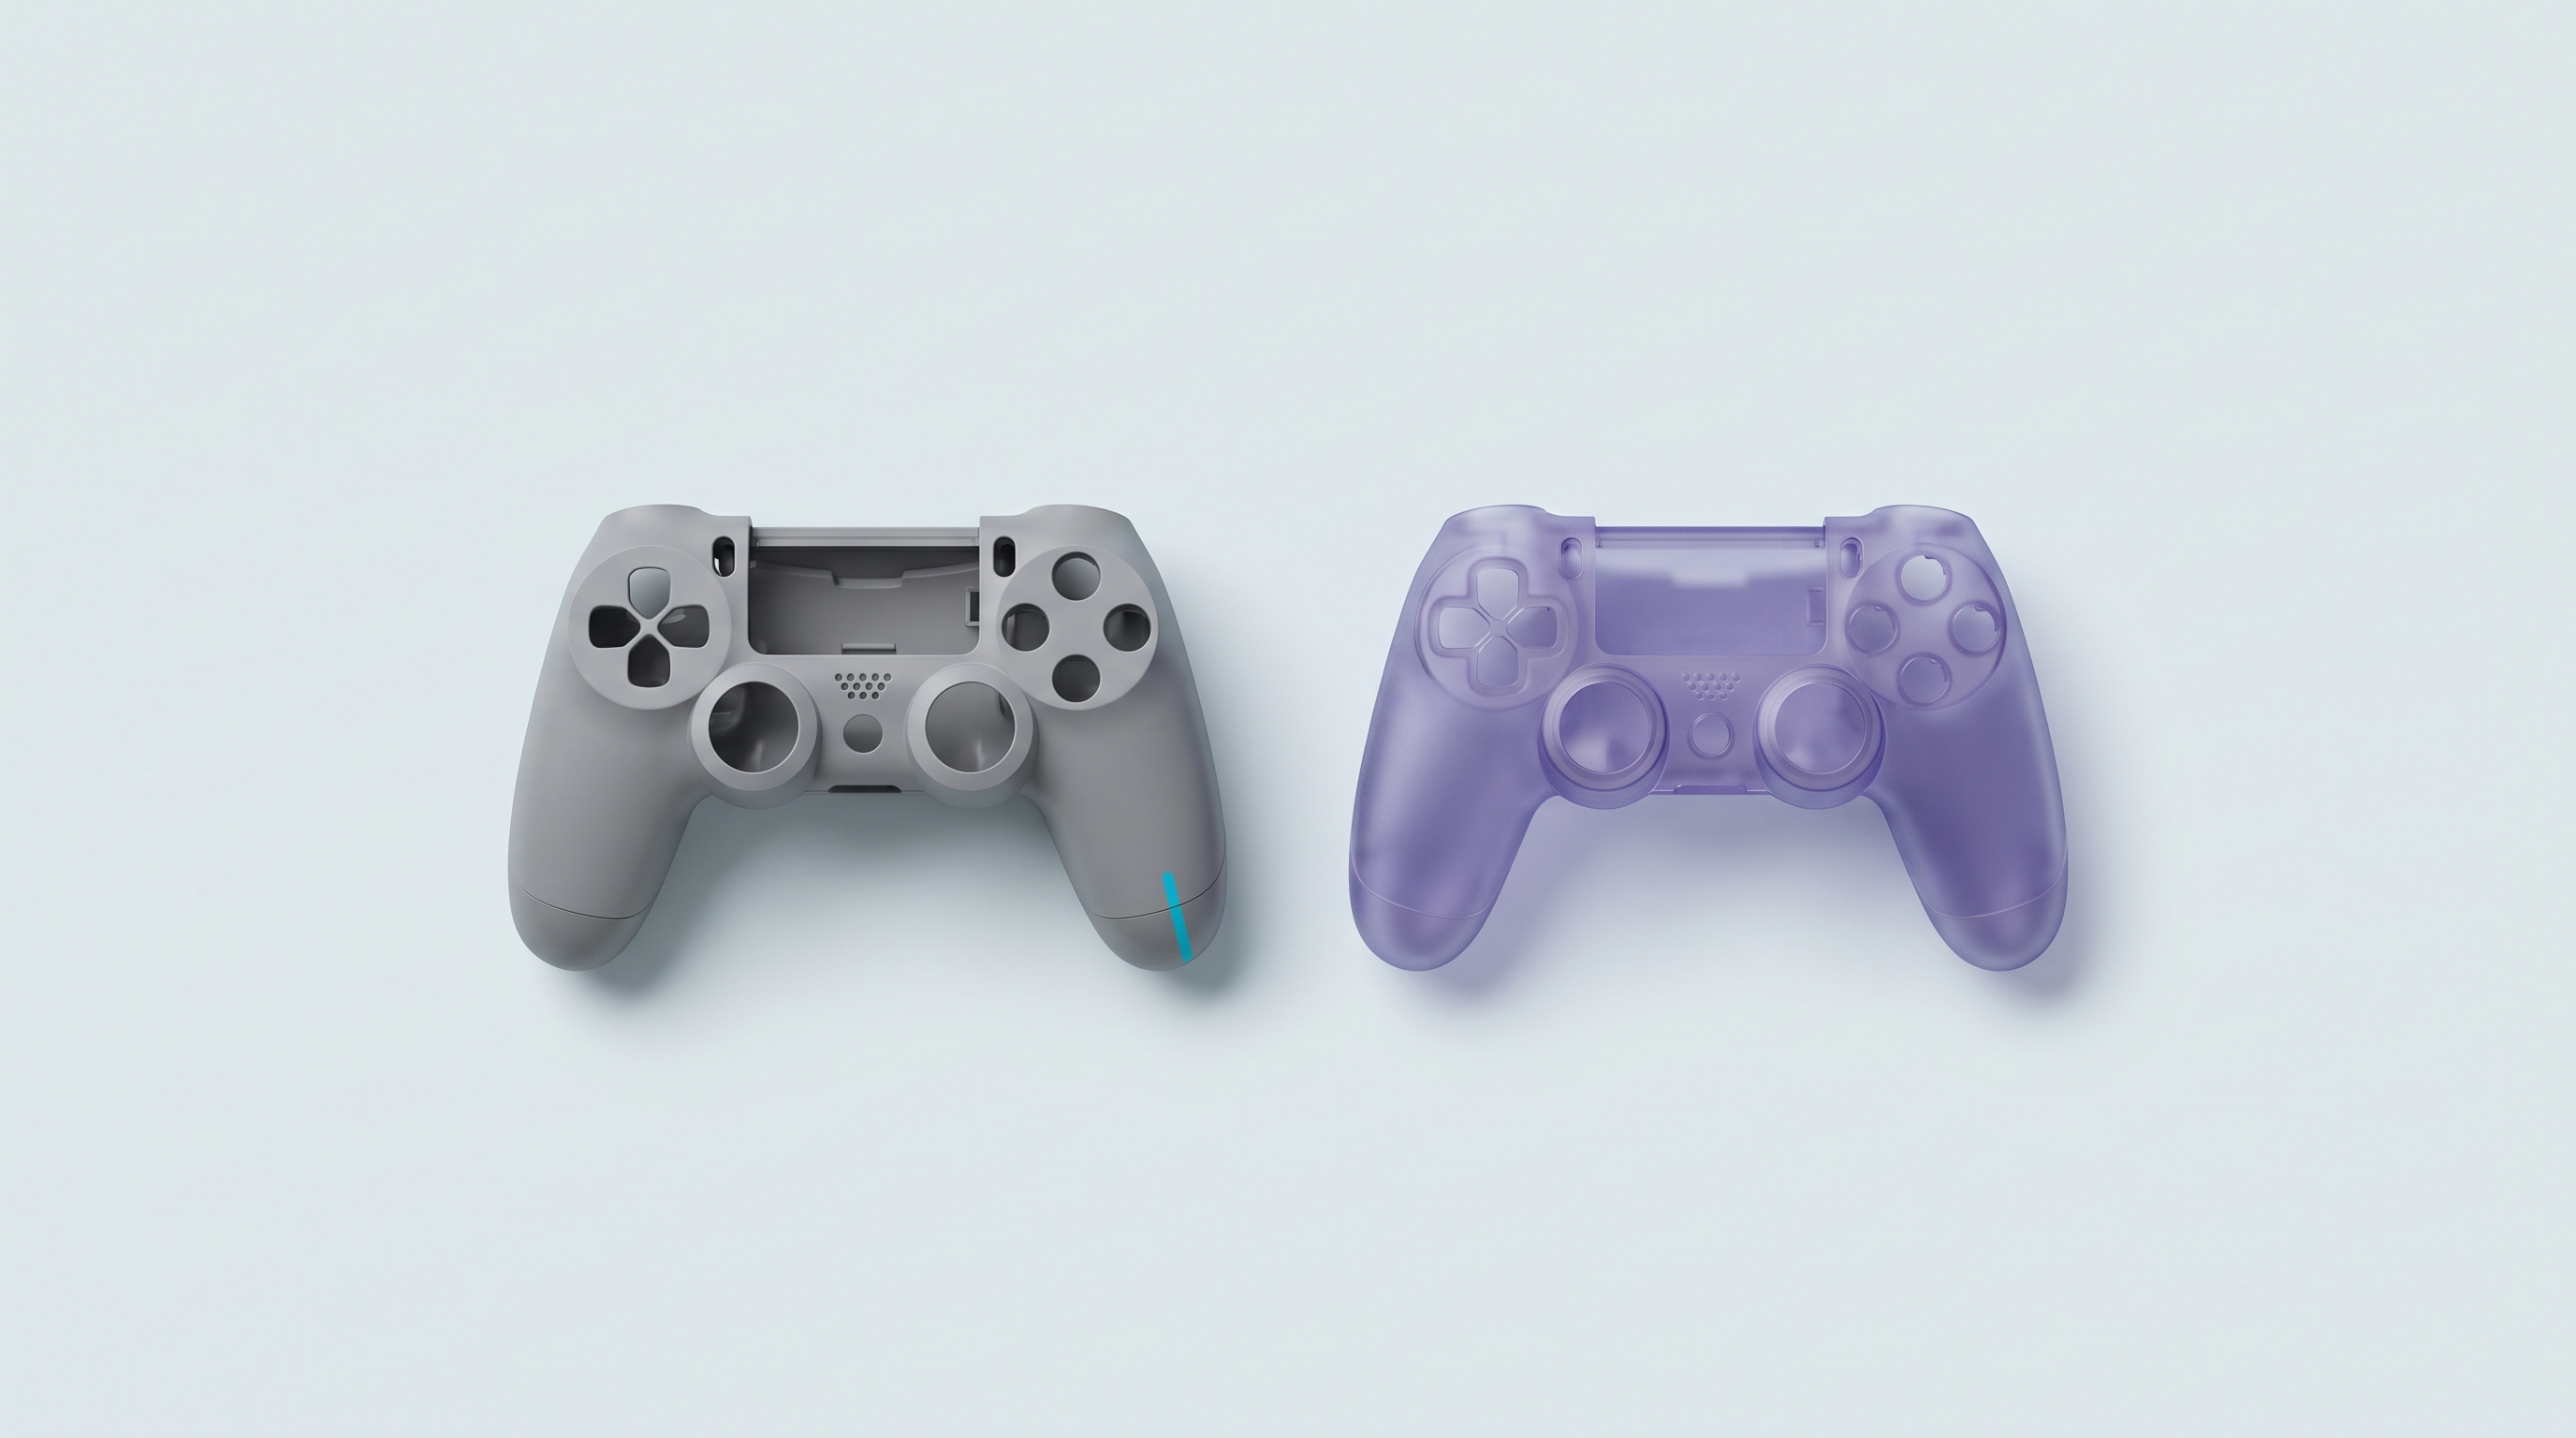
A new shell transforms a period console more surely than any other job. It's also the first workshop operation open to anyone who has never soldered: on a Game Boy, a Game Boy Color or a Game Boy Advance, there's nothing to solder. You need two particular screwdrivers, a quiet hour and a bit of method.
The trap isn't technical. It's in the ribbon cables you tear without meaning to, in the screw that rolls under the cabinet, and in the “miracle” treatments for yellowed plastic.
Four reasons to replace a shell
Scratches first: a machine that spent thirty years in a school bag has a matte, scored front face, with a clouded screen window. No polish fixes that for long. Yellowing next: the grey plastic of the 1990s turns beige, often unevenly. That subject has its own section, further down.
Damage too: a torn-out screw post, a cracked hinge, clips that no longer hold. A cracked shell lets dust in and wears out the button contacts. And enjoyment, finally: clear, coloured translucent, contrasting buttons — it's the least risky customisation there is, completely reversible as long as you keep the original shell.
The families of shells
The decisive criterion isn't colour but fit. A badly moulded shell shows immediately: play in the clips, buttons that catch, spongy triggers.
| Family | What it brings | What to know |
|---|---|---|
| Faithful to the original | Restores the factory look | The exact shade is hard to match; a difference with the parts you keep is possible |
| Clear | Lets you see the board | Also shows dust and untidy cables |
| Coloured translucent | A compromise, hides the inside better | Shades vary from batch to batch: order the shell and buttons together |
| With an IPS screen cut-out | Enlarged window, ready for a screen kit | Pointless, and even a nuisance, if you keep the original screen |
The IPS cut-out case
Many modern shells have a screen opening larger than the original, designed for backlit kits. On a console left as it was, that cut-out leaves a black gap around the panel. Check before buying whether the shell is advertised as “original size” or “IPS ready”: it's the most common ordering mistake on this kind of part.
Yellowed plastic: what it is, and why we stay cautious
Yellowing isn't dirt. It's photo-oxidation of the polymer: under the effect of ultraviolet light and heat, the ABS chains break, the material yellows and becomes more brittle. The phenomenon runs through the thickness, not across the surface. Rubbing changes nothing.
There is a well-known whitening process, Retr0bright: hydrogen peroxide, an activator, exposure to ultraviolet light. It works visually, but it repairs nothing.
Nor is the result guaranteed: yellowing returning after treatment is documented and long-term effectiveness remains uncertain. Some criticise the process for bleaching plastic that is already weakened without giving it back its strength.
Tools: these are not Phillips screws
Every beginner discovers this. Nintendo used screw heads absent from an ordinary toolbox, and forcing them with a flat blade rounds the head off in two seconds.
| Screw head | Where you meet it | Common sizes |
|---|---|---|
| Tri-point (known as tri-wing, Y) | Shells of the Game Boy, Game Boy Color, Game Boy Advance, Nintendo DS Lite | Y00, Y0, Y1 depending on the machine and the location |
| Precision Phillips | Internal screws, shielding, daughter boards | PH000, PH00, PH0, PH1 |
| Gamebit (security head) | Nintendo and Sega home consoles and cartridges | 3.8 and 4.5 mm; the size you need depends on the model and revision, to be checked |
| Torx | Some more recent machines and accessories | T5, T6, T8 |
Add three things that cost little: plastic spudgers and opening picks to unclip without marking the shell, tweezers for the ribbon cables, and a sorting box. Failing that, draw the console on a sheet of paper and put each screw in its place: they aren't all the same length, and a screw that's too long in the wrong place goes through the plastic or touches the board.
The method, step by step
- Take out the battery, the cartridge and the memory card. On a console with a microSD card, copy the card to your computer first: see our guide to saves.
- Photograph the back, then each step. Those photos are what you'll use on reassembly, when nothing is obvious any more.
- Unscrew with the right screwdriver, held square, pressing firmly at the start of the movement. Each screw in its compartment.
- Separate the two halves of the shell with a spudger, along the join line. Never with a sharp pull: the two halves are almost always still linked by a ribbon cable.
- Disconnect the ribbon cables carefully. On a latched connector, you lift or slide the little flap with a fingernail, then the cable comes out on its own. Without forcing, ever.
- Transfer the parts one by one: board, screen, membranes, buttons, power slider, volume wheel, battery cover.
- Reconnect, close it up loosely and test before screwing: power-on, every button, every trigger, the sound, cartridge detection.
- Screw without overdoing it: new plastic cracks or strips quickly if you tighten as though it were metal.
Beginner pitfalls
- Forcing a ribbon cable. It's the only truly irreversible mistake in the job. A torn ribbon cable can't be repaired without fine soldering.
- Losing a screw. Clear table, light-coloured cloth, never over a carpet. These screws can't be bought individually.
- Swapping the membranes. The rubber pads for the D-pad and the buttons look alike without having the same firmness. Swapped over, the buttons go spongy or stay pressed in.
- Forgetting a moving part. Power switch, volume wheel, battery cover, door spring: they stay in the old shell and you notice once everything is screwed back together.
- Tightening before testing. A button that catches takes thirty seconds to fix with the shell open, twenty minutes once it's closed.
What else to plan for
A shell on its own rarely gives a clean result. New membranes first: they're what gives the press its feel, and thirty-year-old ones have hardened. Buttons next, if you're changing shade. The screen film last: the new shell's window gets scratched the first time it goes in a pocket. Plan for isopropyl alcohol and cotton buds as well, to clean the contacts.
The difficulty level, machine by machine
| Machine | Difficulty | Point to watch |
|---|---|---|
| Game Boy, Game Boy Color | Easy | A tri-point screwdriver is essential; no soldering for a shell alone |
| Game Boy Advance | Easy | Tri-point and precision Phillips; the screen ribbon cable to disconnect gently |
| Clamshell consoles | Medium | The ribbon cable runs through the hinge: the trickiest step |
| Nintendo DS Lite | Hard | Two screens, very fine ribbon cables, Y00 tri-point: not a first job |
| Recent Linux and Android handhelds | Variable | Phillips screws most of the time, but replacement shells are hard to find |
A word of common sense: if the machine no longer works at all, a new shell won't bring it back. And if you're after a console that works straight away, with no workshop, our ready-to-play handheld consoles suit better — each product page states the condition on delivery. To protect yours, see the cases and sleeves.
Shells, membranes, buttons, films and specific screwdrivers are gathered in our workshop and modding section. Unsure about compatibility with your machine? Write to us before ordering.
Frequently asked questions
Do you need to know how to solder to change a shell?
No, as a general rule. On the Game Boy and Game Boy Advance, everything comes apart and goes back together without a soldering iron. Soldering only comes in if you take the opportunity to fit a backlit screen, a charging module or to replace a component.
Which screwdriver should you buy first?
A set covering the Y00, Y0 and Y1 tri-points and the PH000 to PH1 Phillips heads covers almost every Nintendo handheld. The 3.8 and 4.5 mm Gamebits are only needed for home consoles and cartridges.
Can a yellowed shell be whitened safely?
Safely, no. The product is an irritant, corrosive at high concentration, and exposure to ultraviolet light is part of the process. Yellowing can come back and the plastic stays weakened. We don't recommend it to beginners or on a collector's piece.
Why doesn't my console respond after reassembly?
In the vast majority of cases, it's a badly inserted ribbon cable or a latch left open. Open it up again, reinsert it straight and all the way in, close the latch, then test before screwing back together. Also check that the power switch is properly in place.
What should I do with the old shell?
Keep it, with its screws, in a bag. It serves as spare parts and lets you put the console back to its original state, which matters if you sell it on to a collector.