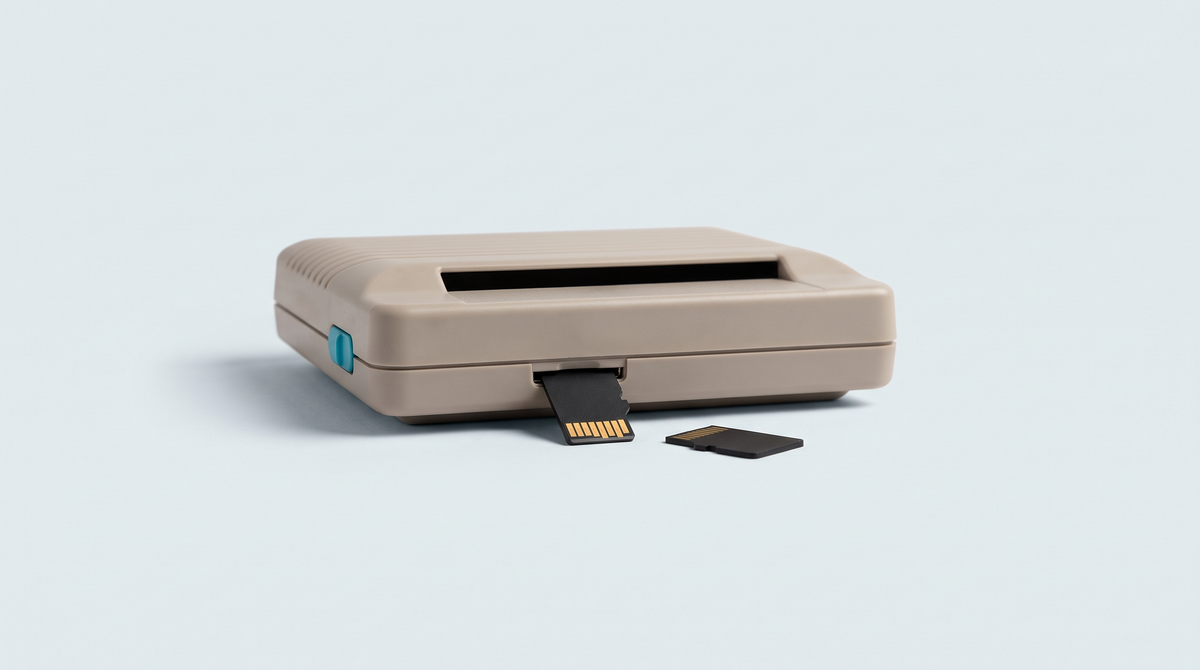
You have just received your retro handheld console and the home screen is empty? That is normal: these machines are sold without games. By the end of this guide, you will know how to prepare your microSD card, understand how folders are organised by system, copy your files from a PC or a Mac, refresh the game list on the console and diagnose the most common errors.
The legal framework, in two minutes
First things first, an essential point. Retro handheld consoles are sold without any games. They only provide the hardware and the emulators. In France, making a backup copy of a game is only tolerated for strictly private use and on the condition that you own the original. Downloading a game you do not own remains an infringement, however old it may be.
This guide therefore gives no download addresses. There is, however, a vast and perfectly legal catalogue: games that have fallen into the public domain, homebrew released free of charge by its authors, and an independent scene selling its creations for retro machines on official platforms.
What you need
- Your retro handheld console and its microSD card.
- A microSD card reader (USB or built into the computer).
- A computer running Windows, macOS or Linux.
- Your game files, obtained legally.
- A little patience for the first setup: allow thirty minutes.
Step 1: accessing the microSD card
Depending on the model, there are two methods. The most reliable is to remove the microSD card from the console, insert it into a reader and plug that into the computer. This is the universal method, the one that works on every machine.
Some consoles offer a USB transfer mode: the card then shows up like a USB stick. Careful, a simple charging cable does not carry data. If nothing appears, try another cable before concluding that something is broken.
- Shut the console down completely, do not simply put it to sleep.
- Remove the microSD card, pushing gently on it if the slot is spring-loaded.
- Insert the card into the reader, then the reader into the computer.
- Open the file explorer and find the volume that has just appeared.
Step 2: understanding the folder structure
This is where most beginners get stuck. A retro console does not guess what a file is: it sorts games by folder, and each folder corresponds to a system. If you drop a Mega Drive game into the folder meant for the Super Nintendo, the console will try to launch it with the wrong emulator, and nothing will work.
The general principle
Open the card: you will usually find a partition containing a root folder dedicated to games, often named Roms or Games. Inside it, one subfolder per system, with short standardised names that reuse the emulators' usual abbreviations. A folder already exists for every supported system: you almost never need to create a new one, you simply drop each game into the one that matches it.
Finding the right folder
Folder names vary from model to model. When in doubt, look at the list of systems shown on the console: the labels almost always match the folders on the card. Otherwise, check your machine's product page or contact our customer service.
Compressed files
Many games circulate inside compressed archives. Depending on the emulator, some read them directly, others require the file to be extracted. If a game does not appear or refuses to start, extract the archive on the computer and copy the resulting file: this is the fix that solves the greatest number of cases.
Step 3: copying files from a PC or a Mac
On Windows
- Open the file explorer and select the card's volume.
- Navigate to the folder for the system you are targeting.
- Drag and drop your files, or use a classic copy and paste.
- Wait for the transfer to genuinely finish: the progress bar can disappear before the writing is complete.
- Click Eject in the taskbar before removing the card.
On macOS
- The card appears on the desktop and in the Finder sidebar.
- Copy your files into the folder for the matching system.
- Empty the trash before ejecting: on macOS, a deleted file physically stays on the card as long as the trash has not been emptied.
- Right-click the volume, then Eject.
macOS adds hidden files starting with a dot on external volumes. They are harmless, but some interfaces display them as phantom games.
Step 4: refreshing the game list
Copying the files is not always enough. The console keeps an index of the games it knows about, and that index has to be rebuilt after an addition. Depending on the interface, the operation is called refreshing the list, updating the database or rescanning the folders, and it sits in the settings or in the context menu of the system concerned.
- Put the card back into the console while it is switched off.
- Start the machine and let it finish initialising.
- Open the settings and launch the game list update.
- If nothing appears, restart the console completely: many interfaces only rescan at boot.
Once the games are visible, you can fine-tune the image and the comfort of play. Our guide RetroArch: the settings that change everything covers emulation cores, button mapping and reducing latency.
Common mistakes
- The games do not appear at all. Nine times out of ten, the files are in the wrong folder, or at the root of the card instead of the system's subfolder. Check the exact path, then run the list refresh again.
- The card is not recognised by the computer. Test another reader and another USB port before blaming the card. If the console offers a transfer mode, check that your cable really is a data cable and not just a charging cable.
- The transfer stops or the card gets corrupted. You probably removed the card without ejecting it properly. Always eject through the system before unplugging, and avoid copying thousands of files in one go: work in batches.
- A game shows up but does not start. The format may not be handled by the chosen emulator, or the archive needs to be extracted. Some systems also require system files that we do not supply and for which we give no source.
- Phantom games fill the list. These are the hidden files created by macOS or the index files from an old scan. Clean the folder from the computer and run another scan.
Frequently asked questions
Are games included with the console?
No. Retro handheld consoles are sold without any games: you are buying hardware and emulators. Filling the card is up to you, in compliance with copyright. The legal catalogue does exist, though: public domain titles, free homebrew and independent productions sold officially already offer hundreds of hours of play.
Should the supplied card be formatted before use?
Not necessarily. The card supplied is generally already prepared with the right structure. Formatting would erase that structure and could leave the console unusable until the system is reinstalled. If you add a second card, on the other hand, the choice of file system becomes decisive.
Can I use a very high capacity card?
Yes, within the limits supported by your model, which vary from machine to machine. Capacity is not the only criterion: random access speed matters more for smooth menus and loading times. Our dedicated microSD card guide covers speed classes and the certifications that matter.
Do my saves disappear if I change cards?
Yes, if you do not copy them first. Saves are files stored on the card, separate from the games, and nothing puts them out of harm's way automatically. Back them up to your computer before any handling, any formatting or any change of interface.
Going further
You now know how to feed your console. To go further, choose storage that is up to the job with Choosing your microSD card for a retro console, protect your progress with Saves: never lose your progress, and get the lay of the land on community interfaces with Custom firmware: should you install one?
On the hardware side, browse our selection of microSD cards, our catalogue of handheld consoles and our cases and pouches to carry your machine safely.