











Description complète
Replacement lens: a clean front on a scratched console
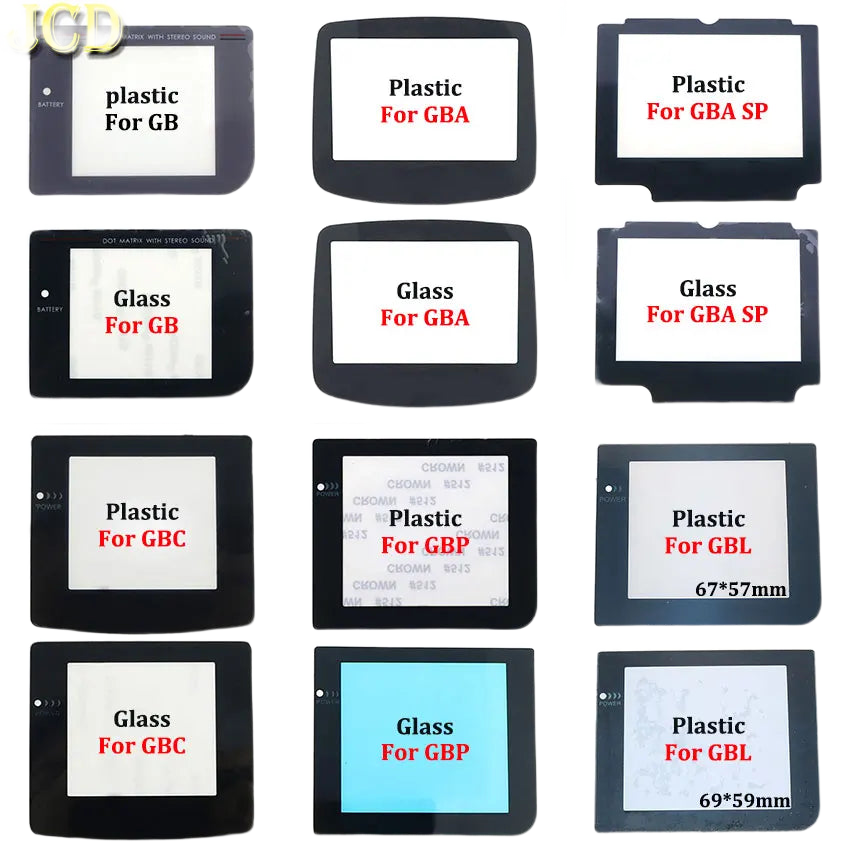
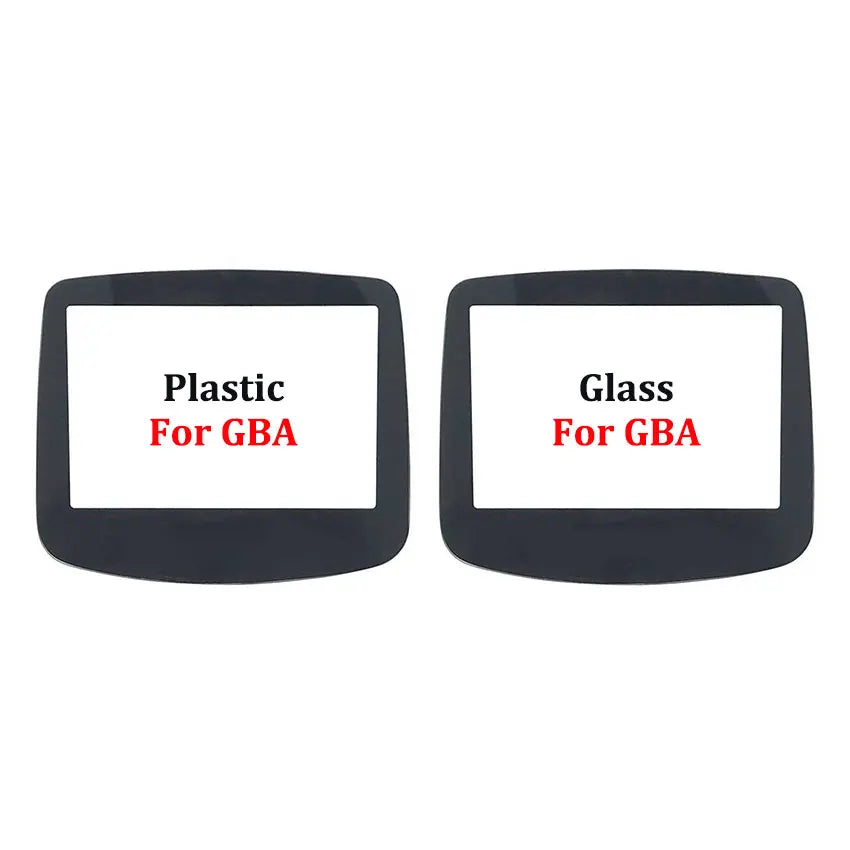
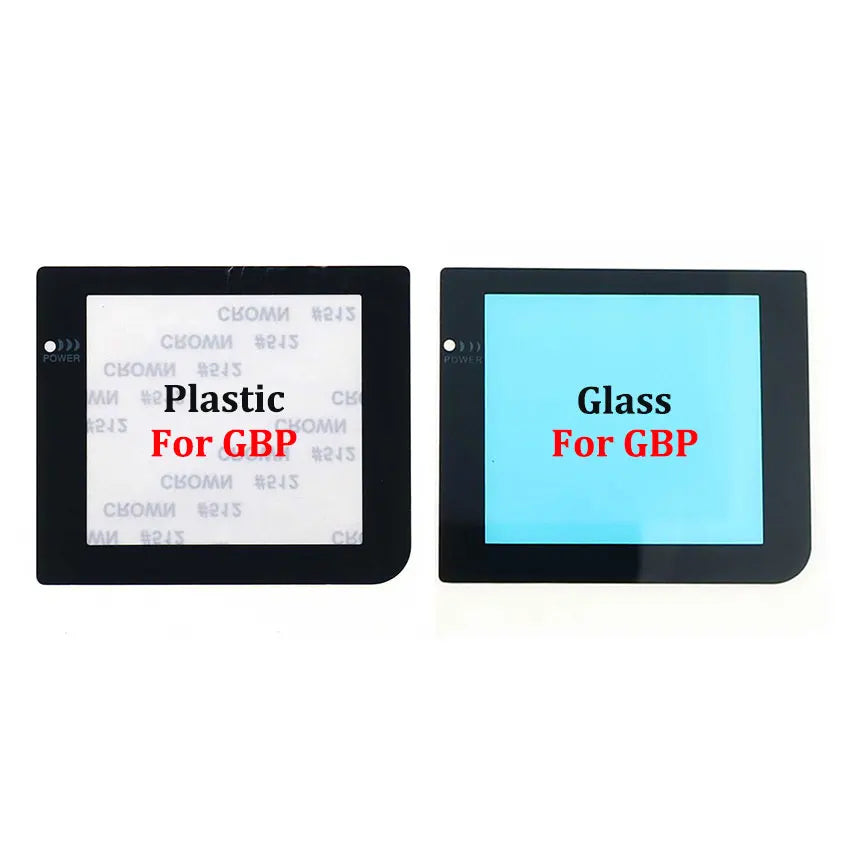
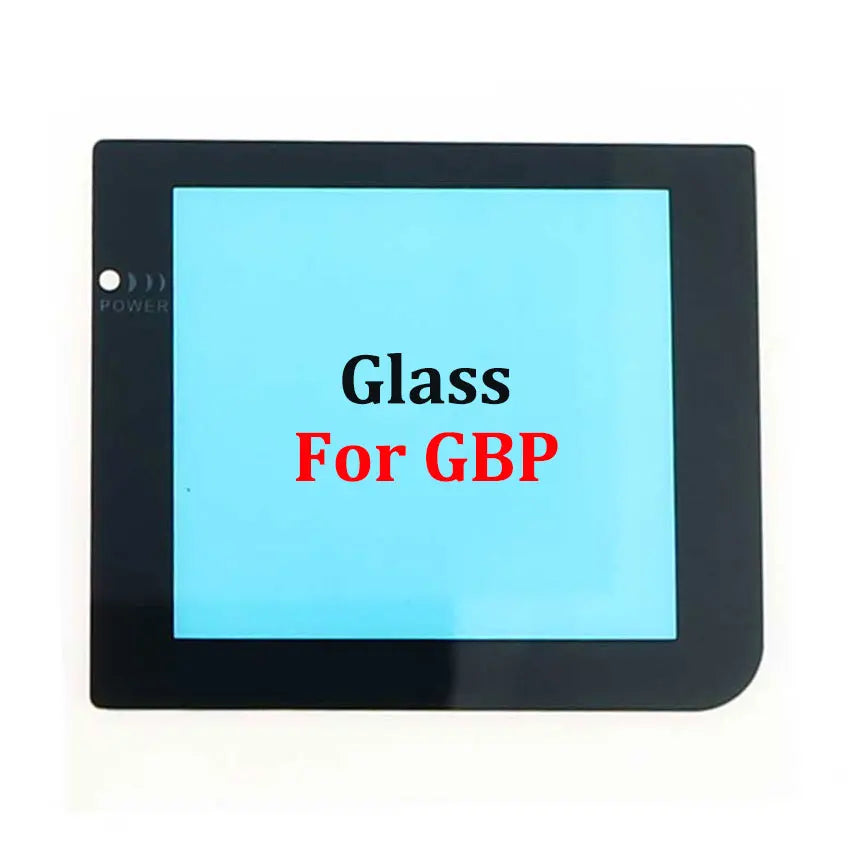
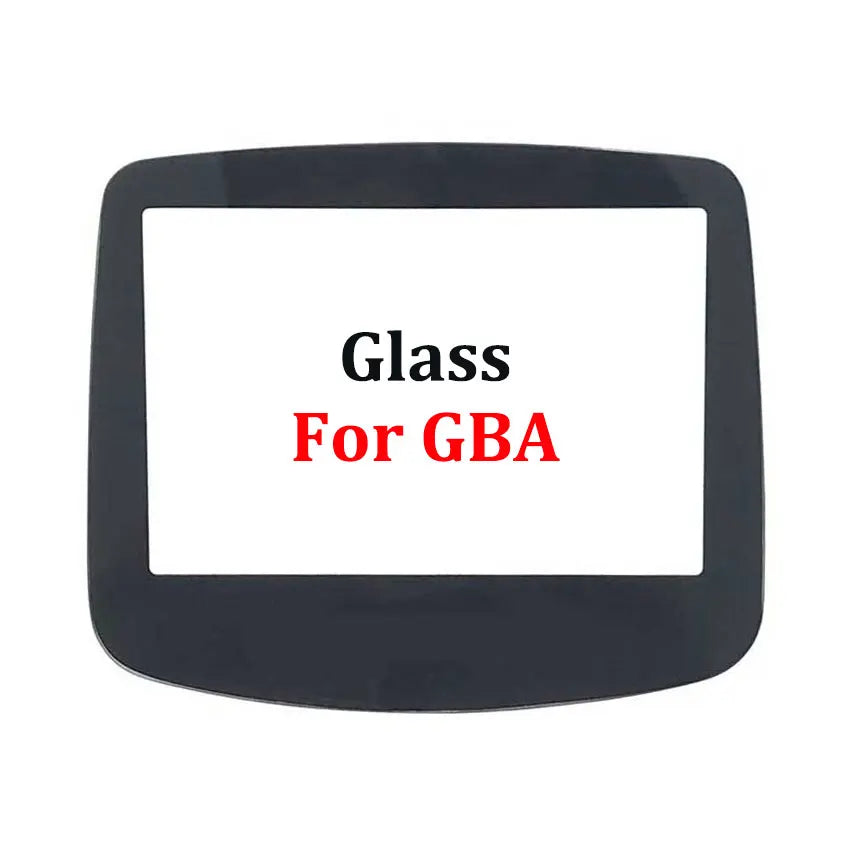
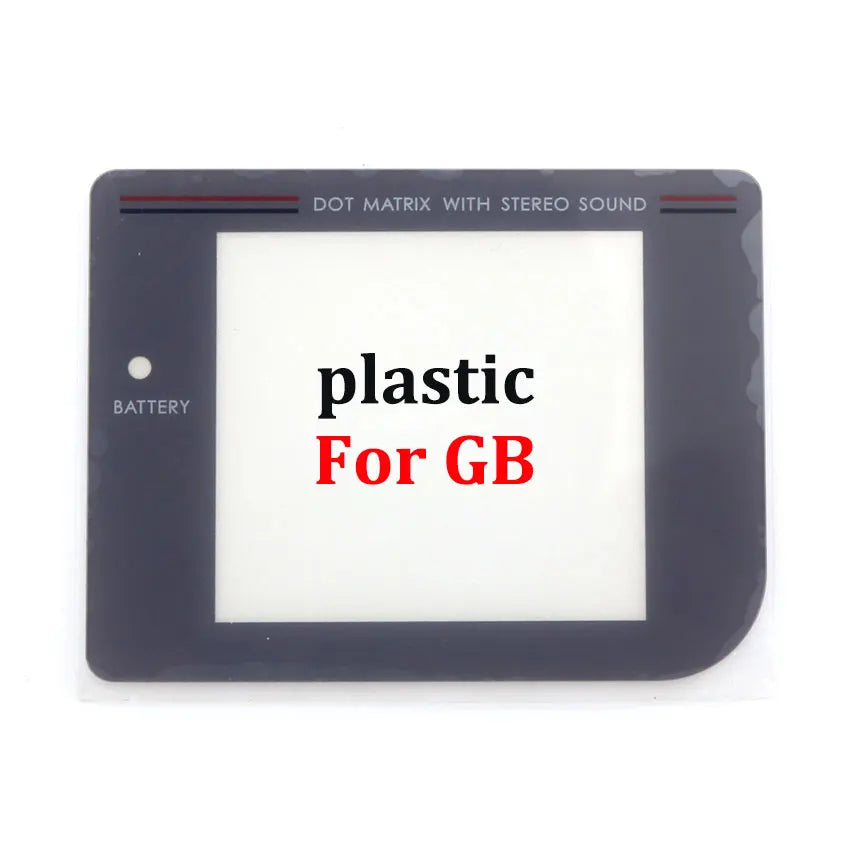
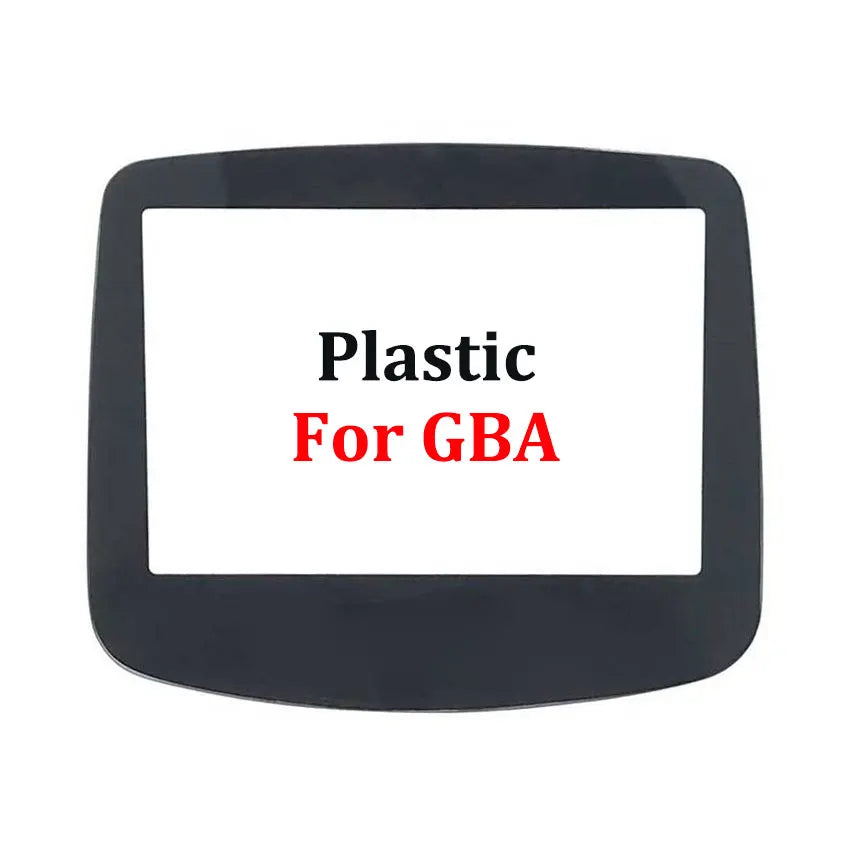
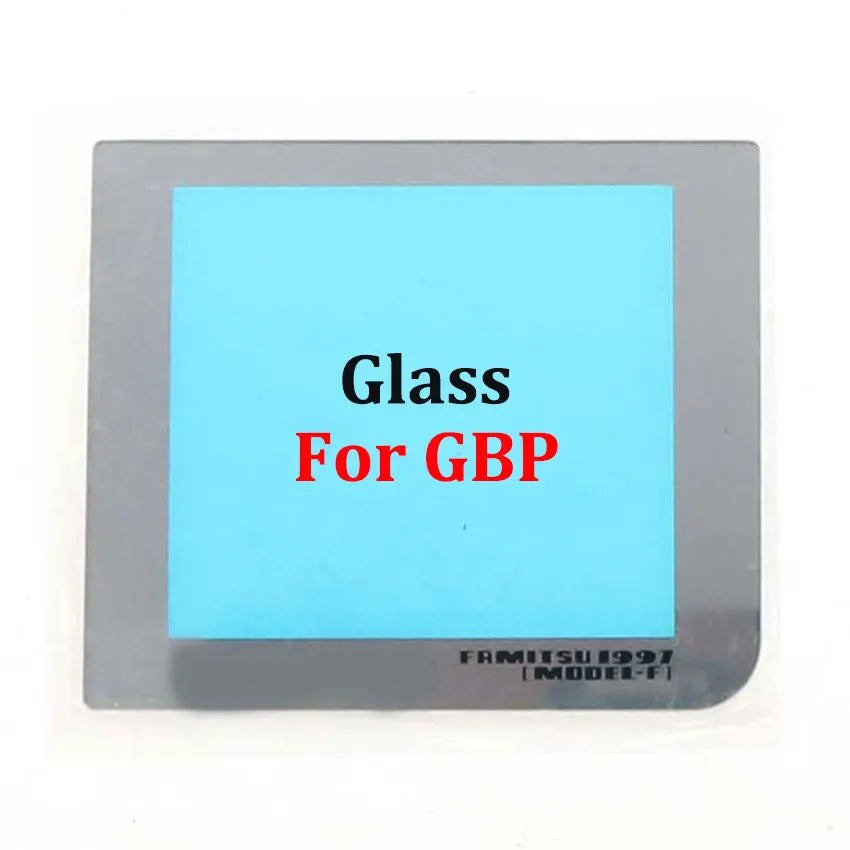
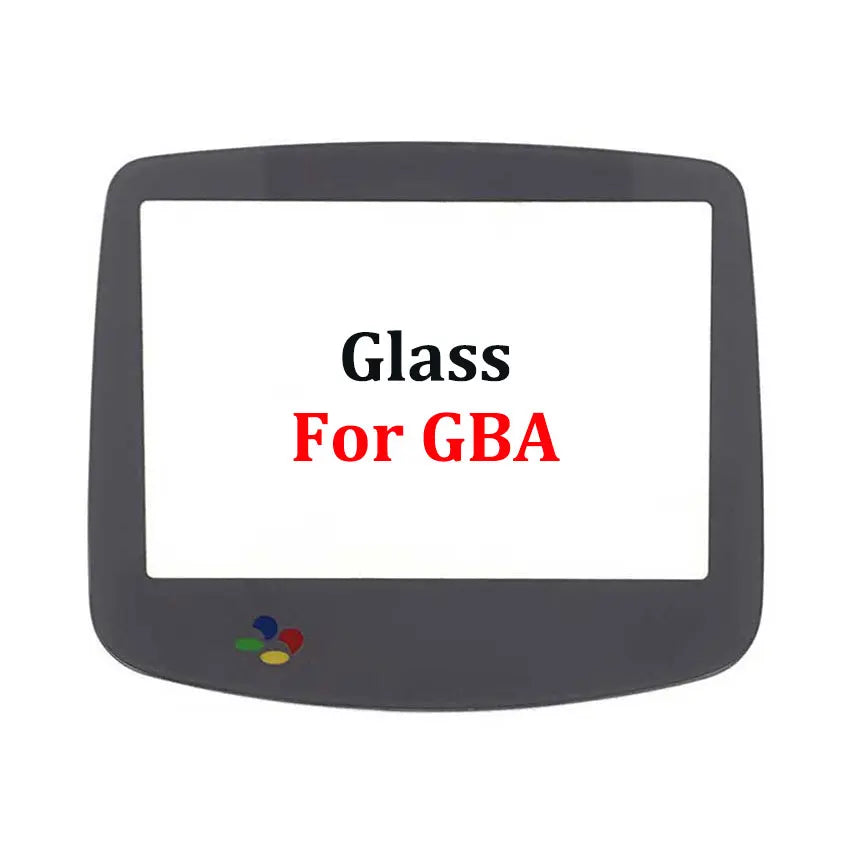
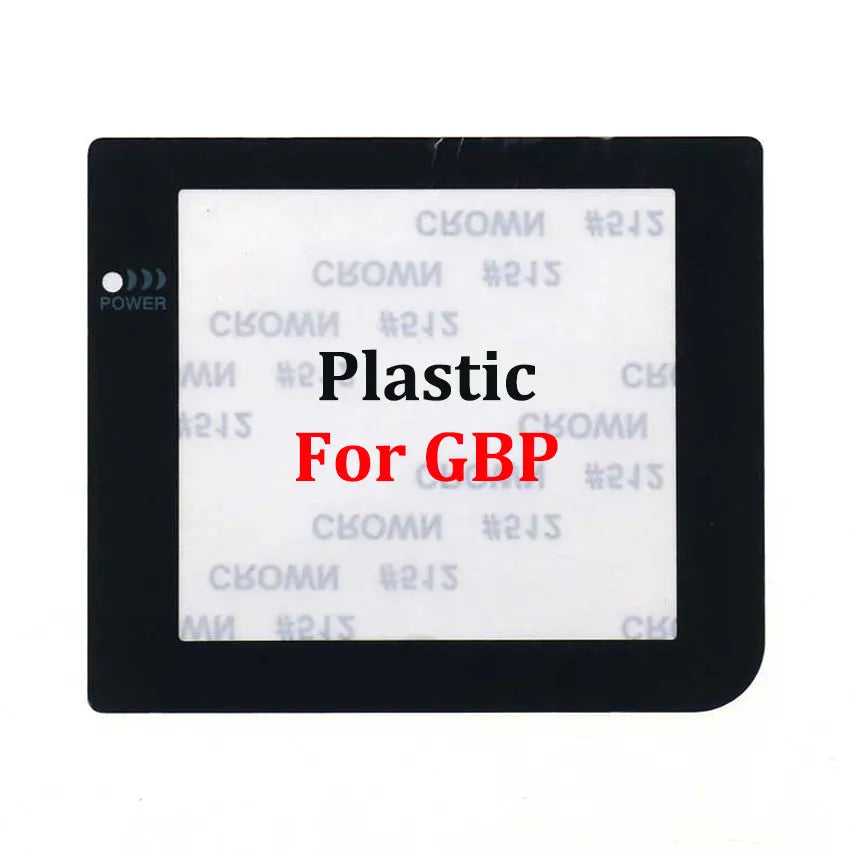
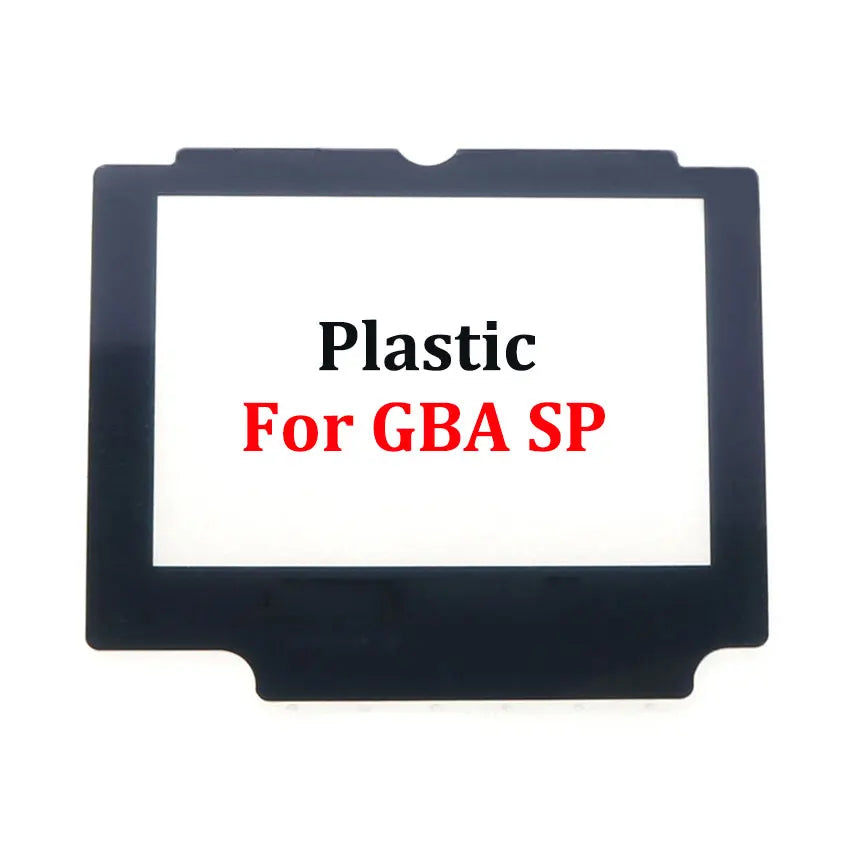
On a handheld that has seen some life, it's the lens that gives away the machine's age long before the screen does: micro-scratches, milky haze, a cracked corner. This replacement lens takes the place of the original on the Game Boy, Game Boy Pocket, Game Boy Color, Game Boy Advance and Game Boy Advance SP. Available in plastic or glass, with the adhesive included.
What it does
- Makes the front readable: the new lens gets rid of the scratches and haze that make the screen hard to read in bright light.
- Two materials to choose from: plastic stays close to the original part and copes with knocks; glass resists scratches far better but breaks cleanly if it falls on a corner.
- No-solder fitting: adhesive included, no modification to the motherboard or shell.
What it doesn't do
- Does not improve the display: it is neither an IPS screen nor a backlight; the console keeps its original screen.
- Not suitable for shells already cut for an oversized IPS kit, whose opening no longer has the original dimensions.
- One lens per unit, for a single model: the variant chosen determines which console is covered; there is no universal lens.
- Removing the original lens is irreversible: it rarely comes out intact, so plan on not going back.
- No Game Boy Light version among the available variants, despite what the supplier's listing suggested.
Compatibility
Original Game Boy, Game Boy Pocket, Game Boy Color, Game Boy Advance and Game Boy Advance SP, depending on the selected variant. Not covered: Game Boy Micro, DS consoles and modern handhelds, as well as replacement shells whose screen opening has been re-cut.
Skill level required
No soldering, no cutting. You do, however, need to open the shell with a tri-wing (Y) screwdriver — and a Phillips screwdriver on the Game Boy Advance SP —, peel off the old lens, clean off the glue residue with isopropyl alcohol, then fit the new one without leaving any dust between the lens and the screen. Allow 15 to 30 minutes the first time. The screwdrivers and spudgers you need are in the Workshop & Modding collection.
In the box
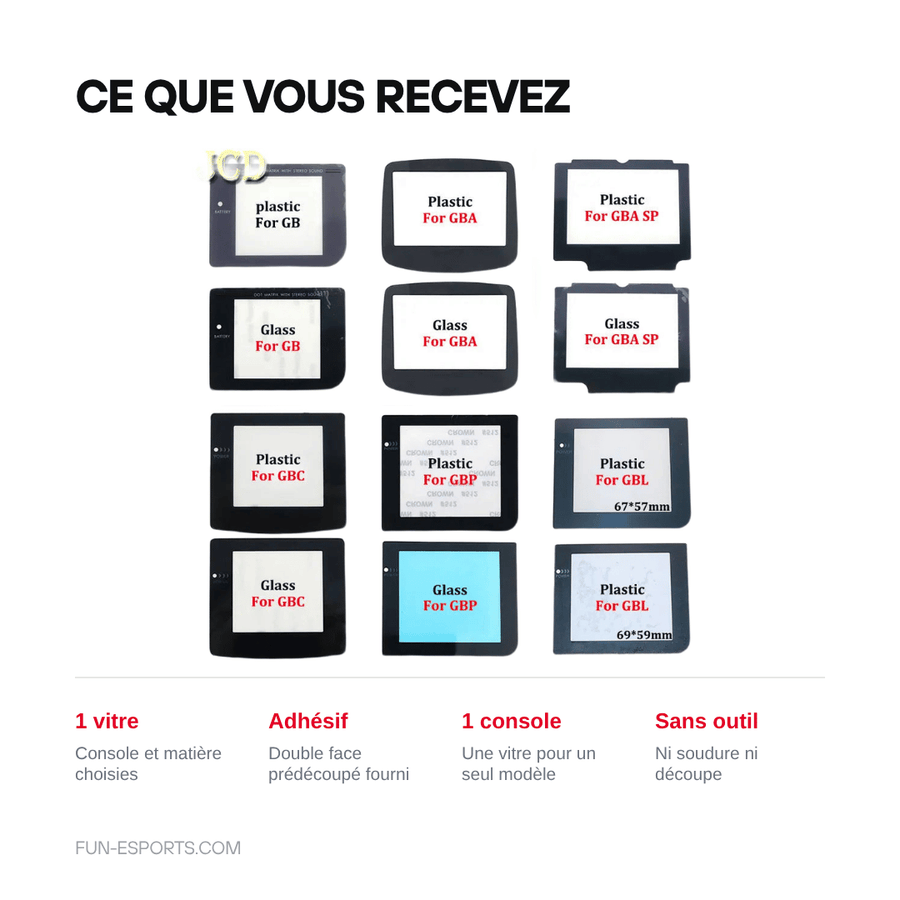
- 1 replacement lens, in the material and for the console of the chosen variant.
- 1 pre-cut double-sided adhesive.
Read before ordering: Workshop & Modding
Delivery in 10 to 18 days · ships within 3 to 5 days · 2-year legal guarantee · 14-day returns.
Protective lens for Game Boy, GBC, GBA, GBA SP — glass or plastic
Glass or plastic replacement lens for Game Boy, GBC, GBA and GBA SP — adhesive included, no-solder fitting.
En stock
📦Ships within 3 to 5 business days · Delivery in 10 to 18 business days · 2-year legal guarantee · 14-day returns.
ℹÀ partir de 150 €, la livraison s’effectue en Point Relais.
- 🇫🇷SAV français
réponse sous 1 jour ouvré - 🛡Garantie légale
2 ans - ↩14 jours
pour changer d’avis - 🔒Paiement sécurisé
CB · PayPal · Klarna
The idea: restoring a clean front
A 1990s handheld rarely comes out of an attic with its lens intact. Criss-cross scratches, milky haze, a chip in one corner: the screen works, but you can no longer read it properly as soon as the sun is out. Replacing the lens is the first restoration job, the one that changes the overall impression before you've even touched the electronics. You open the shell, peel off the old part, clean off the glue and fit the new one.
The part: glass or plastic, two trade-offs
Each variant corresponds to a specific console and a specific material. Plastic behaves like the original part: light and slightly flexible, it survives a drop without breaking, but it scratches over time. Glass keeps its new look much longer and is easier to clean, at the cost of breaking cleanly if it falls on a corner. There's no universally right choice: it depends on how you use the console.
Our support: what we tell you before you buy
This part does not transform the screen: it protects, it does not backlight and it does not replace an IPS kit. Nor is it suitable for shells whose screen opening has been re-cut for an oversized screen. Removing the original lens cannot be undone, so it's best to know that before you take things apart. Listing verified on 19 August 2026; if in doubt about the model, reply within 1 business day.
What this accessory brings
Verified manufacturer specifications · vérifié le
Ce qu’il fait bien
- Removes scratches and haze from the screen front
- Two materials to choose from: flexible plastic or scratch-resistant glass
- Adhesive included, fitted without soldering or cutting
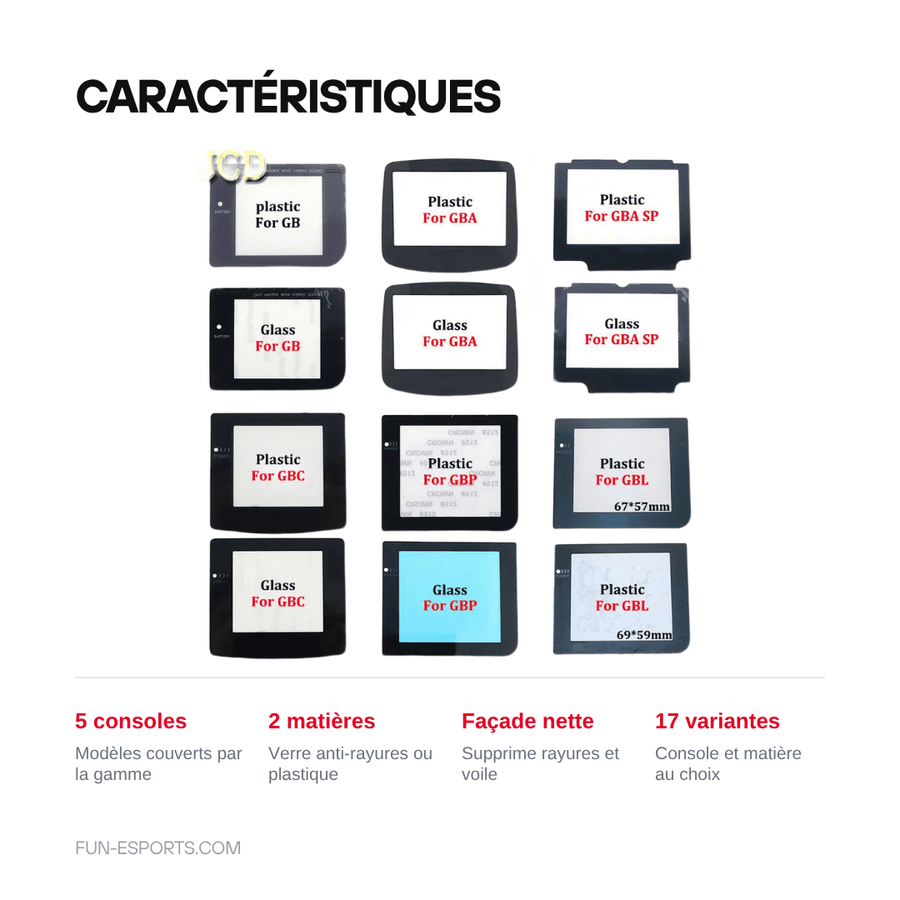
- Five consoles covered depending on the variant
Ce qu’il ne fait pas
- Does not improve the display: neither an IPS screen nor a backlight
- Not compatible with shells re-cut for an oversized IPS kit
- Only one lens per unit, for a single console model
- Removing the original lens is irreversible
- No Game Boy Light variant available
Voir toute la fiche technique+
Matière et format
- Type d’accessoire
- Replacement screen lens
Compatible avec
- Game Boy
- Game Boy Pocket
- Game Boy Color
- Game Boy Advance
- Game Boy Advance SP
Dans la boîte
- 1 replacement lens (console and material of the chosen variant)
- 1 pre-cut double-sided adhesive
Frequently Asked Questions
🔧 Do I need to solder to fit this lens?
No. No soldering, no cutting: you open the shell, remove the old lens and stick the new one on with the adhesive provided.
🎮 Which consoles is it compatible with?
Original Game Boy, Game Boy Pocket, Game Boy Color, Game Boy Advance and Game Boy Advance SP, depending on the chosen variant. The Game Boy Micro and DS consoles are not covered.
🪟 Glass or plastic: which should I choose?
Plastic recreates the original look and absorbs knocks without breaking. Glass resists scratches far better but can break if dropped on a corner.
📦 What's in the box?
A replacement lens matching the variant ordered and a pre-cut double-sided adhesive. Nothing else: no tools, no screen.
🧰 What tools do I need?
A tri-wing (Y) screwdriver to open the shell, a Phillips screwdriver on the Game Boy Advance SP, a thin spudger and isopropyl alcohol to remove the glue.
⏱️ How long does fitting take?
15 to 30 minutes the first time. The longest part is cleaning off the old glue and hunting down dust before sticking on the new lens.
🚚 What are the delivery times?
Delivery in 10 to 18 days, ships within 3 to 5 days.
🛡️ Which guarantee applies?
2-year legal guarantee of conformity. 14-day returns. Reply within 1 business day if you have a question.
Why buy here rather than on a marketplace
It is a fair question. Here is the answer, straight.
Every listing is checked before publication: real compatibility, material, dimensions, box contents. Many models never make it into the catalogue.
A question about compatibility, a fit problem, a return: you write, a human replies within 1 business day. In French.
The 2-year legal warranty of conformity is handled by us — not by a form on the other side of the world. And 14 days to change your mind, with no need to justify yourself.
We do not claim to be the cheapest. We claim that you will know exactly what you are buying before you pay.
Read this before choosing
Our guides to accessories: compatibility, protection, transport.

Pixel art: create your own designs for a Divoom display
Grid size, number of colours, outlines, animation: the guide to getting started in pixel art and displaying your own creations on a Divoom display.
2 min de lecture · publié le

Divoom pixel art speakers: which one should you choose?
Astrotoo, Ditoo-Pro, FlowToo, Tiivoo-2, Timebox-Evo, MiniToo, Fairy-OK: the seven Divoom speakers compared, by use and budget.
2 min de lecture · publié le

Times Frame or Times Frame Pure: which Divoom floating photo frame should you choose?
64 or 32 GB, three colours or just one, a dial or not: the real differences between the Times Frame and Times Frame Pure…
1 min de lecture · publié le