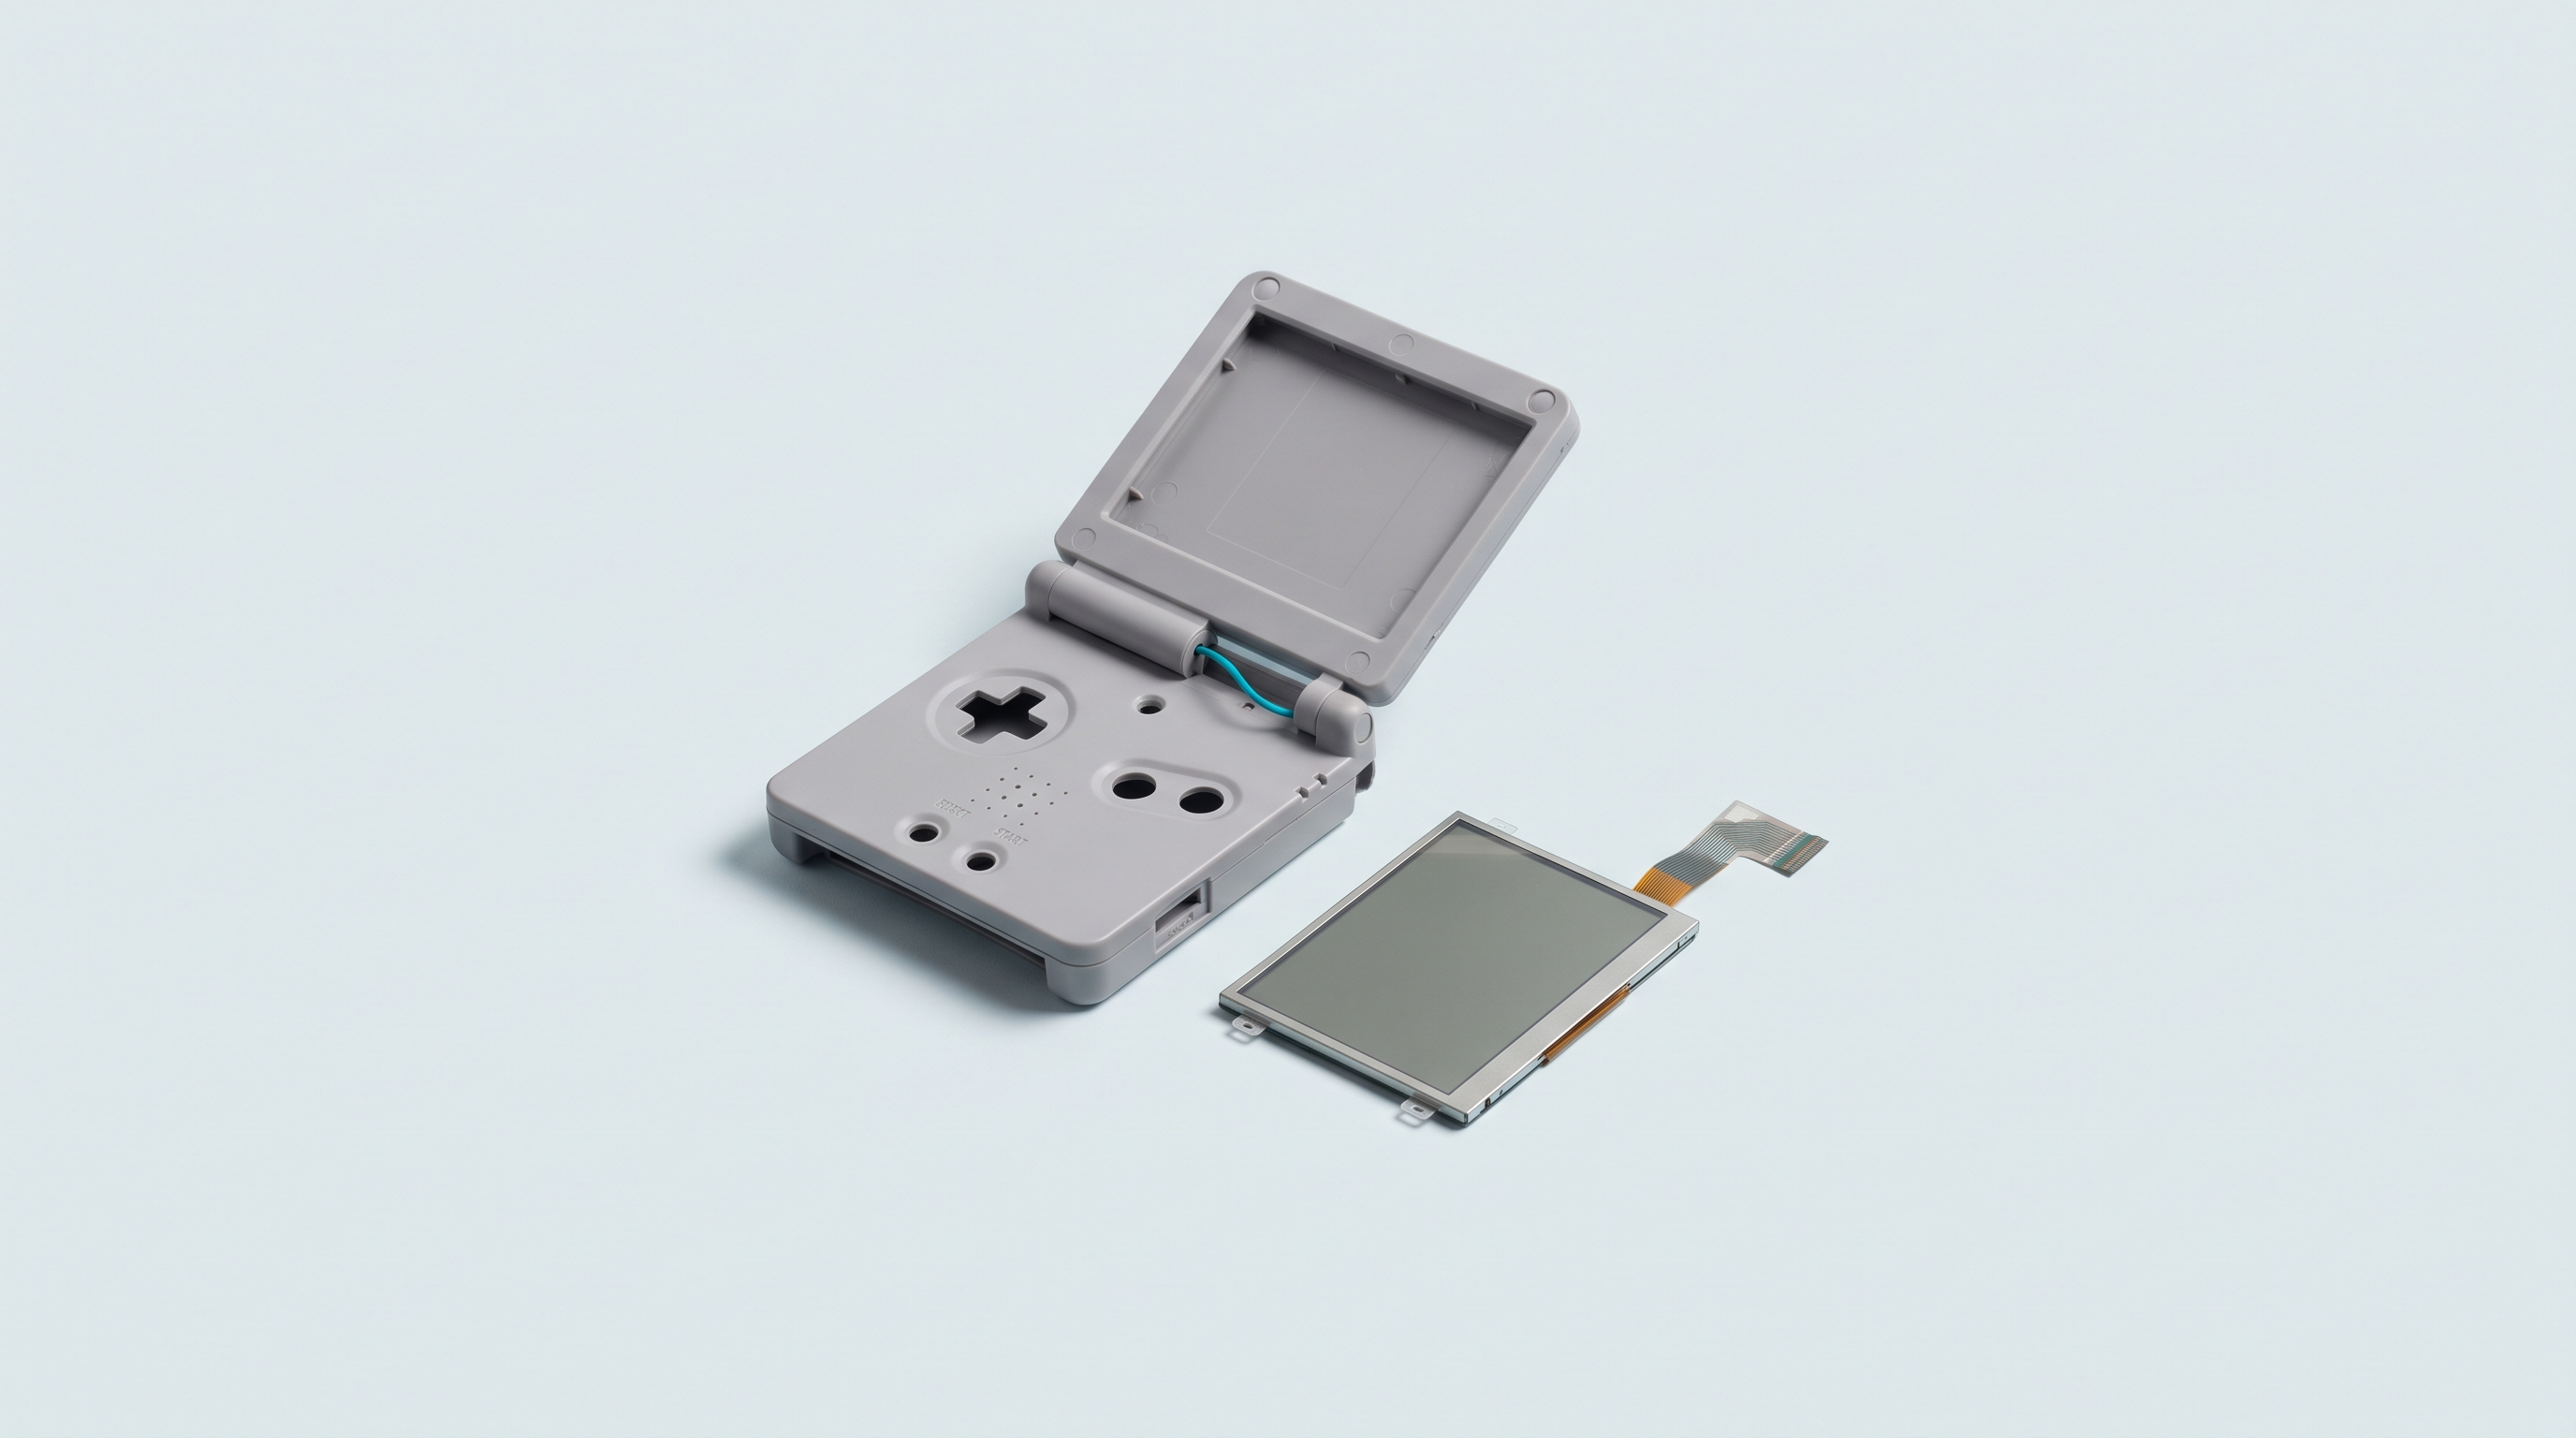
Take a 1989 Game Boy out of its box, slide in two batteries, switch it on: you can barely see anything. You have to find a window, turn the console, tilt the screen until you hit the right angle. The 2001 Game Boy Advance does the same thing, slightly less painfully. Both machines use a reflective screen: it emits no light of its own, it bounces back the light in the room. Hence the clip-on lamps screwed onto the consoles of the day. An IPS kit replaces that panel with a backlit display. The gain in readability is immediate. It is paid for in battery life, in assembly work, and often in a new shell.
Why the original screen is so bad
The problem isn't age: a panel in good condition shows today what it showed in 1990. The technology was chosen for battery life and nothing else, since a reflective screen draws almost no power. The downside is familiar to anyone who played in a car in the evening. Low contrast, a grey image, ghosting on fast movement, total dependence on ambient lighting. Nintendo fixed it in stages: Game Boy Light in Japan in 1998, Game Boy Advance SP AGS-001 in 2003 with front lighting, AGS-101 in 2005 with a proper backlight. Owners of a Game Boy, a Game Boy Color or a classic Game Boy Advance never got an official solution.
What an IPS kit really changes
An IPS panel is lit from behind: it no longer depends on the light in the room, the image is readable in the dark as well as in broad daylight, with adjustable brightness. That is the main point, and for many people it is enough to justify the operation.
The other differences are real but secondary. Contrast goes up a notch, blacks become blacks, and viewing angles open up: the manufacturers claim 178 degrees, meaning the image no longer washes out when the console moves. Ghosting all but disappears, which shows on fast platformers.
A less obvious function is worth knowing: integer scaling. The panel displays one original pixel on a square of 9 or 16 real pixels, with no interpolation, and therefore no distorted lines.
The families of kits, and what separates them
The market is held by a handful of Chinese manufacturers, among them FunnyPlaying and Hispeedido, who sell their kits themselves and supply most resellers. The ranges change names from one revision to the next, but they always sort along three criteria.
Laminated or non-laminated
On a non-laminated kit, the panel sits behind the glass, with a layer of air between the two. On a laminated kit, the glass is bonded directly to the panel: the image seems to sit flush with the surface, with no internal reflection and no trapped dust. It is also the one that forgives least, since the bonding is permanent.
The practical consequence matters more than the looks. A laminated kit is thicker and almost always requires a shell designed for it. FunnyPlaying says so bluntly about its 3-inch kit for the Game Boy Advance: original shells and third-party shells are not compatible.
With or without shell cutting
This is the criterion that decides how your evening goes. Modern panels are larger than the original ones: around 25% more display area on a Game Boy Color kit, around 11% on a Game Boy DMG kit. That area has to be taken out of the shell's frame.
- Kit alone. You cut the window in the shell yourself. Hispeedido spells it out: if you buy the screen only, the cutting is down to you.
- Kit with a pre-cut shell. The new shell arrives at the right dimensions. The sensible option for a first time, and often the cheaper one once you count the shell you ruined.
- “Drop-in” kit. For now reserved for the Game Boy Advance SP: the panel takes the place of the old one with no cutting.
Settings and rendering filters
Every serious kit adjusts brightness, but not in the same way: a button combination, a touch zone on the panel, a wheel, or an on-screen menu opened by holding a button. The Hispeedido V5 kits claim 15 levels.
Rendering filters are often what wins the purists over. Depending on the model you find a pixel grid that mimics the original matrix, a mode that reproduces the look of the AGS-101, scanlines, a desaturation that brings the colours closer to what the period screen gave, and a dither blend for games that flickered pixels to fake transparency. Without that last setting, a few original effects show up as flickering.
What to expect depending on the machine
| Console | Original screen | Shell cutting | Soldering |
|---|---|---|---|
| Game Boy (DMG-01, 1989) | Reflective, no lighting | Yes, unless a dedicated shell is supplied | Usually yes |
| Game Boy Pocket / Light | Reflective (Light: lit) | Yes, pre-cut shells available | Depends on the kit |
| Game Boy Color | Reflective | Yes, the frame has to be enlarged | Yes, a power wire to solder |
| Game Boy Advance (AGB-001, 2001) | Reflective | Dedicated or pre-cut shell | From zero to three wires |
| Game Boy Advance SP AGS-001 | Front lighting | No, drop-in kits | One wire for the menu |
| Game Boy Advance SP AGS-101 | Backlit from the factory | No, drop-in kits | One wire for the menu |
A useful detail: the Game Boy Advance and SP kits come in 32-pin and 40-pin versions, since the motherboards changed during production. Count the pins before ordering, or take a kit supplied with both ribbon cables.
The difficulty level, without the gloss
No soldering and no cutting. The drop-in kits for the Game Boy Advance SP and some Game Boy Advance kits supplied with their shell. A tri-wing screwdriver, a Phillips one, patience with the ribbon cables: one hour for a careful person who has never opened a console.
With one or two solder joints. The majority of kits: thin wires to attach to the motherboard for power, the brightness button or the battery indicator. Joints that are easy in themselves, but on an old circuit board you damage permanently. Practise first on a scrap board.
With shell cutting. That is where projects end badly. The cutting is done slowly, with a file, never going past the line, and you see the result every day afterwards. Cutting the original shell of a healthy console destroys a part that is hard to find again.
What to plan for on top of the kit
- A shell. Mandatory on laminated kits, often sold separately. Take it from the same manufacturer as the kit.
- A glass or a film. Laminated kits scratch like a phone. Dedicated tempered glass costs a few euros.
- Screwdrivers. Tri-wing screws on the outside, Phillips on the inside. The wrong screwdriver rounds off a screw head in three seconds.
- Consumables. Thin double-sided tape, cotton buds, isopropyl alcohol. A kit fitted into a dusty shell comes apart two days later.
From the manufacturers, expect around $45 to $65 depending on the machine and on whether the shell is included, before shipping and duties. The rest rarely goes above €20.
The side effects, all of them real
Power draw. That is the direct price of the backlight. The manufacturers' spec sheets give honest orders of magnitude: from 0.27 W at low brightness up to around 0.8 W at full power. On a console designed to draw almost nothing, the addition is considerable.
Battery life. It drops markedly, all the more so as you push the brightness. The exact figure depends on the kit, the batteries and the setting: be wary of promises that are too precise. Many people add a lithium battery module rechargeable over USB-C, which settles the question and adds one point to watch.
Thickness. A laminated panel, its driver board and its ribbon cable take up room. The outside dimensions don't move, but the inside gets tight.
Background noise. FunnyPlaying itself warns, on its Game Boy DMG kit, that the audio noise floor may rise slightly and that the pixel grid mode may flicker on certain motherboards. It is minor, but it is not nothing.
What an IPS screen does not fix
A thirty-year-old console does not get younger because you change its screen. What remains is the hardened membranes, the oxidised contacts of the cartridge slot, the tired speaker, the volume potentiometer that crackles, and on the models concerned the original capacitors. No IPS kit touches any of that, and it changes nothing about the game itself.
Nor does it do anything for the save battery in your cartridges, which has a lifespan of its own. Our guide to backing up the contents of your own cartridges details what is possible and within which framework; for the origin of game files in general, our Where to play legally page takes stock without mincing words.
Who it is for, and when a modern console is the better bet
The IPS kit makes sense if you are attached to your original machine: the console of your childhood, your cartridges on a shelf, and the urge to play them again without a desk lamp. No recent console replaces a real Game Boy with a real cartridge in it, and a cleanly modified console keeps its value.
It makes a lot less sense if your goal is simply to play Game Boy games. A modern retro handheld console runs them effortlessly, with instant saves, filters and a battery life counted in hours. For a sum comparable to a kit plus a shell plus the accessories, you get a complete machine that also covers the Super Nintendo and the PlayStation 1. Our Linux retro consoles start below the €100 mark, and the comparison tool sorts by emulated system rather than by brand.
The third case is no compromise at all: both. A period console modified for the games you care about, a modern handheld for everything else and for travelling. If you go for it, take the kit and the matching shell at the same time and plan for the protective glass: that is the shopping list gathered in the workshop and modding section.
Can an IPS kit be installed without knowing how to solder?
On some machines only. The drop-in kits for the Game Boy Advance SP need just one wire, and several recent Game Boy Advance kits work with no soldering thanks to touch controls. For the Game Boy DMG and the Game Boy Color, power has to be taken from the motherboard: soldering is mandatory.
Does the shell always have to be cut?
That depends on the kit, not on the console. Modern laminated kits almost always require a shell designed for them, sold already cut. If you buy the screen alone, the cutting is down to you, with a file and slowly. On an original console in good condition, buy a new shell instead and keep the old one untouched.
How much does battery life go down?
Markedly, but no single figure would be honest. Manufacturers quote between 0.27 W and around 0.8 W depending on the kit and the brightness, against a near-zero draw for the original panel. The result depends on your batteries and your setting; many people add a USB-C rechargeable battery module so they no longer have to think about it.
Does an IPS kit improve the definition of the games?
No. Game Boy Advance games stay at 240×160. The panel, on the other hand, goes up to 720×480 or 960×640 depending on the range: that headroom serves to display each game pixel on a perfect square of real pixels, with no distortion. The image is sharper and more even, not more detailed.
What is the difference between a laminated and a non-laminated kit?
On a laminated kit, the glass is bonded to the panel: the image seems to sit flush with the surface, with no layer of air, no internal reflection and no trapped dust. On a non-laminated kit, the panel simply sits behind the glass. The laminated one looks better and is thicker, it requires a dedicated shell, and it forgives no assembly mistake since the bonding is permanent.
Is it worth it, or is it better to buy a recent console?
If you want to play again on your original machine with your cartridges, the kit is the only answer and the result lasts. If you simply want to play those games, a modern retro handheld console often costs less in total and requires no assembly. The two approaches coexist perfectly well.